Dragonfly watercolor painting brings light, motion, and calm to the page. The subject fits well with watercolor because wings, color shifts, and soft edges work best with fluid paint. Artists often enjoy how small choices in water and color can change the whole feel of the piece.
This article shows how artists can paint dragonflies with clear wings, smooth blends, and simple details using watercolor. It moves from loose shapes to gentle control, and from color flow to basic design ideas. The focus stays on building skill and confidence while keeping the process relaxed and enjoyable.
1) Basic Wet-on-Wet Technique for Dragonfly Wings
The artist wets the paper where the wings will sit. He drops diluted paint into the damp area and lets it spread.
Soft edges form as colors blend on their own. She tilts the paper to guide flow and keep veins light.
It helps to work fast and avoid overbrushing. Clean water lifts highlights before the paper dries.
2) Layering Colors to Create Transparent Effects
They build color through light washes. Each layer dries before the next, which keeps edges clean and colors clear.
Transparent paints work best for glazing. Thin washes stack to deepen color, adjust tone, and add soft shadows without covering details, such as wings and veins.
3) Using Charge Wet Colors for Vibrant Blending
Charging adds fresh color into a wet wash. The paint spreads on its own and blends softly.
They load the brush with diluted paint and touch it to a damp area. Colors mix without hard lines.
Good timing matters. Too dry stops flow, while too wet causes blooms.
4) Painting Detailed Dragonfly Eyes and Body Texture
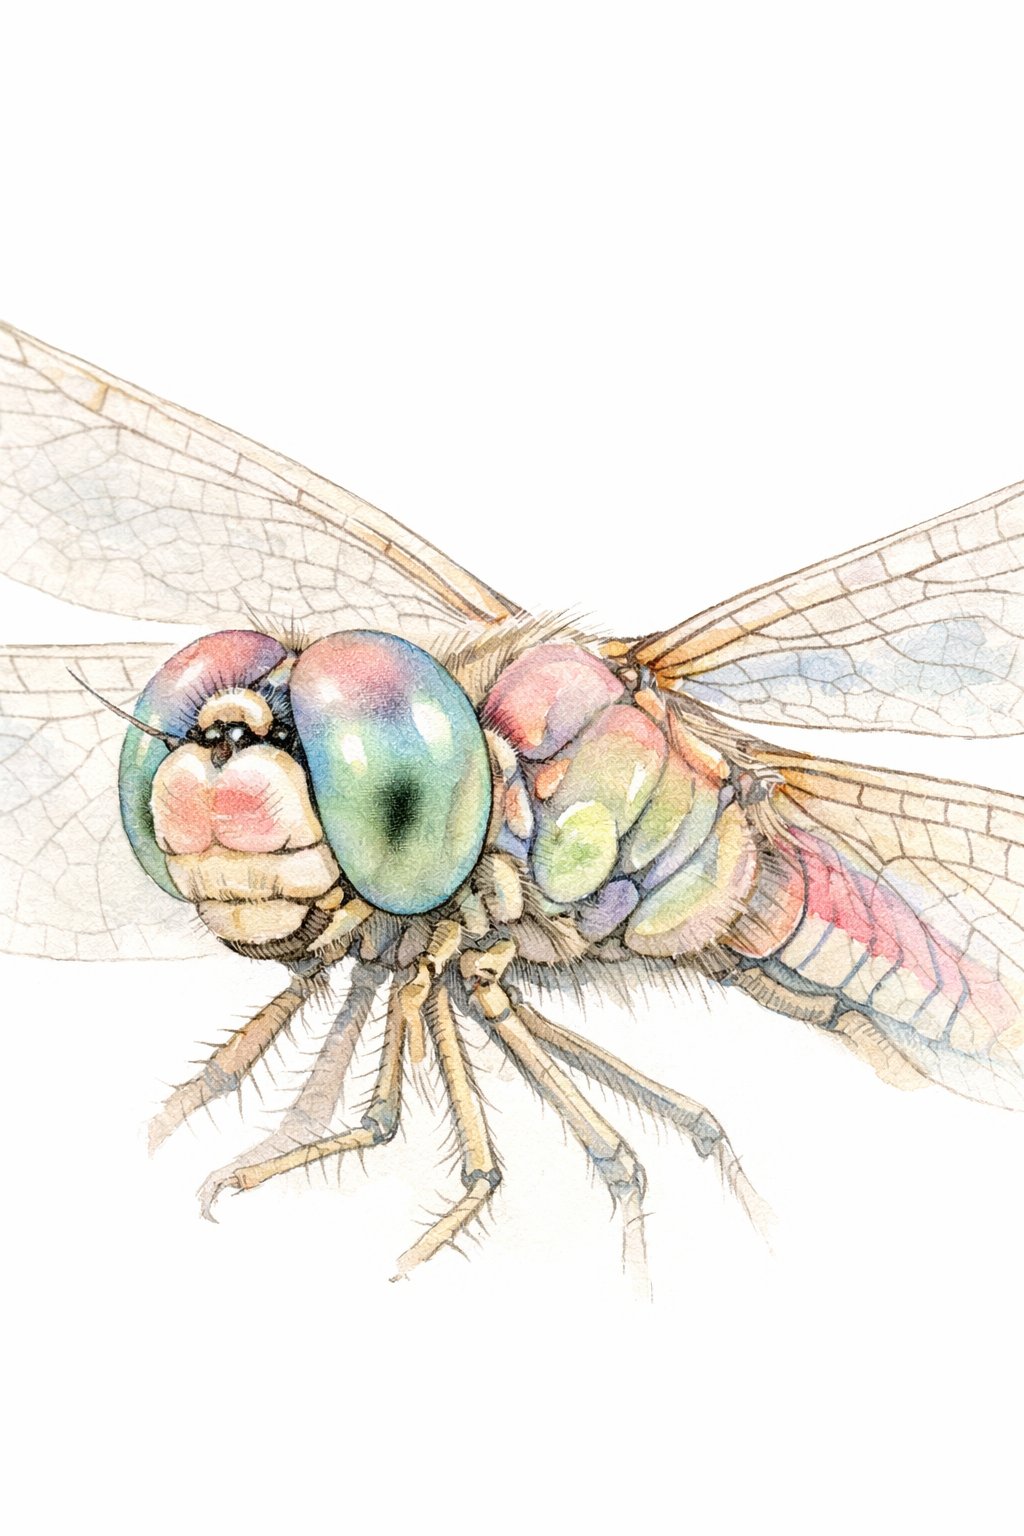
They paint the eyes first because they set the mood and scale. A small round brush and a light wash help define the shape without harsh edges.
They build the body texture with thin layers. Short strokes suggest segments, while soft shadows add form. They let each layer dry to keep details clear.
They keep colors simple and controlled. Subtle shifts in tone create depth without heavy outlines.
5) Creating Loose and Expressive Dragonfly Shapes
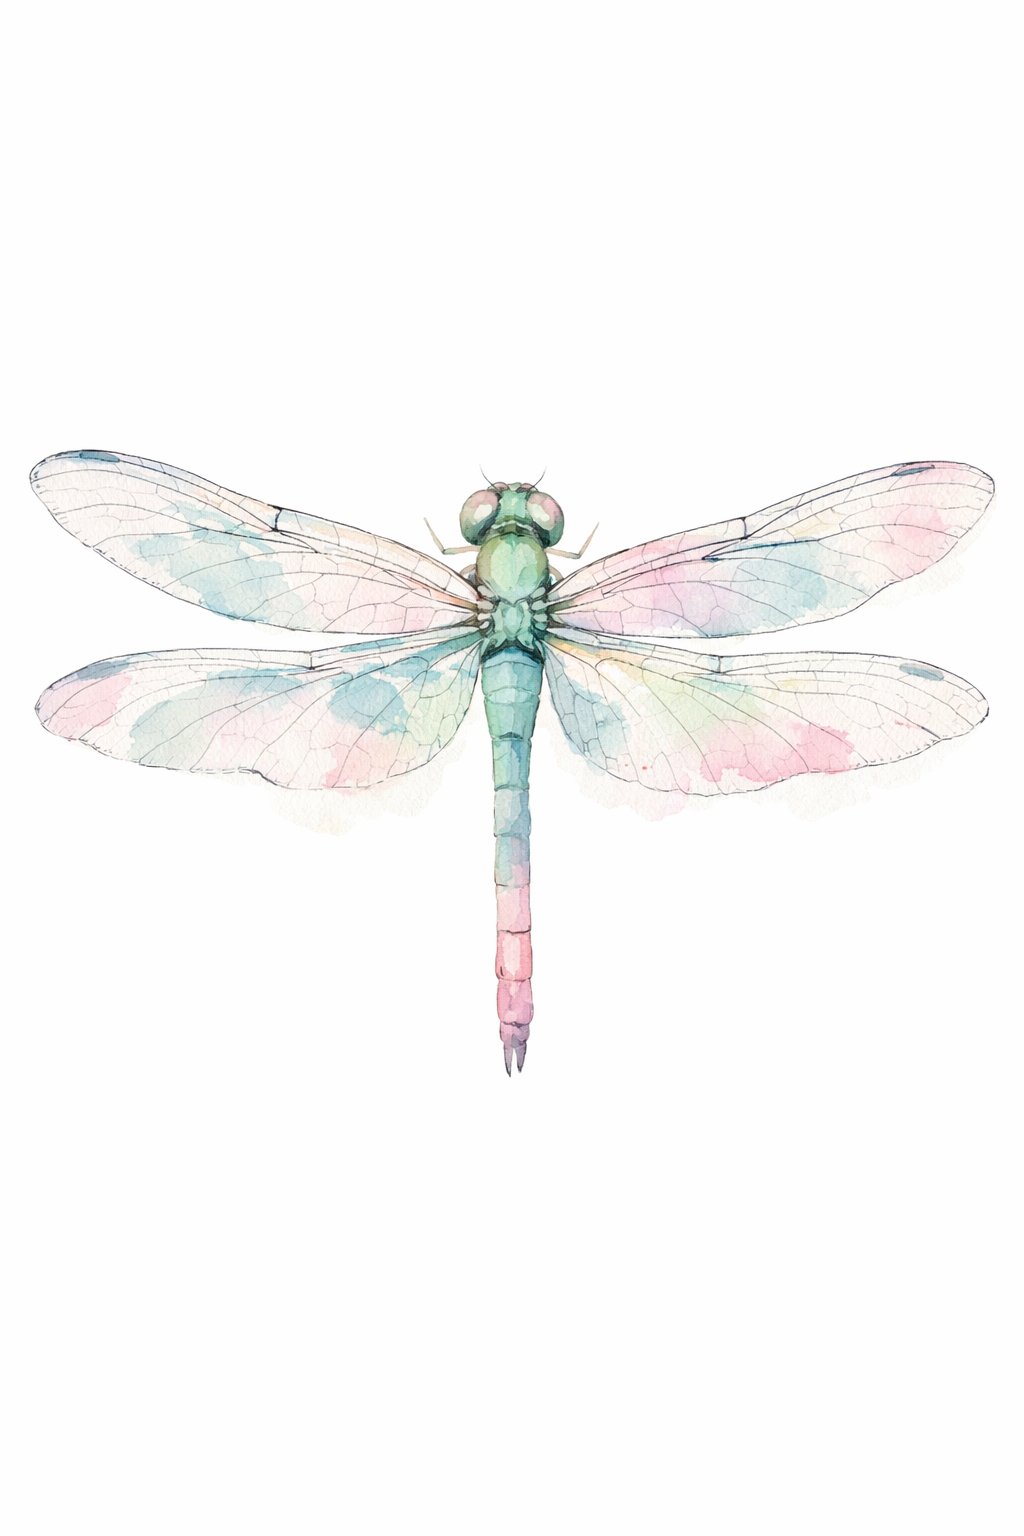
They start with simple shapes, not fine details. A light wash blocks in the body, and quick lines suggest the wings. The painter lets water guide the paint.
They use fast, loose strokes to keep the form light. Soft edges help show thin, clear wings. Too much detail can make the dragonfly feel stiff.
They step back often and keep marks bold. This approach keeps the painting fresh and expressive.
Essential Techniques for Dragonfly Watercolor Painting
Dragonfly watercolor painting depends on light control, clean tools, and careful color builds. Artists need the right paper and brushes, soft wing effects, and clear layers to show form without heavy detail.
Choosing the Right Brushes and Paper
Artists get the best results with soft brushes and thick watercolor paper. A round brush with a fine tip handles both thin lines and small washes. Sizes 0 to 4 work well for bodies and wings.
Paper weight matters. Cold-press paper at 140 lb (300 gsm) holds water without warping. Its light texture helps paint spread in a natural way.
| Tool | Why It Works |
|---|---|
| Round brush | Sharp tip and full body |
| Soft synthetic or sable | Smooth color flow |
| Cold-press paper | Balance of texture and control |
Artists should tape paper to a board. This step keeps washes even and edges clean.
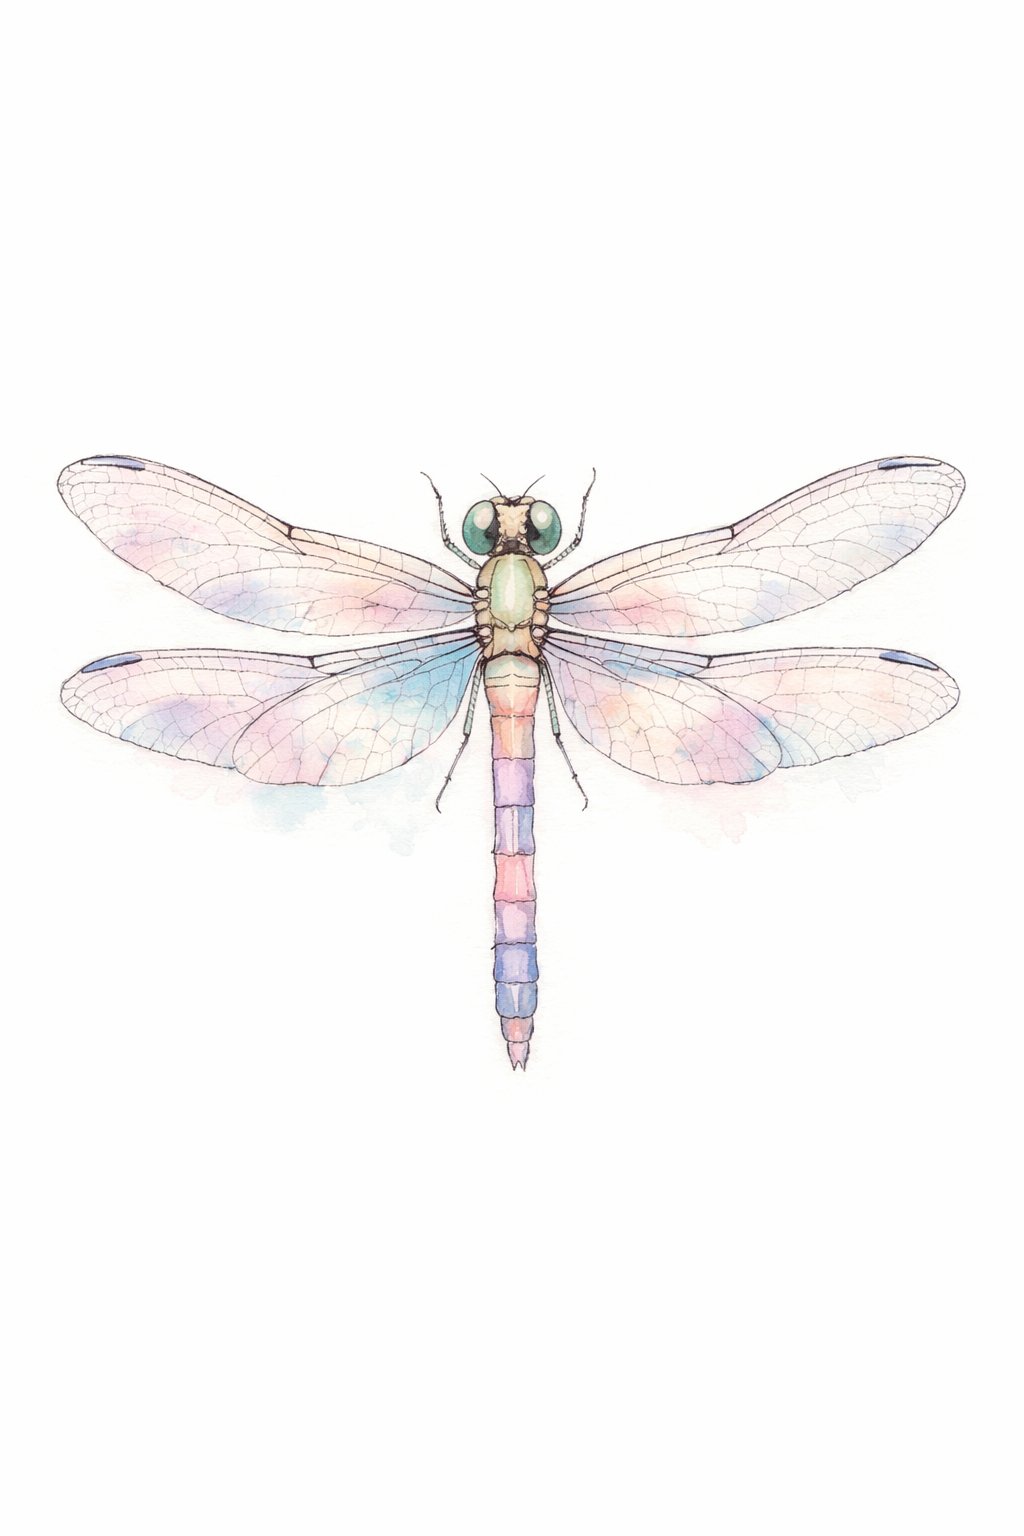
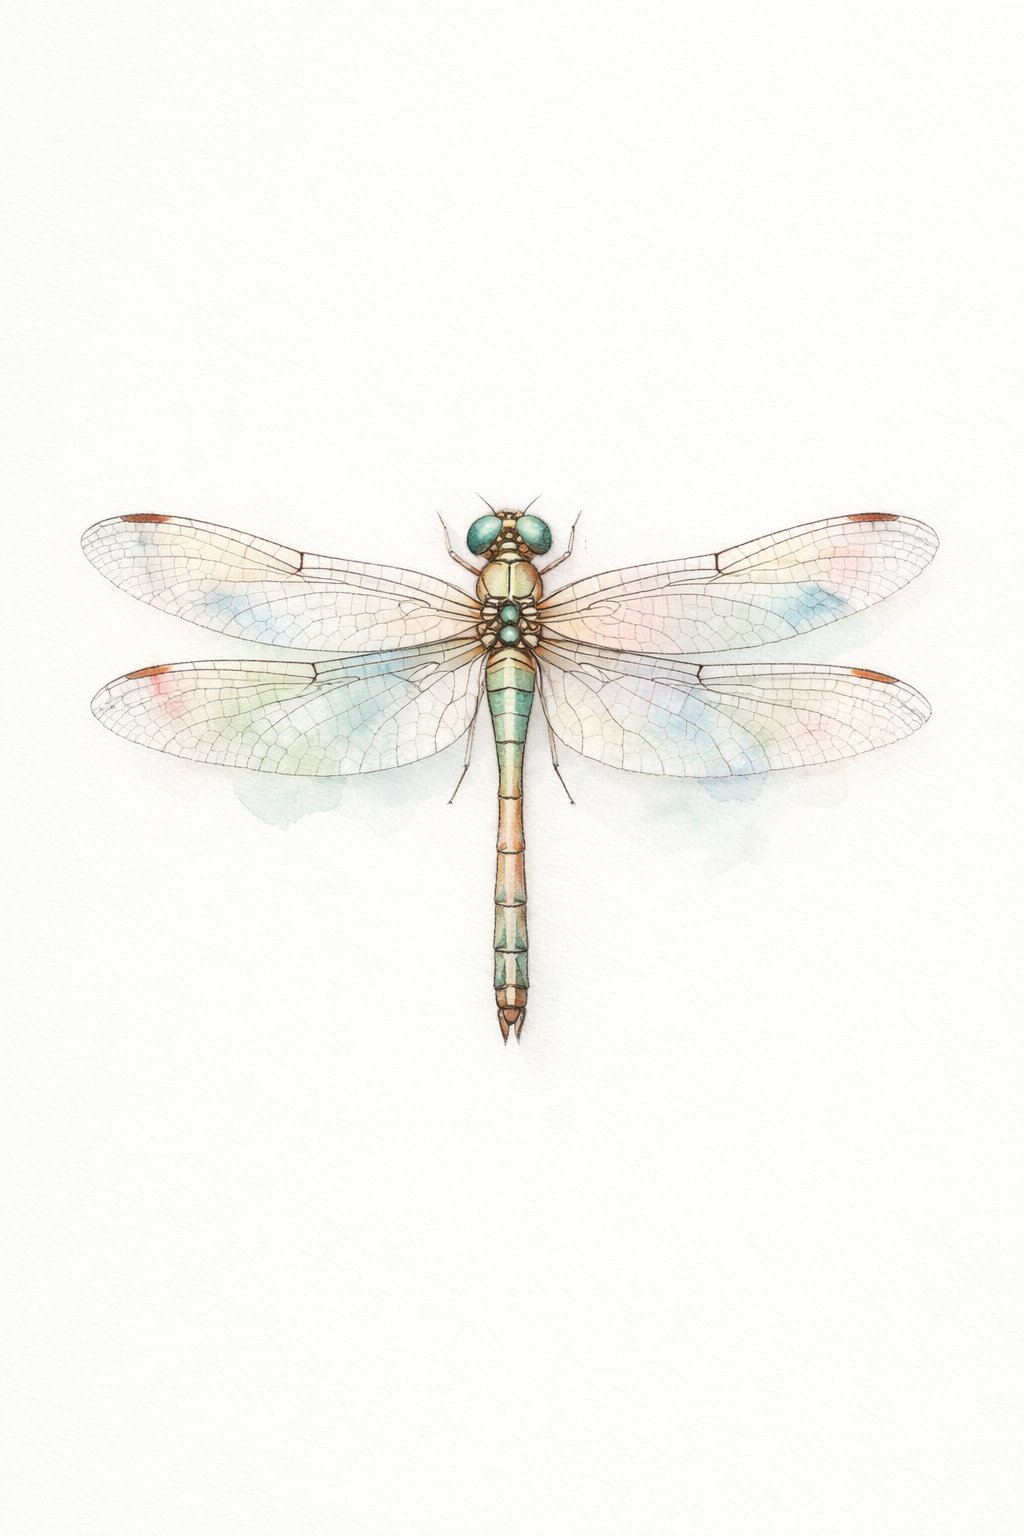
Creating Transparent Wings
Dragonfly wings look light and clear. Artists achieve this effect with wet-on-wet washes and very diluted paint. They wet the wing area first, then drop in color with a light touch.
They should use cool grays, pale blues, or soft browns. Strong colors make wings look heavy. A single pass often works best.
Fine lines suggest veins. Artists add them after the wash dries, using a small brush and light pressure. Broken lines look more natural than solid ones.
Leaving white space matters. Paper white creates shine and keeps wings from looking flat.
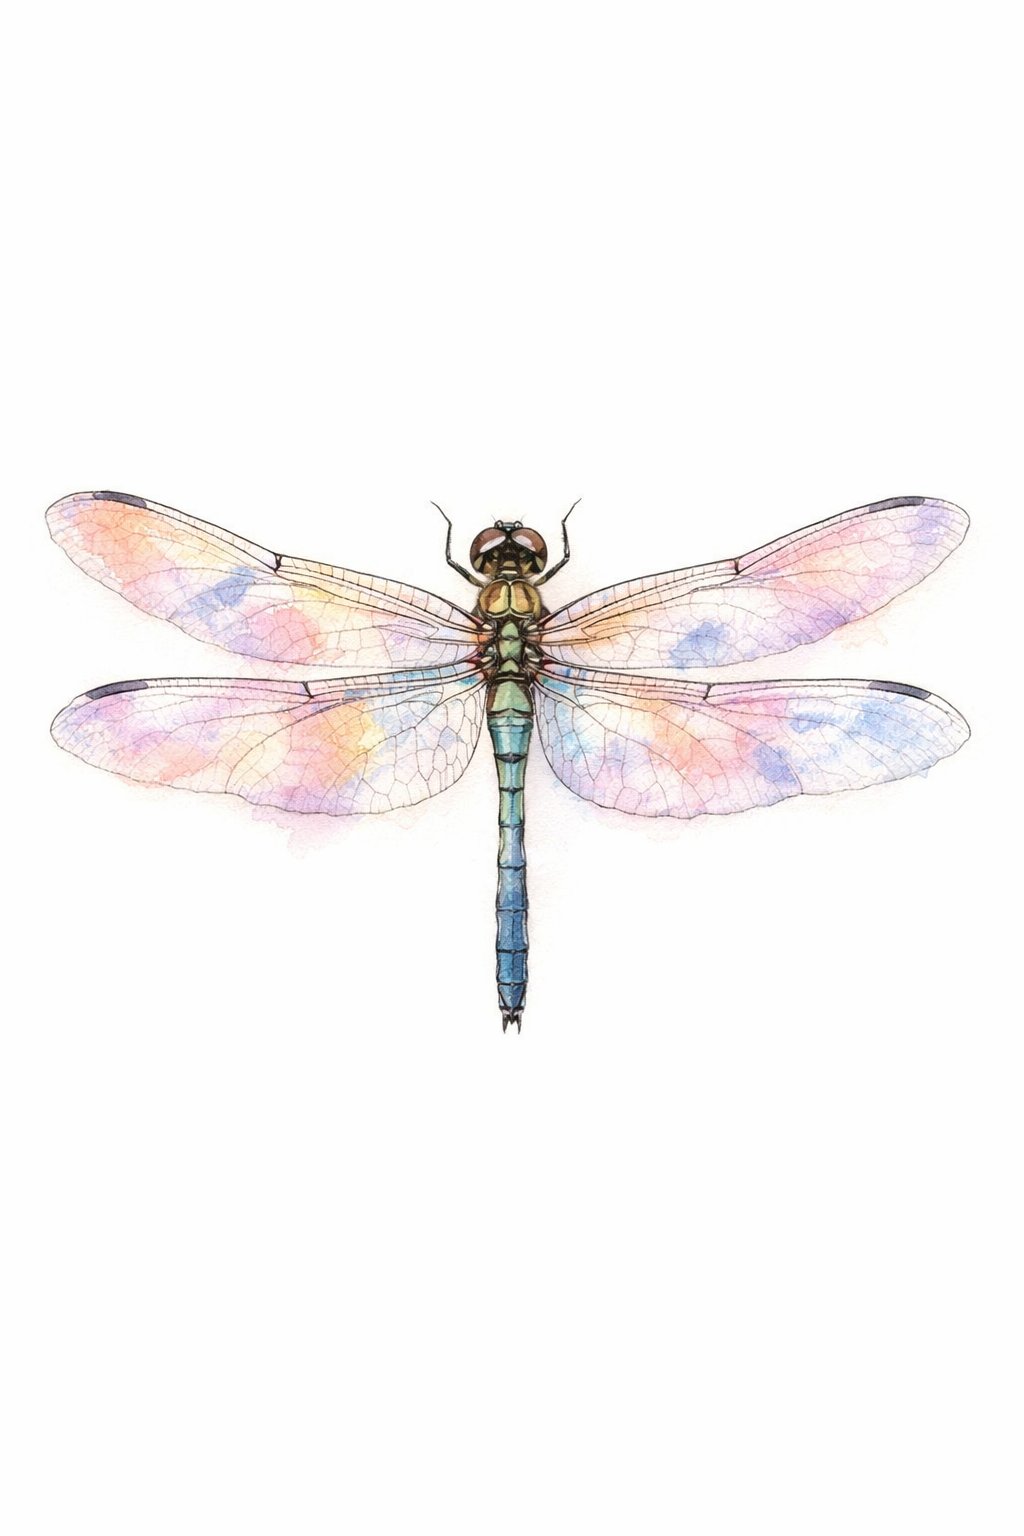
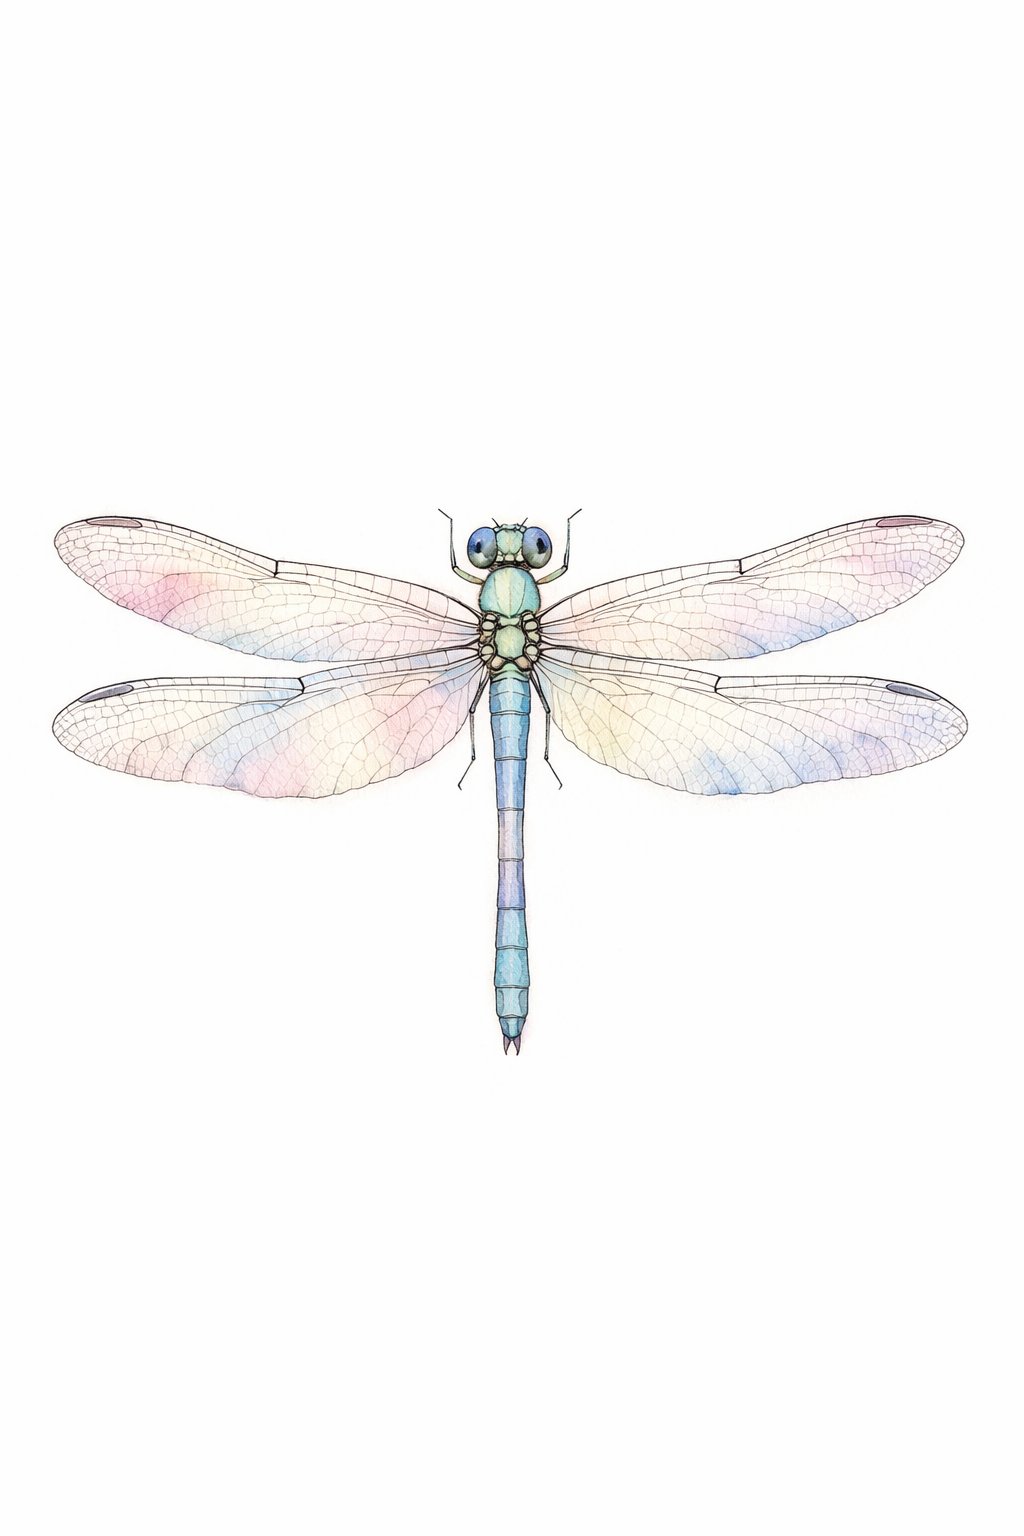
Layering Colors for Depth
Layering builds form without hard outlines. Artists start with a light base wash for the body. They let it dry fully before adding more color.
Each layer should stay thin. Dark accents belong near the head, joints, and tail end. This method guides the eye and adds structure.
A simple process helps:
- First layer: light base color
- Second layer: mid-tone shadows
- Final layer: small dark details
Artists avoid overworking the paint. Too many layers dull color and hide detail.
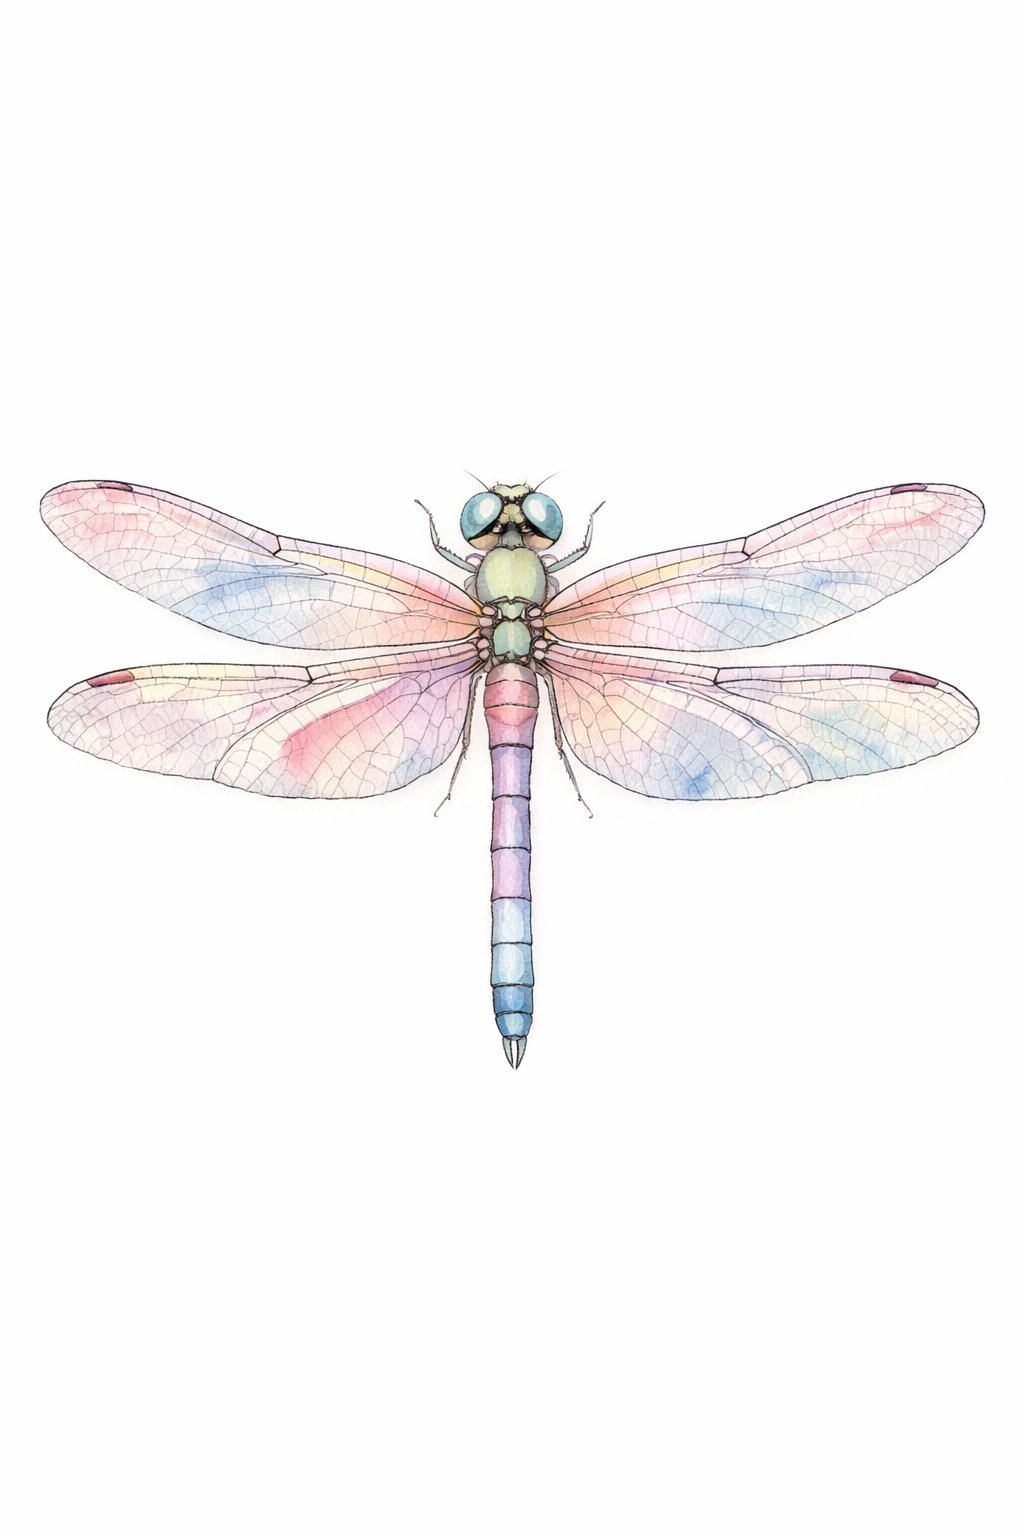
Color Theory and Inspiration
Strong color choices shape the mood and realism of a dragonfly painting. Artists rely on simple color rules and close study of nature to guide each wash and detail.
Selecting a Color Palette
Dragonflies show clear body colors and light wings, so artists benefit from a limited palette. A small set of paints keeps colors clean and easy to control. Many watercolor tutorials stress soft blends and wet-in-wet effects for this subject.
Common palette choices include:
| Purpose | Color Examples |
|---|---|
| Body | Ultramarine blue, sap green, burnt sienna |
| Highlights | Lemon yellow, pale turquoise |
| Shadows | Payne’s gray, indigo |
| Wings | Diluted gray, light blue, or raw umber |
Artists often mix one main body color with its complement to add depth. They keep wing colors very light to show transparency. Clean water and soft brush pressure help avoid harsh edges.
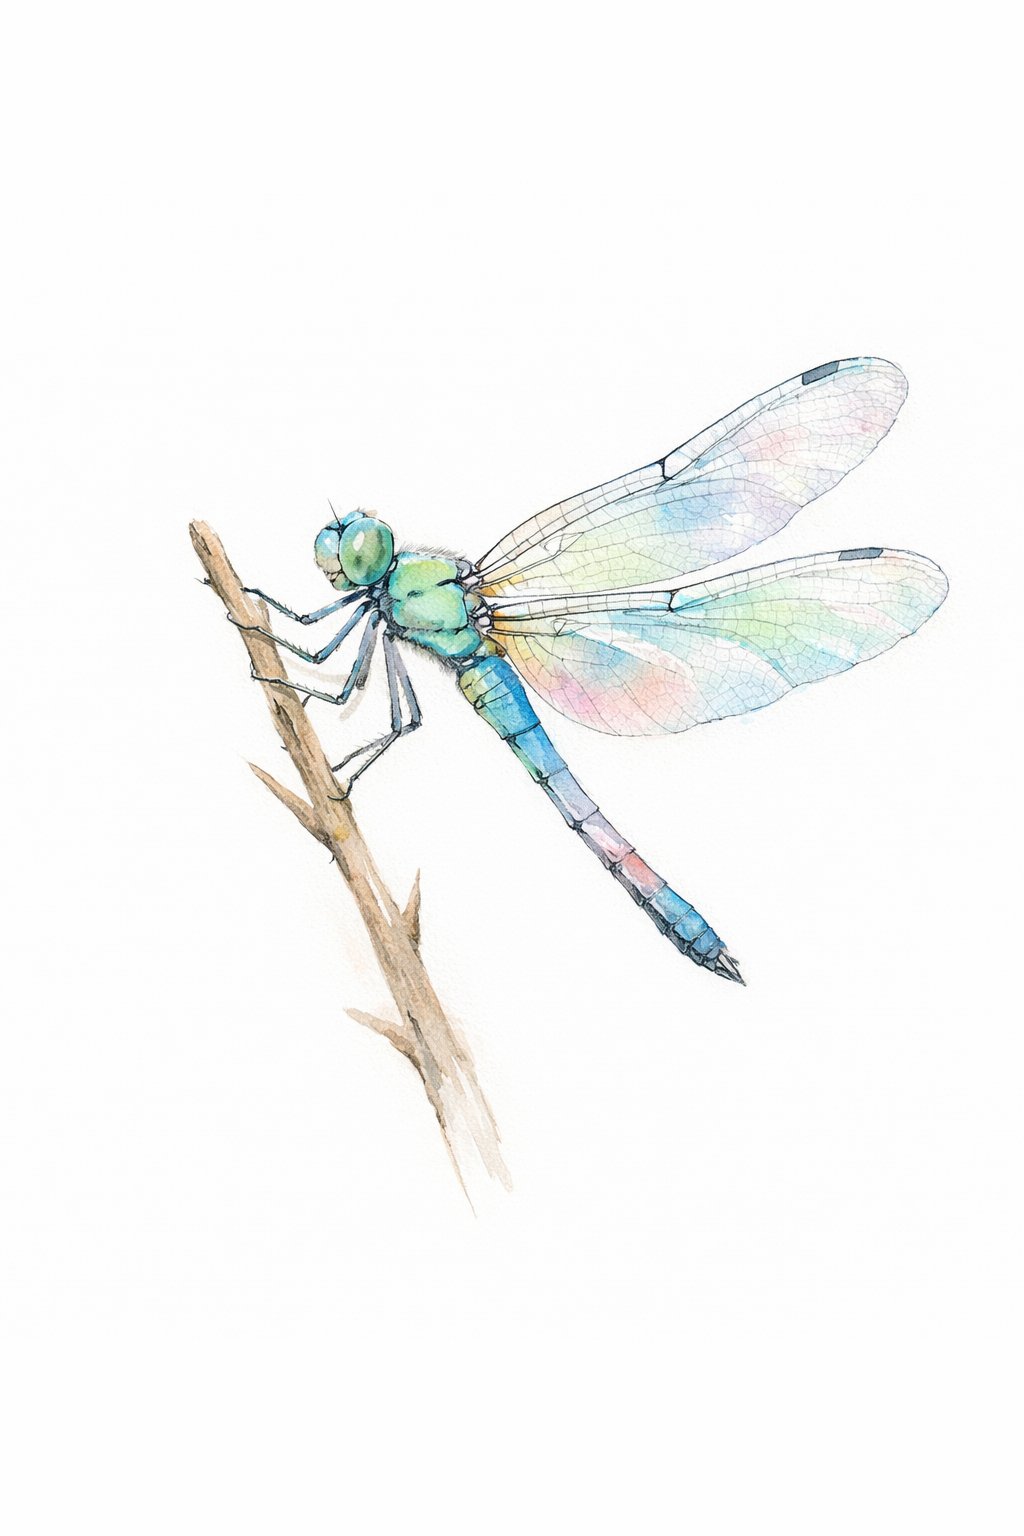
Drawing Inspiration from Nature
Nature provides clear guidance for color and pattern. Real dragonflies show bright bodies with subtle shifts, not flat color. Many have bands, dots, or color fades along the abdomen.
Artists study photos or live insects to note key details, such as:
- Metallic color shifts in sunlight
- Dark joints near the wings
- Pale veins and soft shadows
Background colors also matter. Soft greens, warm browns, or light blues suggest ponds and plants without stealing focus. Artists often blur the background to keep attention on the dragonfly while keeping the scene natural and calm.