Have you ever opened your iPhone Reminders app and felt instantly overwhelmed? Maybe you have dozens (or hundreds) of tasks mixed together — work, groceries, bills, random ideas, and things you promised to do “later.” You tell yourself you’ll organize it someday, but someday never comes. If that sounds familiar, you’re definitely not alone.
I started taking iPhone productivity seriously when I realized I was forgetting small but important things — birthdays, bill deadlines, follow-ups, even simple errands. IMO, the problem wasn’t that I had too many tasks… it was that I had zero structure. Once I discovered reminder tags, everything changed. Suddenly, my reminders felt searchable, sortable, and actually useful.
In this guide, I’m going to walk you through exactly how to organize your iPhone Reminders using tags in a simple, practical way. By the end, you’ll have a clean, stress-free system you can actually stick with.
Why iPhone Reminder Tags Are a Game Changer
Before we jump into the how, let’s quickly talk about the why.
Tags turn your reminders from a messy list into a smart, searchable productivity system.
What Tags Actually Do
Tags let you:
- Group related tasks instantly
- Filter reminders based on category
- Create smart lists automatically
- Find tasks faster using search
- Manage work and personal life separately
Instead of scrolling endlessly, you can just tap a tag and see exactly what you need.
Pretty powerful, right?
Understanding How Tags Work in iPhone Reminders
Think of tags like labels you attach to tasks.
For example:
- #Work
- #Home
- #Urgent
- #Shopping
- #Ideas
You can even add multiple tags to one reminder. That’s where the magic happens.
For example:
“Buy printer ink”
Tags: #Work #Shopping #ThisWeek
Now that single task appears in multiple filtered views.
FYI — this is what makes tags much more powerful than simple lists.
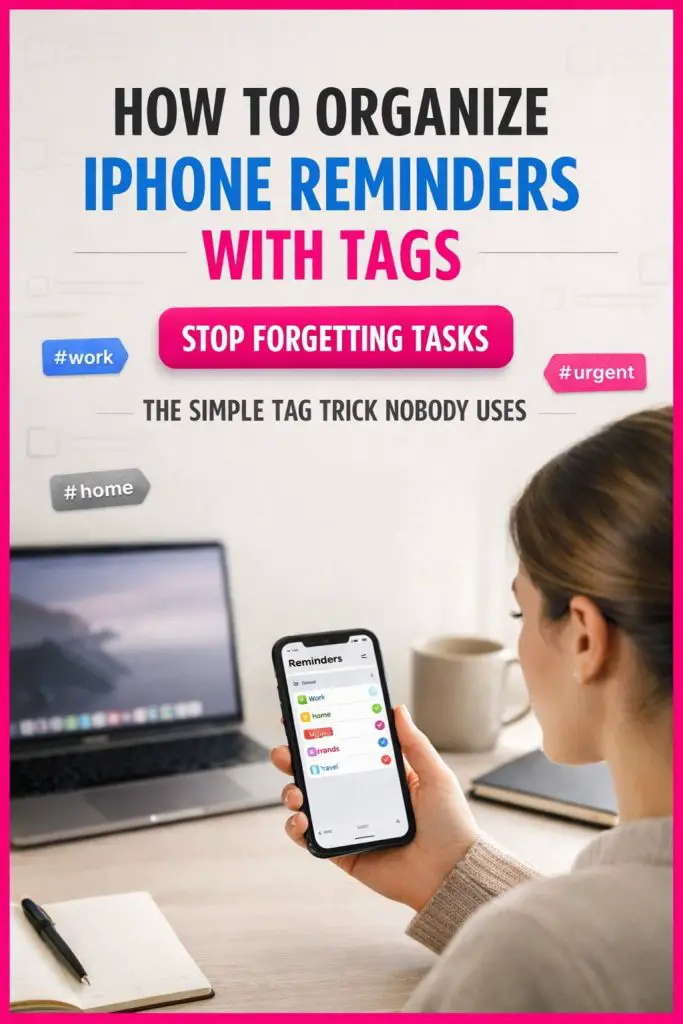
Step-by-Step: How To Add Tags to iPhone Reminders
Let’s go practical. Here’s exactly how to do it.
Step 1 — Open the Reminders App
Open your iPhone Reminders app like normal.
Step 2 — Create or Edit a Reminder
Tap:
- New Reminder
OR - Open an existing reminder
Step 3 — Add a Tag
Type a hashtag followed by a word:
Example:
#Work
#Personal
#Bills
Your iPhone automatically detects it as a tag.
Step 4 — Save the Reminder
Done. That reminder is now tagged and searchable.
How To Create Smart Lists Using Tags
This is where organization becomes next level.
Smart Lists automatically collect reminders based on tags, dates, or priorities.
How To Create a Smart List
- Open Reminders
- Tap Add List
- Choose Make into Smart List
- Select Tags
- Choose the tags you want
Now you have an automatic list that updates itself.
Example Smart Lists:
- All #Work tasks
- All #Urgent items
- All #Bills tasks
No manual sorting needed.
Best Tag Categories You Should Start With
Don’t overcomplicate this. Start simple.
Core Productivity Tags
Life Area Tags
- #Work
- #Home
- #Personal
- #Family
Time-Based Tags
- #Today
- #ThisWeek
- #ThisMonth
Priority Tags
- #Urgent
- #Important
- #LowPriority
Function Tags
- #Calls
- #Emails
- #Shopping
- #Errands
Start with 5–10 tags max. You can expand later.
Real-Life Example Tag System (Simple But Powerful)
Here’s a beginner-friendly system you can copy.
Basic Setup
Daily Life
- #Today
- #ThisWeek
Responsibility
- #Work
- #Personal
Action Type
- #Call
- #Buy
- #Plan
That’s only 7 tags — but it covers most situations.
How To Avoid Tag Overload (Big Mistake People Make)
One of the biggest mistakes is creating too many tags.
If you create:
- #CallMom
- #CallBoss
- #CallBank
You’re making life harder.
Instead, use:
- #Call
Then let the reminder text hold the details.
Golden Rule:
👉 If you won’t use it weekly, don’t make it a tag.
Advanced Organization Tips (When You’re Ready)
Once you’re comfortable, you can level up.
Combine Tags for Powerful Filtering
Example:
#Work + #Urgent
= Only urgent work tasks
#Shopping + #Home
= Only home shopping items
Use Tags With Due Dates
Tags + Dates = Perfect planning combo.
Example:
Reminder: Submit Report
Tags: #Work #Urgent
Due: Friday
Now it appears everywhere you need it.
Using Tags for Different Areas of Life
Work Organization
Use tags like:
- #Meetings
- #FollowUp
- #Projects
Helps you see exactly what needs attention.
Personal Life Management
Use tags like:
- #Health
- #Family
- #Finance
Keeps personal tasks separate from work stress.
Shopping and Errands
Use tags like:
- #Groceries
- #OnlineShopping
- #StoreVisit
Makes running errands faster and smoother.
Pro Productivity Workflow (Simple Daily Routine)
Here’s a realistic daily workflow.
Morning (2 Minutes)
- Open Smart List #Today
- Check #Urgent tasks
Afternoon Check (1 Minute)
- Add tags to new reminders
- Adjust priorities
Night (2 Minutes)
- Move tasks to #Tomorrow or #ThisWeek
- Remove completed clutter
Total time: Under 5 minutes per day.
Not bad, right?
Common Tagging Mistakes To Avoid
Mistake 1 — Too Many Tags
Keep it simple.
Mistake 2 — Not Using Smart Lists
Tags alone are good. Smart Lists make them powerful.
Mistake 3 — Forgetting To Tag New Tasks
Make tagging automatic.
Mistake 4 — Using Similar Tags
Example:
❌ #WorkTask
❌ #WorkTasks
❌ #OfficeWork
Pick one and stick to it.
How Tags Improve Mental Clarity (Yes, Really)
Organization isn’t just about productivity.
It reduces:
- Decision fatigue
- Stress
- Task anxiety
- Mental clutter
When your brain trusts your system, you stop trying to remember everything.
That’s huge.
When You Should Use Lists vs Tags
Use Lists For:
- Big categories (Work, Personal, Travel)
Use Tags For:
- Filters
- Context
- Priority
- Actions
Think of Lists = Folders
Think of Tags = Labels
Together = Perfect system.
My Recommended Starter Setup (Copy This)
If you want the easiest starting point, use this.
Lists
Work
Personal
Ideas
Tags
#Today
#ThisWeek
#Urgent
#Call
#Buy
#Plan
#Waiting
This setup works for most people.
How Long Until This Feels Natural?
Usually:
- Day 1 → Feels new
- Week 1 → Feels useful
- Month 1 → Feels essential
After that, you’ll wonder how you lived without tags.
Quick Tag Setup Checklist
✔ Create 5–10 core tags
✔ Add tags to new reminders immediately
✔ Create Smart Lists for main tags
✔ Review tags weekly
✔ Delete unused tags
Simple system = Long-term success.
Conclusion
Organizing your iPhone Reminders with tags is one of the simplest ways to upgrade your productivity without installing new apps or learning complicated systems. With just a few well-chosen tags, you can turn chaos into clarity, reduce stress, and actually trust your task list again.
The key takeaways are simple: start small, keep tags consistent, use Smart Lists, and build the habit of tagging tasks right when you create them. You don’t need a perfect system — you just need a system you’ll actually use.
Here’s my challenge for you: open your Reminders app today and create your first 5 tags. That’s it. Small steps lead to big results. And honestly? Once you experience how clean and organized your reminders feel, you probably won’t go back.