Painting a sunset involves using simple techniques like blending colors to create smooth gradients and layering tones to capture the natural light. The key to painting a realistic sunset is mixing the right colors, blocking in basic shapes, and blending while the paint is still wet to achieve soft transitions. This method helps recreate the glowing sky and vivid horizon that define sunsets.

Understanding how to work with different brushes and knowing the order of colors makes the process easier. By starting with broad strokes to map out the sky and sun, the painter gradually adds details like clouds and reflections in the water. Proper preparation of the workspace and materials also supports a smooth painting experience.
With practice, anyone can create a stunning sunset scene by focusing on light, color harmony, and layering techniques. This guide shares clear steps and helpful tips to build these skills without needing to be a professional artist.
Essential Materials for Sunset Painting
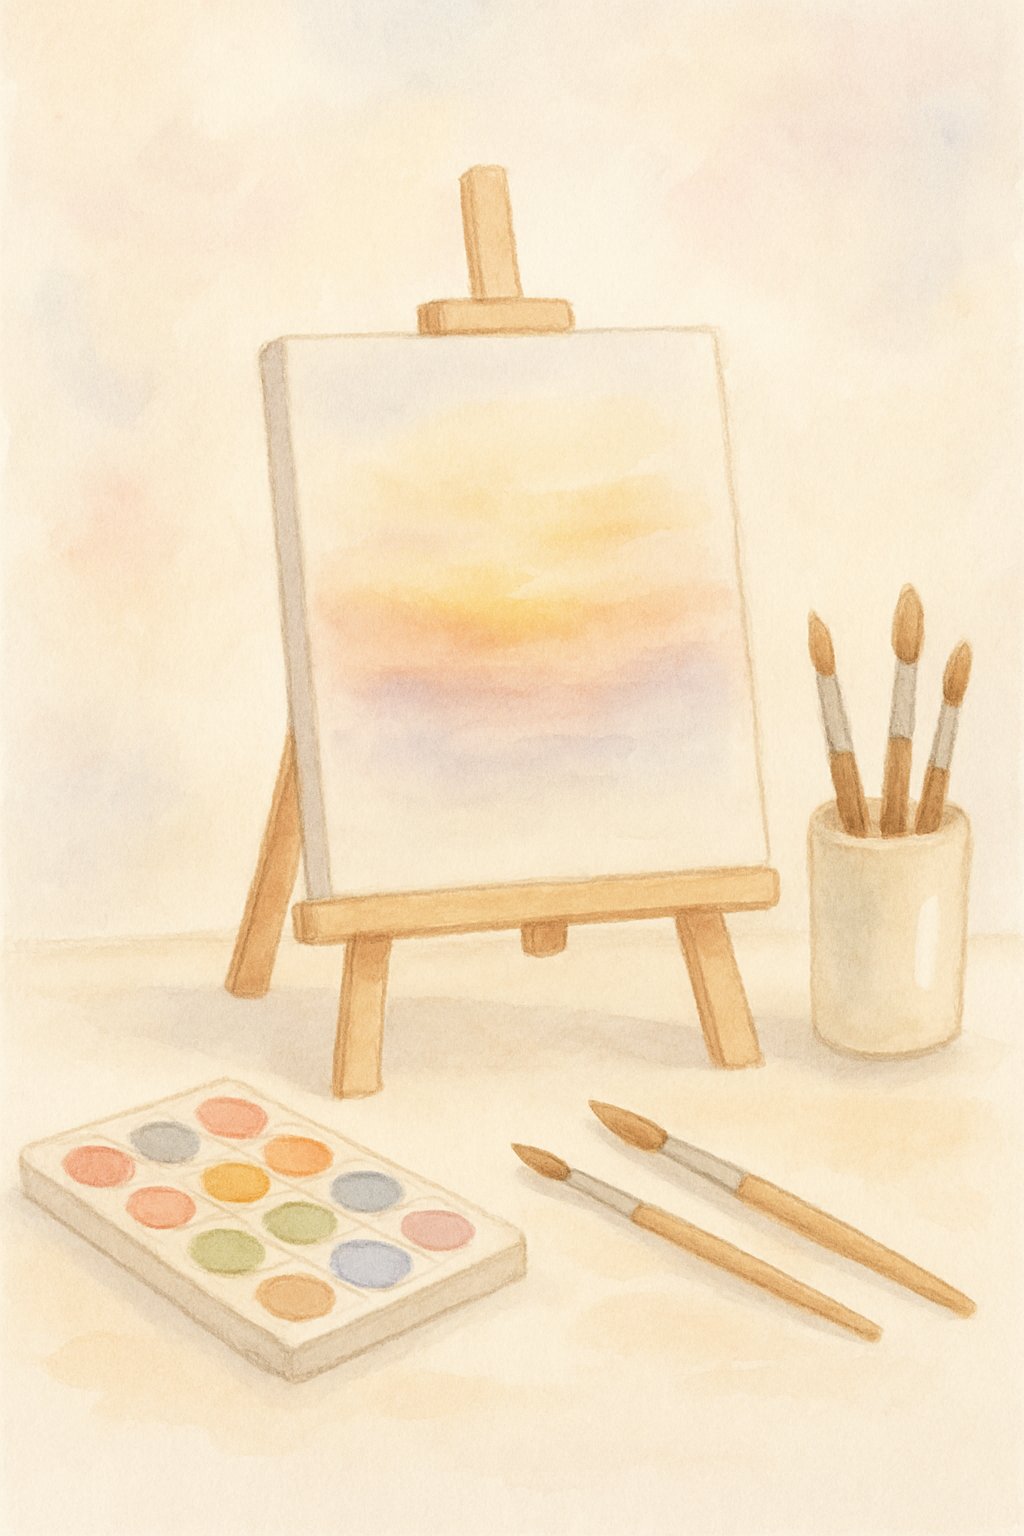
To create an effective sunset painting, the choice of materials plays a crucial role. The right paints, brushes, and surfaces all affect how colors blend and how details appear. Artists need to consider their preferred style and medium to select tools that match their goals and skill level.
Choosing Your Paint Medium
Acrylic paint is a popular choice for sunset paintings because it dries fast and offers vibrant, lasting colors. Its quick drying time allows for layering and adjustments without long waits. Acrylics also clean up easily with water, making them beginner-friendly.
Oil paint, by contrast, dries slowly, which helps when blending subtle color shifts typical in sunsets. Oils provide rich textures and smooth transitions, ideal for artists wanting more control over shading. However, oil paints need solvents for cleaning and more patience during drying.
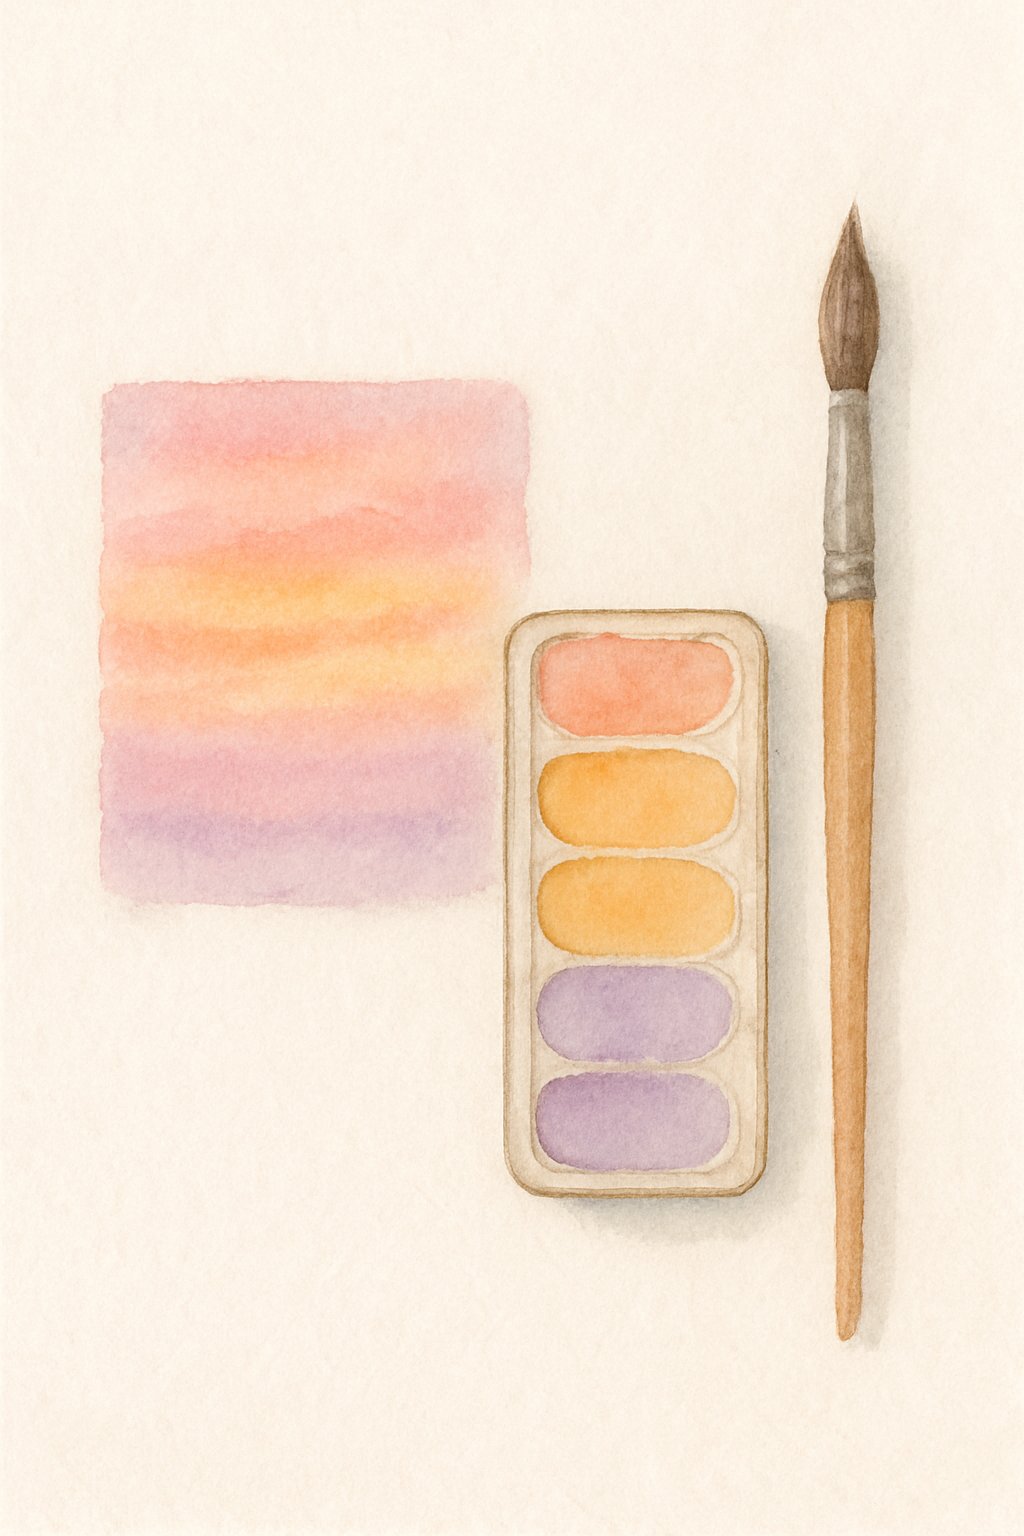
Watercolors suit artists who want a soft, airy effect. This medium is transparent and good for capturing delicate light glows. Watercolors demand careful layering on watercolor paper to avoid color muddiness and require practice to handle successfully.
Selecting Brushes and Canvas
Brush choice impacts the details and effects possible in a painting. Flat brushes work well for broad strokes, covering large areas of sky or land quickly. They help blend colors smoothly in the background.
Round brushes are better for curves and finer lines, ideal for painting clouds or setting the sun’s shape. Liner brushes, which are thin and pointed, suit the tiniest details like tree branches or highlights on water.
Canvas is the most common surface for acrylic and oil sunset paintings. It is durable and holds paint layers well. For watercolors, heavy, textured watercolor paper is necessary to prevent warping and promote good color flow.
Additional Tools and Accessories
Having the right extras can improve the painting process and final product. A palette, preferably with a mixing area, allows artists to blend custom sunset colors efficiently. A wet palette helps keep acrylic paints moist longer for smoother blending.
Paper towels or rags are essential for wiping brushes or correcting mistakes quickly. Palette knives can add texture by layering thick paint, especially useful for clouds or rough terrain.
Water jars or solvent containers are needed to clean brushes between colors. Using a good-quality easel helps maintain a proper painting angle, reducing strain and improving brush control.
Color Selection and Mixing for Sunsets
Painting a sunset requires careful choice and blend of colors to capture its natural beauty. The balance between warm and cool colors, the way vibrant hues are mixed, and the creation of a unified color palette are all crucial for a realistic and appealing sunset.
Warm vs Cool Colors in Sunsets
Sunsets often feature warm colors like reds, oranges, and yellows. These colors come from the sunlight passing through the atmosphere, creating glowing reds and deep oranges near the sun. Cadmium yellow and burnt umber help produce rich warm tones that mimic this effect.
Cool colors, such as purples and muted blues, can balance the warmth. They often appear in the upper sky or as shadows on clouds. Using quinacridone magenta mixed with titanium white forms soft pinks, while adding burnt umber or ultramarine blue shifts colors into deep purples.
The combination of warm and cool tones enhances depth and realism in sunset paintings by reflecting the natural changes in light.
Mixing Vibrant Sunset Hues
Vibrant sunset colors are made by mixing bright reds, oranges, and pinks carefully. Starting with primary colors like cadmium yellow and quinacridone magenta is essential. Adding titanium white lightens colors to create tints like soft pinks or peach.
To get a vivid orange, mixing cadmium yellow with a touch of quinacridone magenta works well. Adjusting saturation is important: pure colors can look too harsh, so burnt umber or a small amount of blue can desaturate them, making the color more natural.
Using a palette knife can help test mixes for richness and tone before applying paint.
Building a Cohesive Color Palette
A cohesive palette helps all colors in the sunset work together. This means mixing colors that flow smoothly from warm reds and oranges into cooler pinks and purples, without abrupt changes.
Start with a base of cadmium yellow, quinacridone magenta, burnt umber, and titanium white. These can be combined and adjusted to create the whole sunset range. Burnt umber and titanium white can tone down bright hues when needed, keeping colors balanced.
Testing colors next to each other on the canvas also helps see how well they blend and harmonize in the final painting.
Preparing Your Canvas and Composition
Before starting to paint, it is important to set up the canvas properly and plan the main elements of the sunset scene. This includes marking the horizon, sketching the basic layout, and thinking about how light and shadow will shape the painting’s mood and depth.
Establishing the Horizon Line
The horizon line acts as the base for the sunset and divides the sky from the land or water. It should be placed carefully to control the focus of the painting.
If the artist wants to emphasize the sky’s colors, the horizon line is often set low, giving more space to the sky. For scenes involving reflections or detailed landscapes, the horizon might be higher.
Using a light pencil or thin paint, the artist should draw a straight, horizontal line across the canvas. This line serves as a guide for painting clouds, mountains, or water reflections later in the process.
Sketching the Layout
After the horizon line is in place, outlining key shapes helps organize the composition. The artist can lightly sketch objects like trees, mountains, or buildings they want to include.
The sketch should remain simple, using soft lines that can be easily adjusted or painted over.
Planning where clouds and other elements will go makes the painting more balanced. It also ensures there is enough room for the sunset’s glow and light transitions.
Planning Light and Shadow
Understanding light and shadow is essential for making a sunset look realistic. The sun is the main light source, usually sitting near the horizon line or slightly above it.
The artist should decide where shadows fall based on the sun’s position. Objects closer to the sun get bright edges, while the opposite sides are dark.
Shadows are often painted using cool, dark tones to contrast with the warm colors of the sunset. This contrast creates depth and makes the colors stand out on the canvas.
Techniques for Blending and Creating Gradients
Blending colors smoothly and creating gradients is key to painting a realistic sunset. It requires control of brush strokes, managing wet paint, and layering colors carefully. Using the right tools and techniques helps avoid harsh lines and creates soft, natural transitions.
Basic Blending Technique
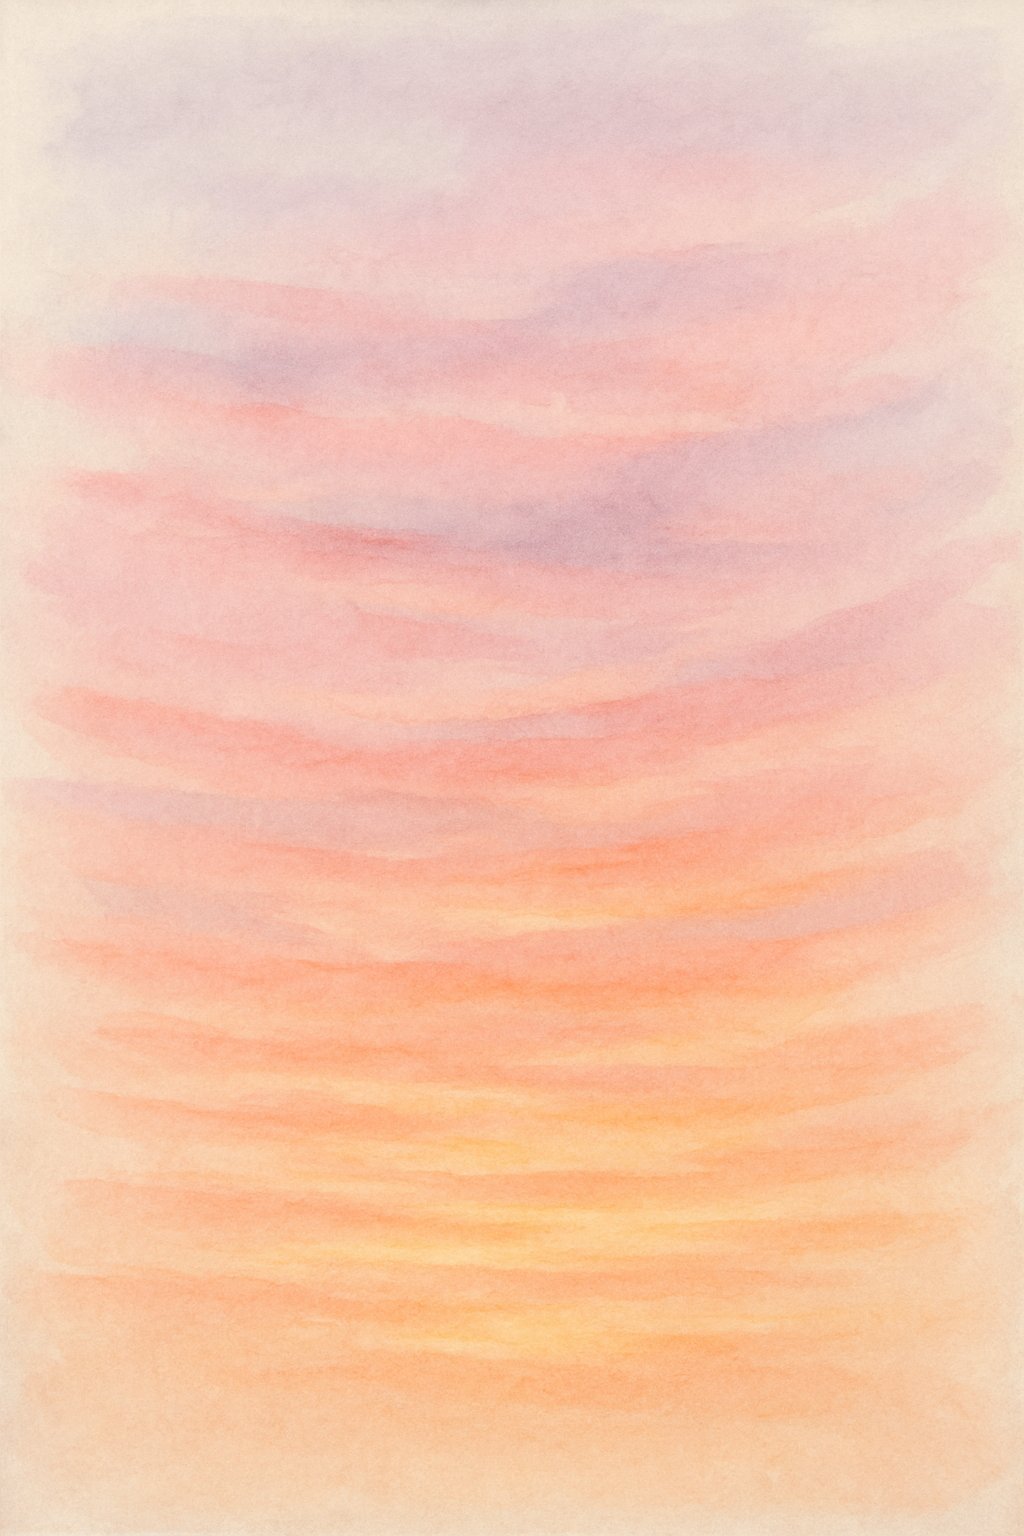
The basic blending technique starts by applying the colors in bands, usually from light to dark. For example, a painter might apply yellow near the horizon, then orange, and finally red or purple upwards.
A slightly damp brush or sponge helps blend these colors while the paint is still wet. Gentle, back-and-forth strokes soften the edges between colors. Using a clean, slightly damp paper towel can also lighten or smooth spots without smudging.
In acrylic painting, quick work is essential because acrylics dry fast. Working in small sections ensures colors stay wet enough to blend. Avoid overloading the brush, which causes thick strokes and unsmooth transitions.
Layering Colors Effectively
Layering means applying one color over another after the first layer dries. This builds depth and richness in the gradient while keeping colors clean.
Start with thin, transparent layers to avoid muddy colors. Dry each layer before adding the next to keep colors distinct and bright.
For watercolors or lighter acrylic washes, the painter wets the surface lightly before adding each color. This helps the colors flow and blend naturally. The key is patience to let layers dry; rushing leads to mixing too much and losing color clarity.
Use a palette to mix transitional shades between bright colors. These intermediate colors help smooth the gradient when layered carefully.
Transitional Shades and Soft Edges
Transitional shades are colors made by mixing two adjacent hues on the palette. They create a smooth shift from one color to another across the sky.
Using soft edges instead of harsh lines improves realism. This can be done by blending with a soft, dry brush after applying paint or by gently dabbing with a sponge.
The painter should flick the brush lightly at the edges to reduce sharp transitions. Blending tools like soft sponges or clean brushes dampened with a bit of water work well.
Avoid pressing hard with the brush, which creates unwanted lines. Instead, use light, circular motions and work quickly before the paint dries.
Handling Mistakes and Corrections
Mistakes like harsh lines or patches of thick paint can be fixed with careful blending or removing excess paint.
In acrylic painting, a damp brush or sponge can lift or soften edges before the paint dries. For dry paint, gently scraping with a palette knife or lightly sanding can remove unwanted texture.
If colors get muddy, wait for the layer to dry and paint over with a clean layer of color. Paper towels can help blot excess paint or water during blending.
It’s important to avoid overworking the paint, which can dull colors or cause uneven textures. Pausing often to assess the painting helps catch issues early.
Step-by-Step Sunset Painting Process
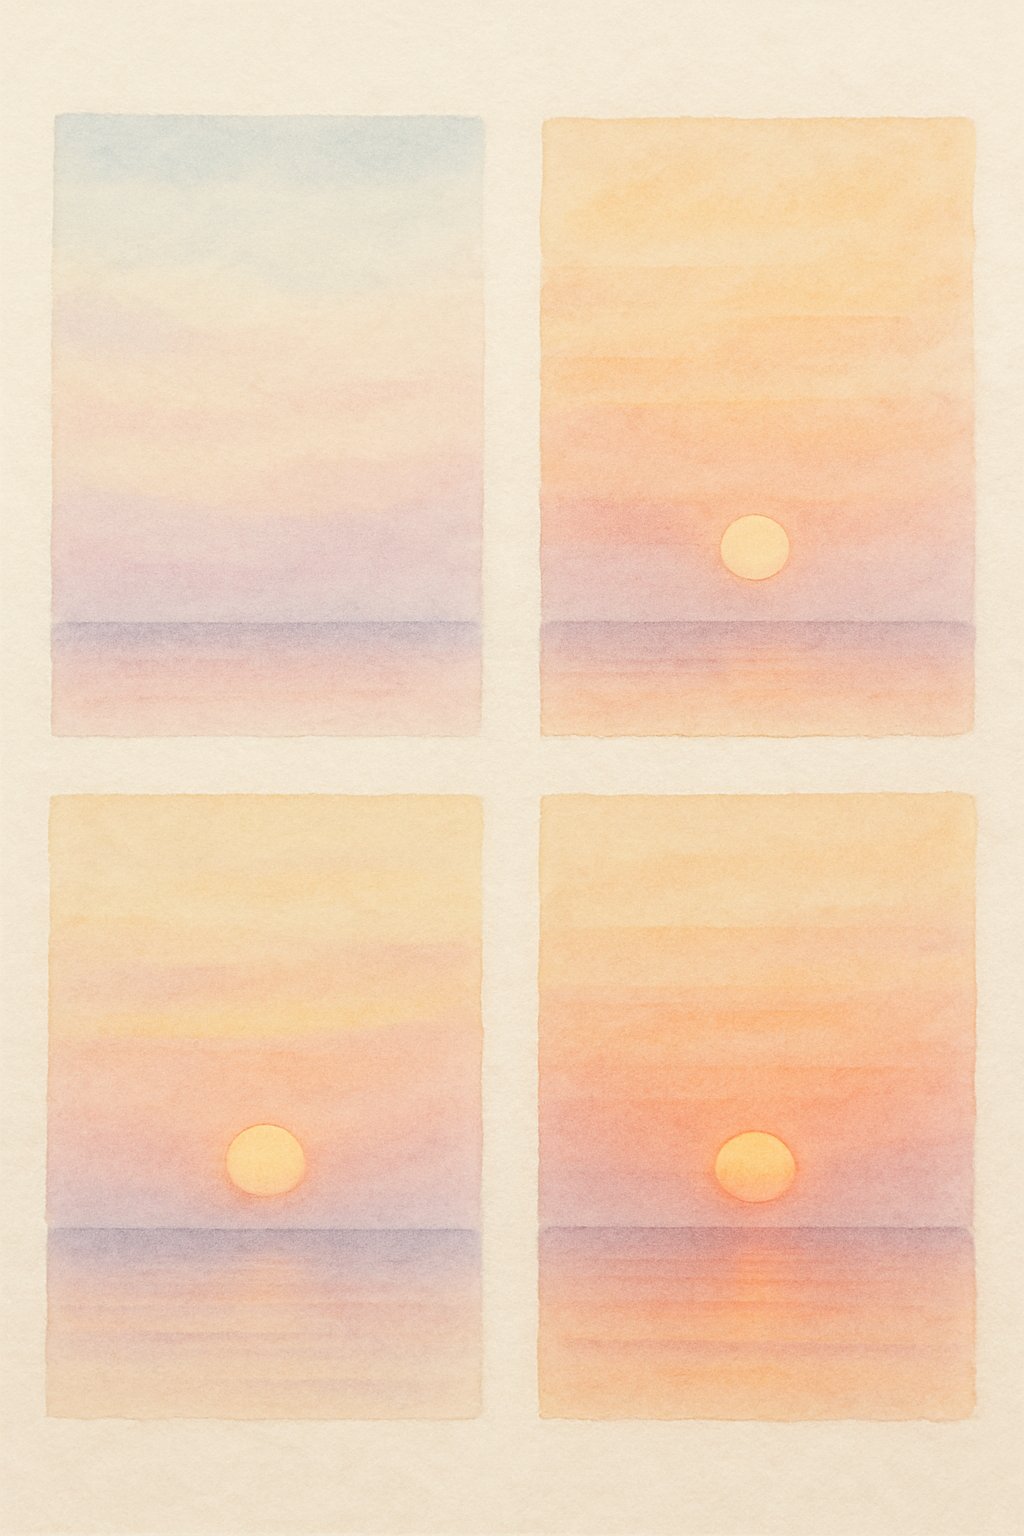
The process starts with creating a smooth color gradient for the sky. Then, the sun and its light effects are added to build focus and depth. Finally, clouds and other atmospheric details are painted to add realism and interest.
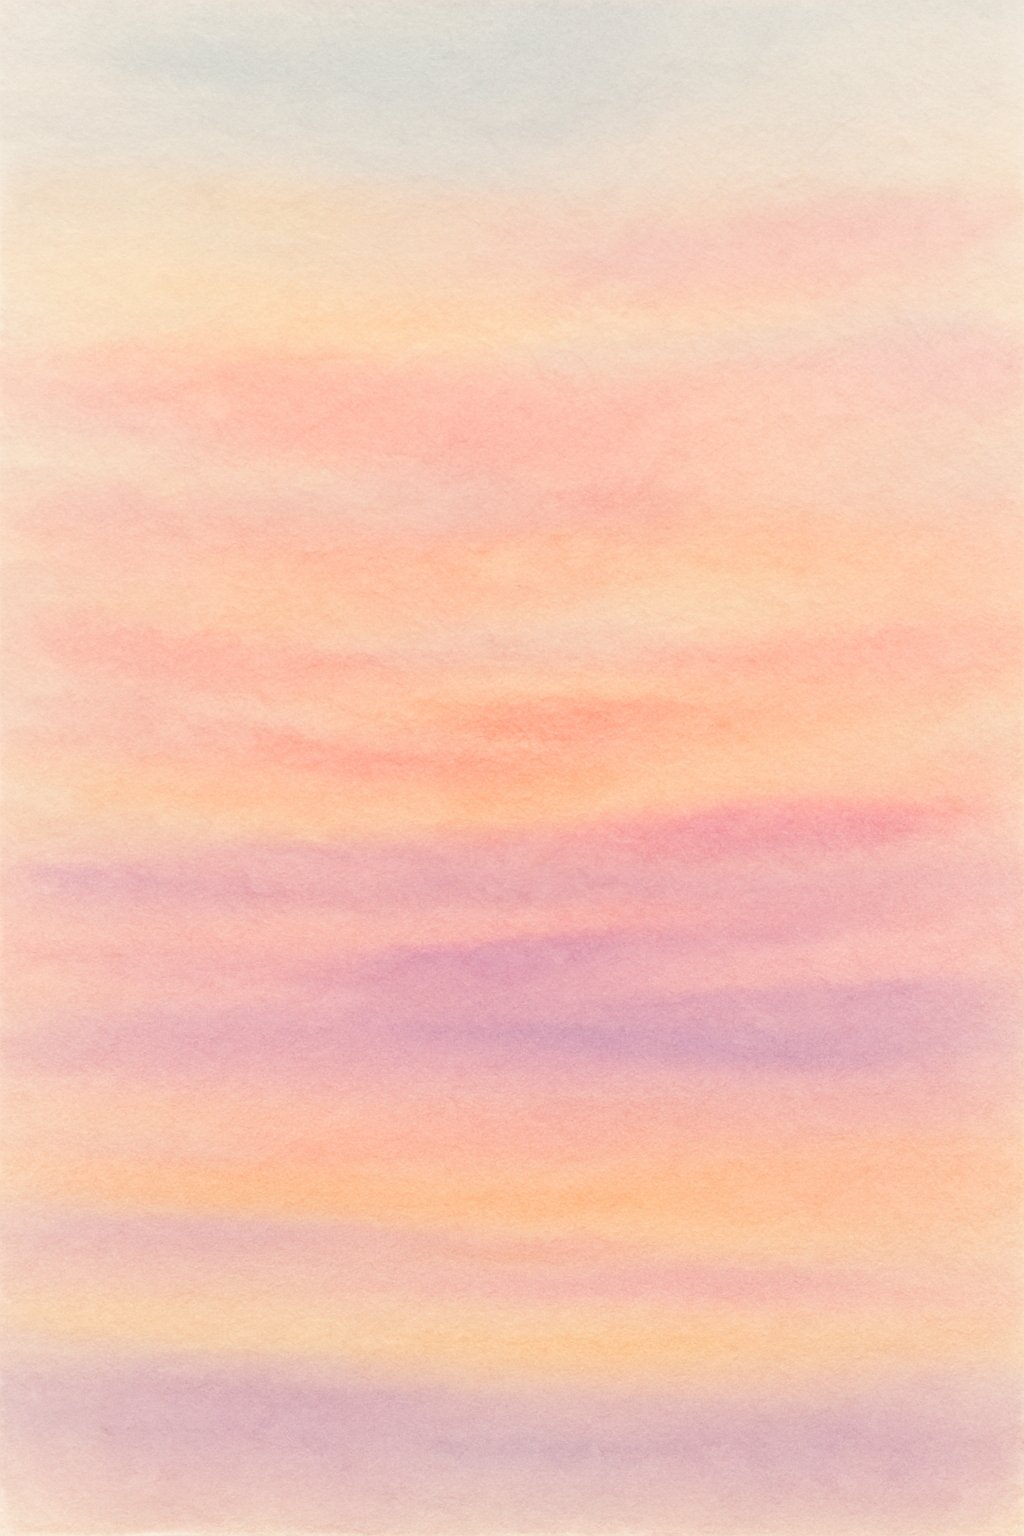
Blocking In the Sky Gradient
Begin by using a flat brush to lay down the basic sky colors. Start at the top with a dark blue and work downward through pink, red, and yellow bands. Each color should blend gently into the next, creating a smooth transition.
It helps to use several clean brushes to avoid muddy colors. For example, use one brush to blend blue into pink, then switch to a different brush for pink into red. Work quickly while the paint is wet to maintain soft blends.
Keep some areas slightly streaky; these will look like clouds later and add natural texture. Avoid waterlogged brushes—damp, not soaking, brushes give the best control during blending.
Adding the Sun and Light Effects
After the sky dries, use a small round or liner brush to paint the sun. Mix titanium white with yellow to get a pale, glowing color. Paint a soft circle within the yellow band, layering with lighter tints of white to create a glowing effect.
Use a dry brush with very little paint for subtle sun rays. Apply light pressure and paint thin lines radiating out from the sun. These lines shouldn’t be hard or bright but should suggest soft light fading into the sky.
Practice these strokes on scrap paper first to get a feel for the right pressure and paint amount. This step enhances the sun’s brightness without looking like childlike sun rays.
Painting Clouds and Atmospheric Details
Use a flat brush with a mix of white and a touch of the sky color to add clouds. Paint small, soft shapes, focusing where colors shift in the sky. The clouds should blend with the background, not stand out sharply.
For more depth, add hints of darker colors under the clouds. Use gentle, dabbing strokes to create texture without sharp edges. Avoid overloading the brush to keep clouds airy.
Adding slight highlights with titanium white on the cloud tops can show where the light hits. This helps give the painting atmosphere and realism.
Enhancing Your Sunset: Final Touches and Variations
To add depth and interest, artists can include reflections on water, create silhouettes to highlight the sunset’s glow, or experiment with abstract styles to bring out different emotions. Small details and thoughtful contrasts can make a sunset painting stand out.
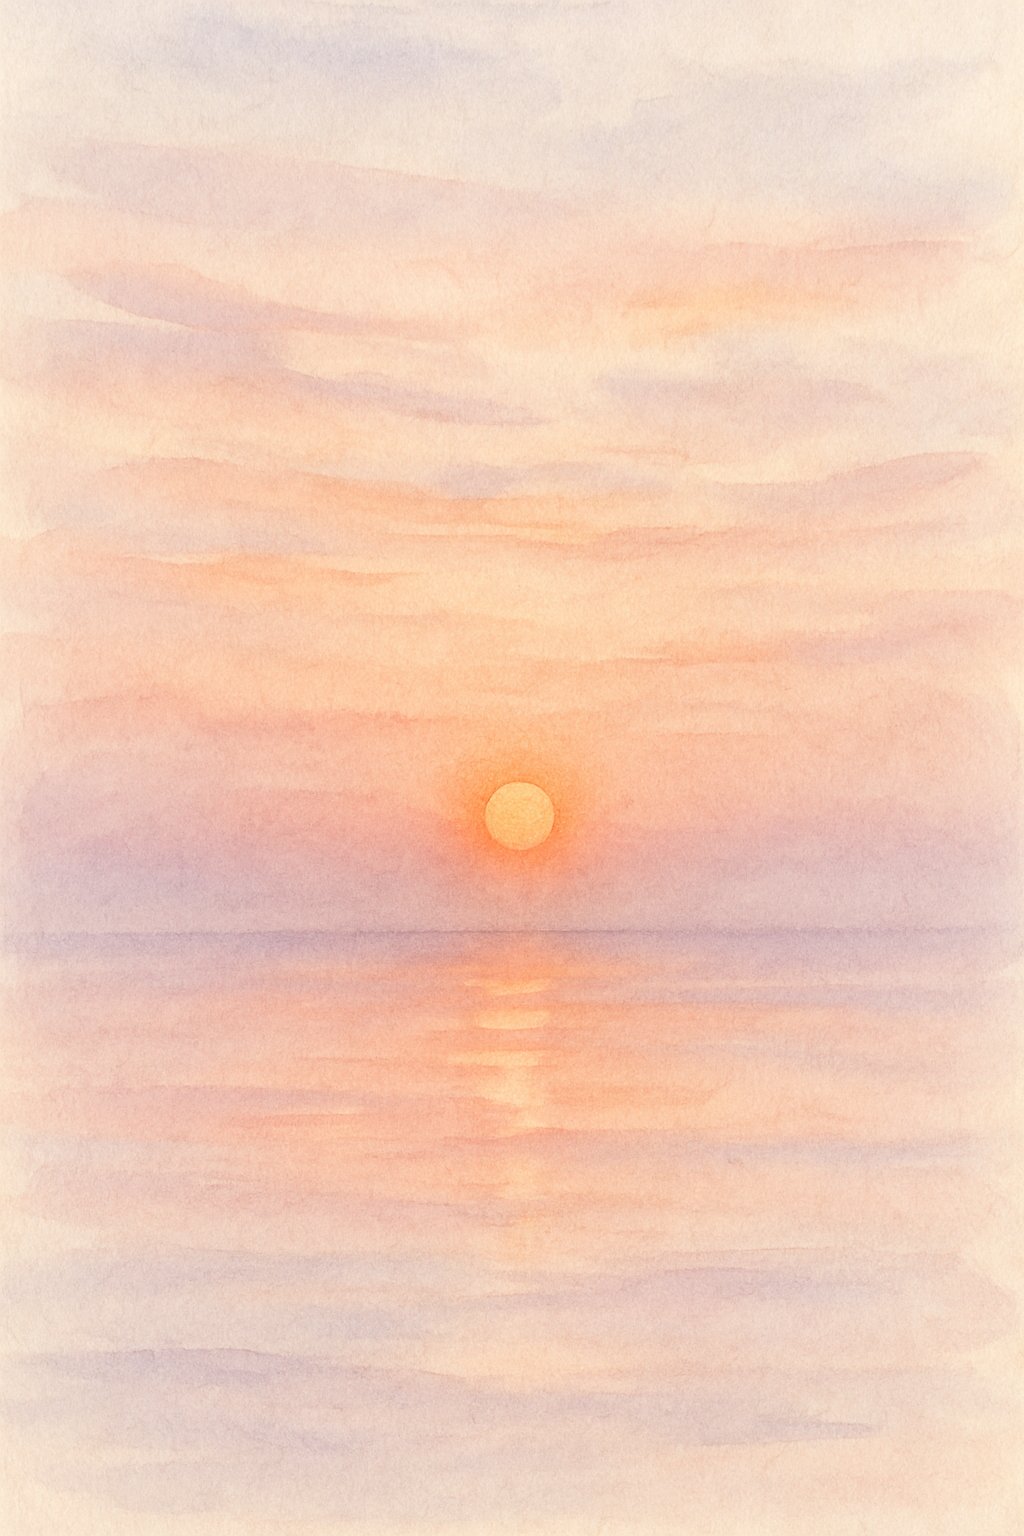
Incorporating Water Reflections
Water reflections mirror the colors and shapes of the sky, adding realism and balance to a sunset painting. Using acrylic paints, the artist should soften color edges in the water to mimic gentle ripples.
Start by blocking in main colors from the sky onto the water area, then blend horizontally to suggest movement. Include darker, muted tones under the brighter sky colors to suggest depth.
Adding small highlights with light brush strokes or dry brushing can create the look of glimmering light on the water’s surface. Avoid sharp or overly precise lines; the reflection should feel fluid and natural.
Using Silhouettes for Contrast
Silhouettes of trees, buildings, or figures add striking contrast and frame the bright sunset colors. Instead of pure black, use very dark, muted tones created by mixing complementary colors to keep the painting vibrant.
Keep silhouettes simple in shape to maintain focus on the sky. This contrast helps make the sunset appear brighter and more luminous by comparison.
Silhouettes work well when placed along the lower edge or side of the painting to anchor the scene and give it a sense of place without overpowering the color.
Exploring Abstract and Creative Styles
Abstract approaches allow artists to play with bold shapes, colors, and textures to express the feeling of a sunset beyond realistic detail.
With acrylics, palette knives or thick brushstrokes can create texture that catches light differently on the canvas. Colors can be exaggerated or layered to emphasize mood rather than accuracy.
Using unexpected color combinations or breaking the sky into geometric shapes turns the sunset painting into a more personal and imaginative piece. Abstract styles invite viewers to connect emotionally with the work.