You can paint a flower from dots using simple tools and calm hand moves. This method works well with acrylic paint and fits beginners and experienced painters alike. It turns small marks into a clear flower shape with very little setup.
You paint a flower from dots by placing small dots in a petal shape and gently pulling or blending them to form petals. You control the look by changing dot size, color, and spacing. This approach lets you build flowers on canvas without drawing skills or brushes.
You will learn how this method works, how to break it into clear steps, and how to keep it easy. You will also see how to adjust it for beginners and how to use acrylic paint for clean, bright results.
How To Paint Flower From Dots
You can paint a flower from dots using a simple dot painting method. This approach works well for beginners and kids. You control the shape with small marks instead of long brush strokes.
Start by setting up your supplies. You can use paint, ink, or markers. Dot markers work well because they make even circles with little effort.
| Item | Purpose |
|---|---|
| Paper or canvas | Surface for your flower |
| Paint or markers | Color for petals and centers |
| Dot markers or round brush | Create clean dots |
| Printable flower template | Optional guide for shape |
If you want more structure, place a free printable flower template under your paper. You can also trace a flower printable lightly with pencil. This step helps you keep petals balanced.
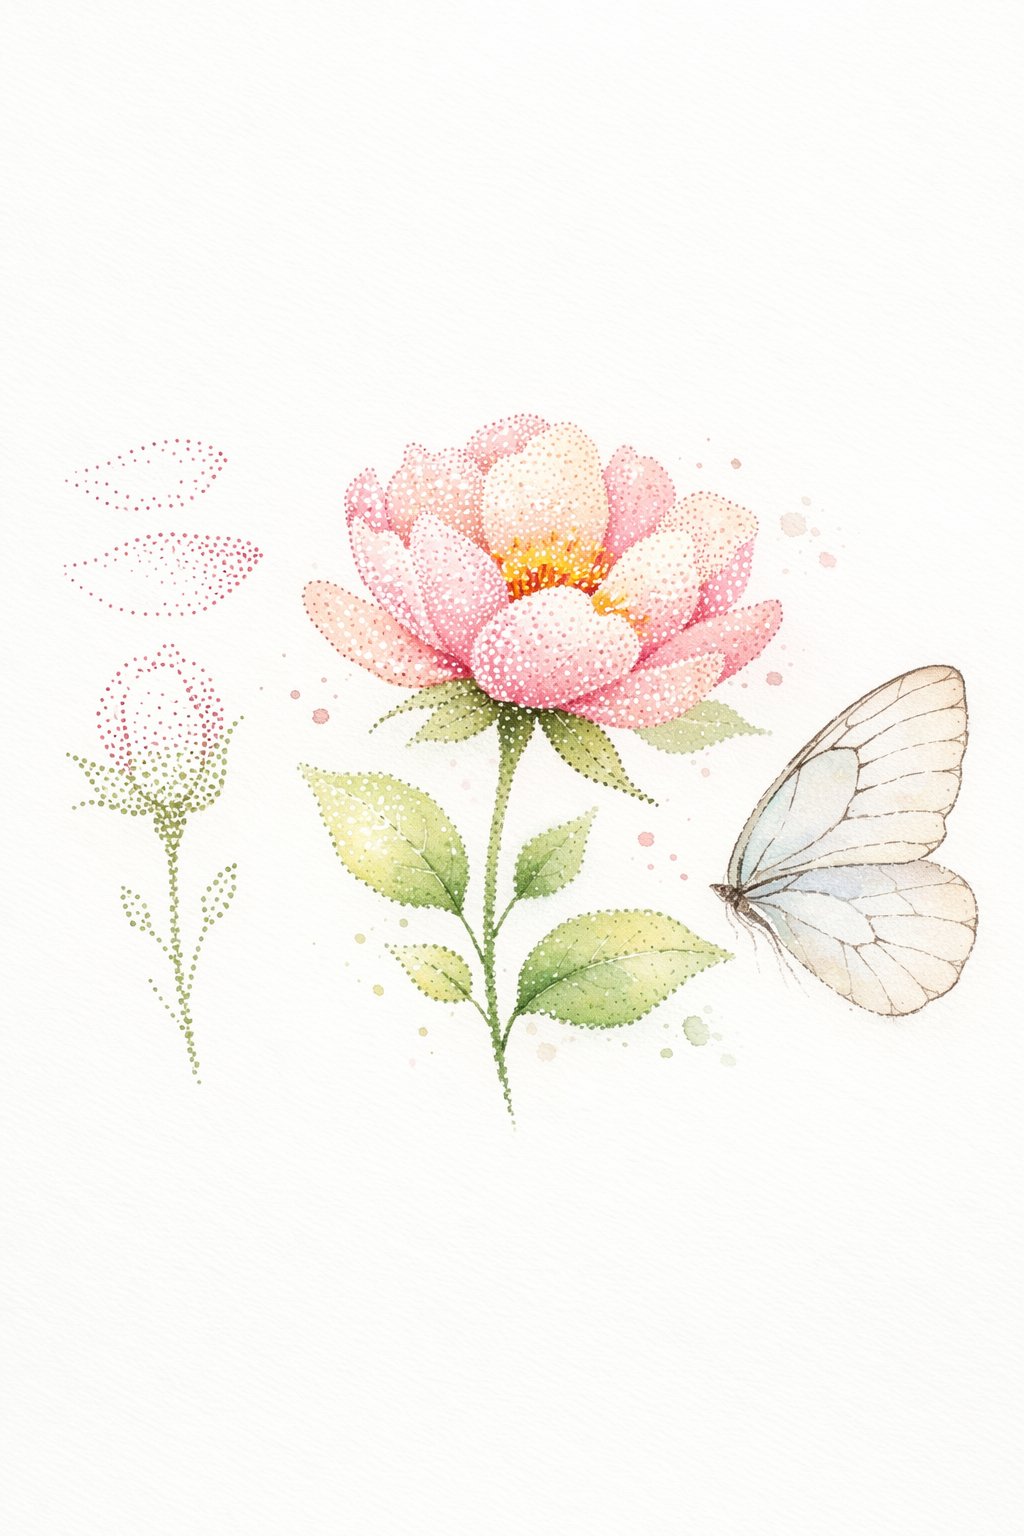
Begin with the flower center. Place several dots close together in a circle. Use one color and keep the dots similar in size.
Add petals by placing dots around the center. Space them evenly. You can layer dots by adding darker colors near the center and lighter ones at the edges.
Let the dots dry before adding stems or leaves. Use smaller dots or short lines for detail. If you make a mistake, wait for it to dry, then paint over it.
You can repeat this process to fill the page or create a full bouquet.
How To Paint Flower From Dots Step By Step
You start by gathering basic supplies. You need paper or canvas, paint, a small round brush or dot tool, water, and a paper towel. Acrylic, watercolor, or tempera paint all work well for this method.
You begin with the flower center. Dip your tool into paint and place one firm dot in the middle of your surface. Let the dot sit for a moment so it keeps a clean, round shape.
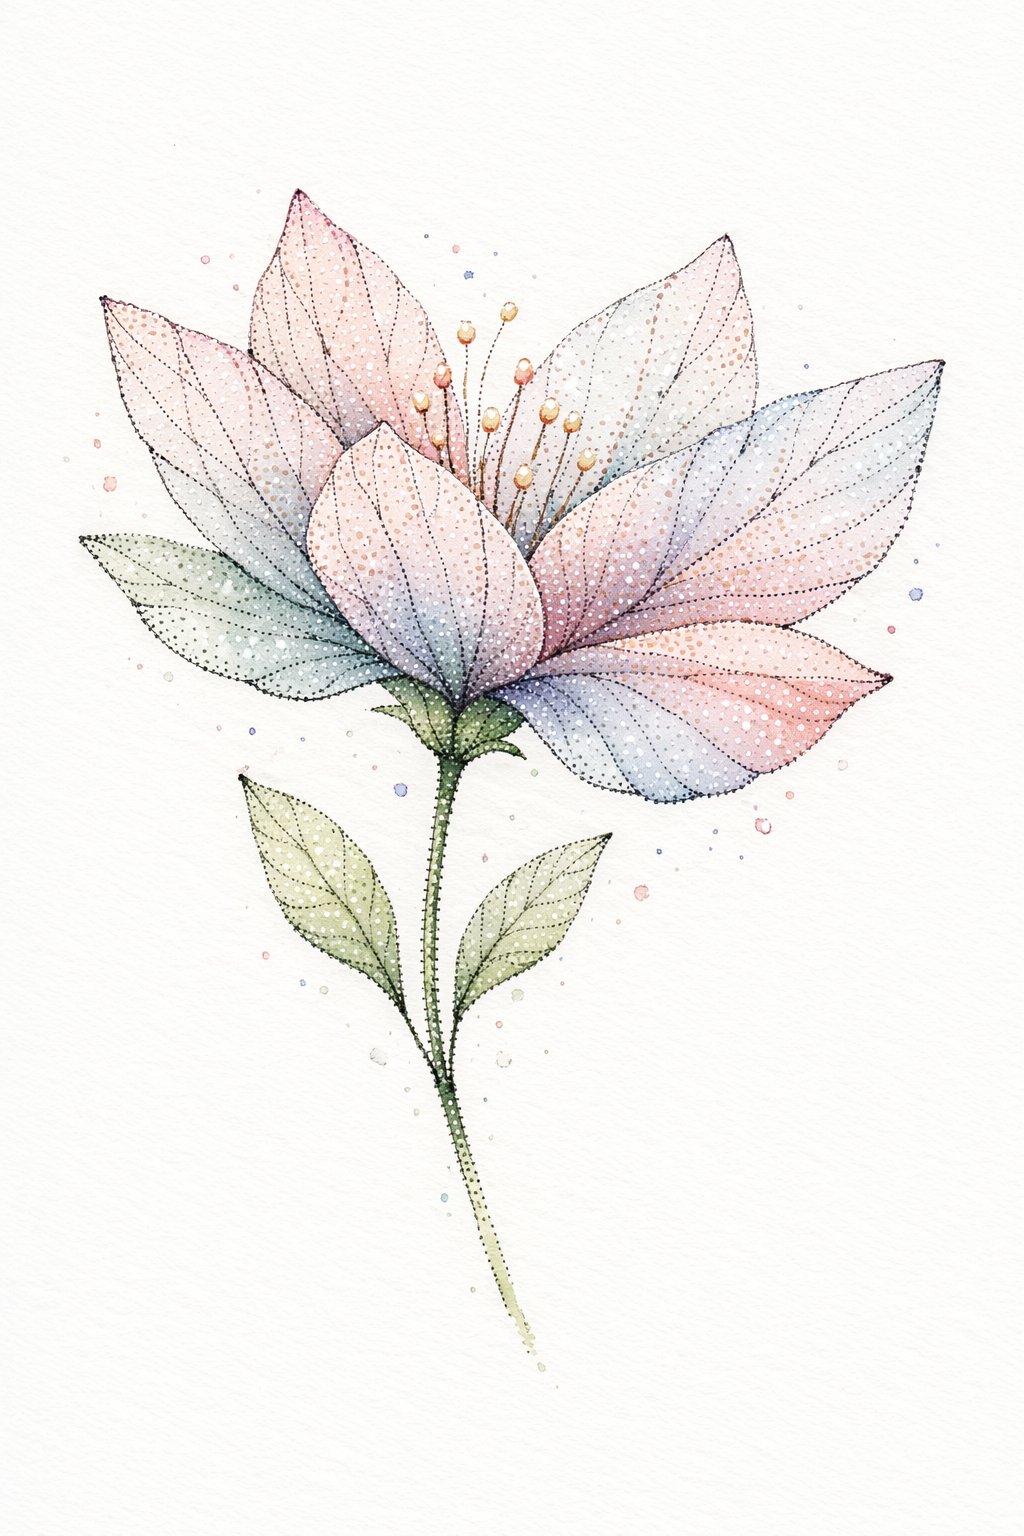
You add petals using dots placed around the center. Space the dots evenly in a circle to form the basic flower shape. Use light pressure for small petals and more pressure for larger ones.
You build depth by layering dots. Add a second row of dots between or slightly outside the first row. Change the color or shade to create contrast and visual interest.
You fill in the flower by adjusting dot size and color. Smaller dots work well near the center, while larger dots suit the outer petals. Keep your hand steady and your spacing consistent.
You finish with simple details. Add a few dots for highlights or leaves around the flower. Let the paint dry fully before touching the surface.
Helpful tips for clean dot flowers:
- Use thicker paint for sharper dots
- Wipe the tool between color changes
- Practice dot size on scrap paper first
| Tool | Purpose |
|---|---|
| Dot tool or brush | Create smooth, round dots |
| Paint | Add color and texture |
| Paper towel | Control excess paint |
How To Paint Flower From Dots For Beginners
You can paint flowers from dots with simple tools and steady hands. This method works well with watercolor or acrylic paint. You do not need drawing skills to start.
Start with a light sketch or no sketch at all. Place a single dot in the center of your paper. This dot marks the flower core and guides your layout.
Add dots around the center to form petals. Space them evenly and keep the size close. You can press harder for bold petals or lighter for soft ones.
Use layers to build depth. Let the first dots dry, then add smaller dots on top. This step helps shape petals and adds texture.
Basic steps to follow:
- Dip the brush tip or dot tool into paint
- Tap dots from the center outward
- Rotate the paper as you work
- Let each layer dry before adding more
You can change the look with color and spacing. Warm colors feel bright, while cool colors feel calm. Tight dots look neat; loose dots look free.
Helpful tools for beginners:
| Tool | Purpose |
|---|---|
| Round brush | Makes clean dots |
| Cotton swab | Creates soft dots |
| Pencil eraser | Makes large dots |
| Thick paper | Prevents paint bleed |
Practice with one flower at a time. You gain control as you repeat the motion.
How To Paint Flower From Dots Easy
You can paint a flower from dots with a few basic tools and simple steps. This method works well for beginners and kids. You control the shape by where you place each dot.
Start with simple supplies. You need paper or canvas, paint, and a dot tool. You can use cotton swabs, the end of a brush, or a marker made for dot art.
Basic setup
- Light-colored paper or canvas
- Acrylic or watercolor paint
- Dot tool, cotton swab, or brush handle
- Small plate or palette
Place one dot in the center for the flower core. Keep it round and solid. This dot sets the size of your flower.
Add petal dots around the center. Space them evenly to form a circle. Use one color or mix two colors for a soft look.
You can layer dots to add depth. Place smaller dots on top after the first layer dries. This keeps colors from blending too much.
Easy flower dot pattern
| Dot Type | Purpose |
|---|---|
| Large center dot | Flower core |
| Medium outer dots | Main petals |
| Small edge dots | Detail and texture |
Finish with a few green dots for leaves or stems. Keep your hand steady and work slowly. You improve control with practice.
How To Paint Flower From Dots On Canvas
You start by setting up a clean canvas on a flat surface. Choose acrylic paints in one dark color, one light color, and a background color. Use a dotting tool, cotton swab, or the end of a brush.
Basic supplies you need:
| Item | Purpose |
|---|---|
| Canvas | Painting surface |
| Acrylic paint | Color for dots and background |
| Dotting tool | Makes clean, round dots |
| Paper towel | Quick cleanup |
Paint the background first. Add small dots of background color to the canvas. Spread them with a wide, dry brush using up-and-down strokes. Let the surface dry before you add the flower.
Place dots to form a simple flower shape. Start with a dark color and dot a small circle in the center. Add dots around it to create petals. Keep the spacing even, but do not stress about perfect lines.
Layer lighter dots over the darker ones. Place each new dot slightly inside or on top of the first dot. This step adds depth and helps the flower shape stand out.
You can gently press or drag a dot outward to soften the petal edges. Work slowly and clean your tool between colors. Let the paint dry fully before adding more details.
How To Paint Flower From Dots Acrylic
You can paint a flower from dots using acrylic paint and simple tools. This method works well for beginners and does not require brush skills.
Start by preparing your surface. Paint a base coat in a solid color and let it dry fully. Light backgrounds help dots stand out, but you can choose any color you like.
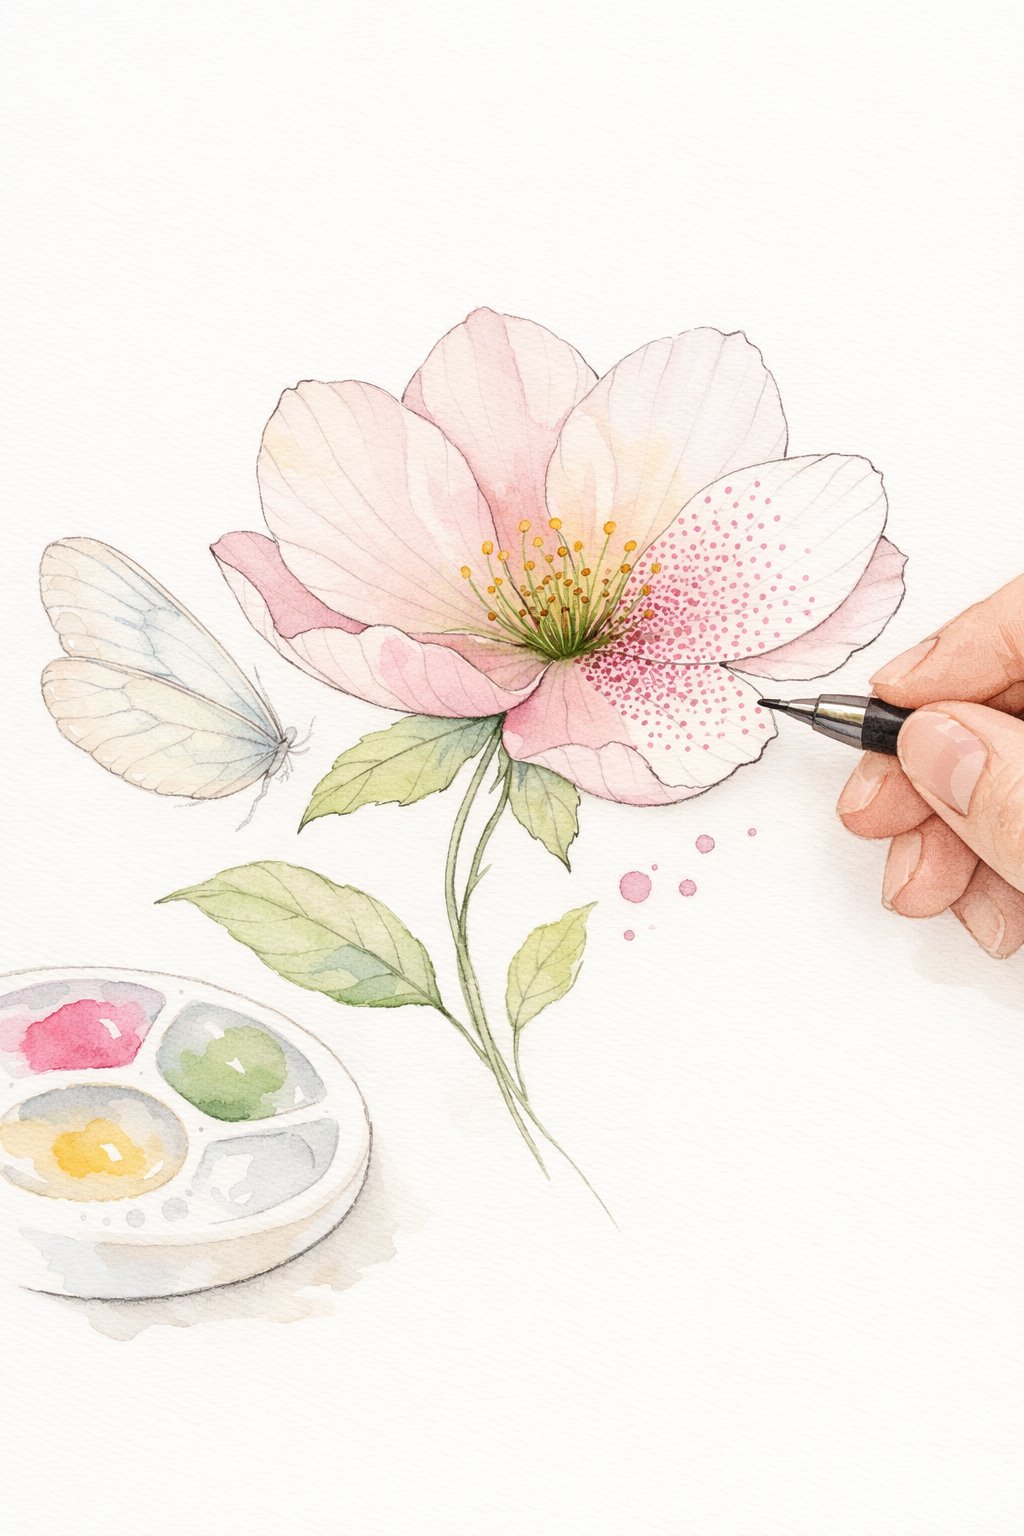
Use thick acrylic paint so the dots keep their shape. Dip a dotting tool, cotton swab, or pencil eraser into the paint. Place dots in a circle to form petals, leaving small gaps between them.
Add a center dot once the outer dots feel set. You can layer smaller dots on top to add detail. Let each layer dry before adding more paint to avoid smearing.
Basic dot layout
- Large dots: outer petals
- Medium dots: inner petals
- Small dots: flower center
Helpful tools
| Tool | Use |
|---|---|
| Cotton swab | Medium, soft dots |
| Pencil eraser | Clean round dots |
| Skewer or toothpick | Small detail dots |
Work slowly and rotate the canvas as needed. If you make a mistake, let it dry and cover it with a dot that matches the base color.