Painting flowers step by step is a straightforward way to create beautiful artwork, even for beginners. The key is to focus on simple shapes and use basic brush strokes to build petals and leaves. By breaking down flowers into easy parts, an artist can capture their form without needing complex skills.
Starting with basic tools like acrylic paints and a few brushes, the painter learns how to blend colors and layer strokes to give depth and life to each flower. Common flowers such as roses, daisies, and sunflowers have simple techniques that anyone can follow to make attractive paintings. Learning to control brush movements and color mixing is essential to this process.
Many step-by-step tutorials emphasize wet-on-wet blending and minimal brush strokes, making the painting feel less intimidating. With practice, this approach helps artists develop confidence and find their own style while painting flowers in various colors and shapes.
Essential Materials for Flower Painting
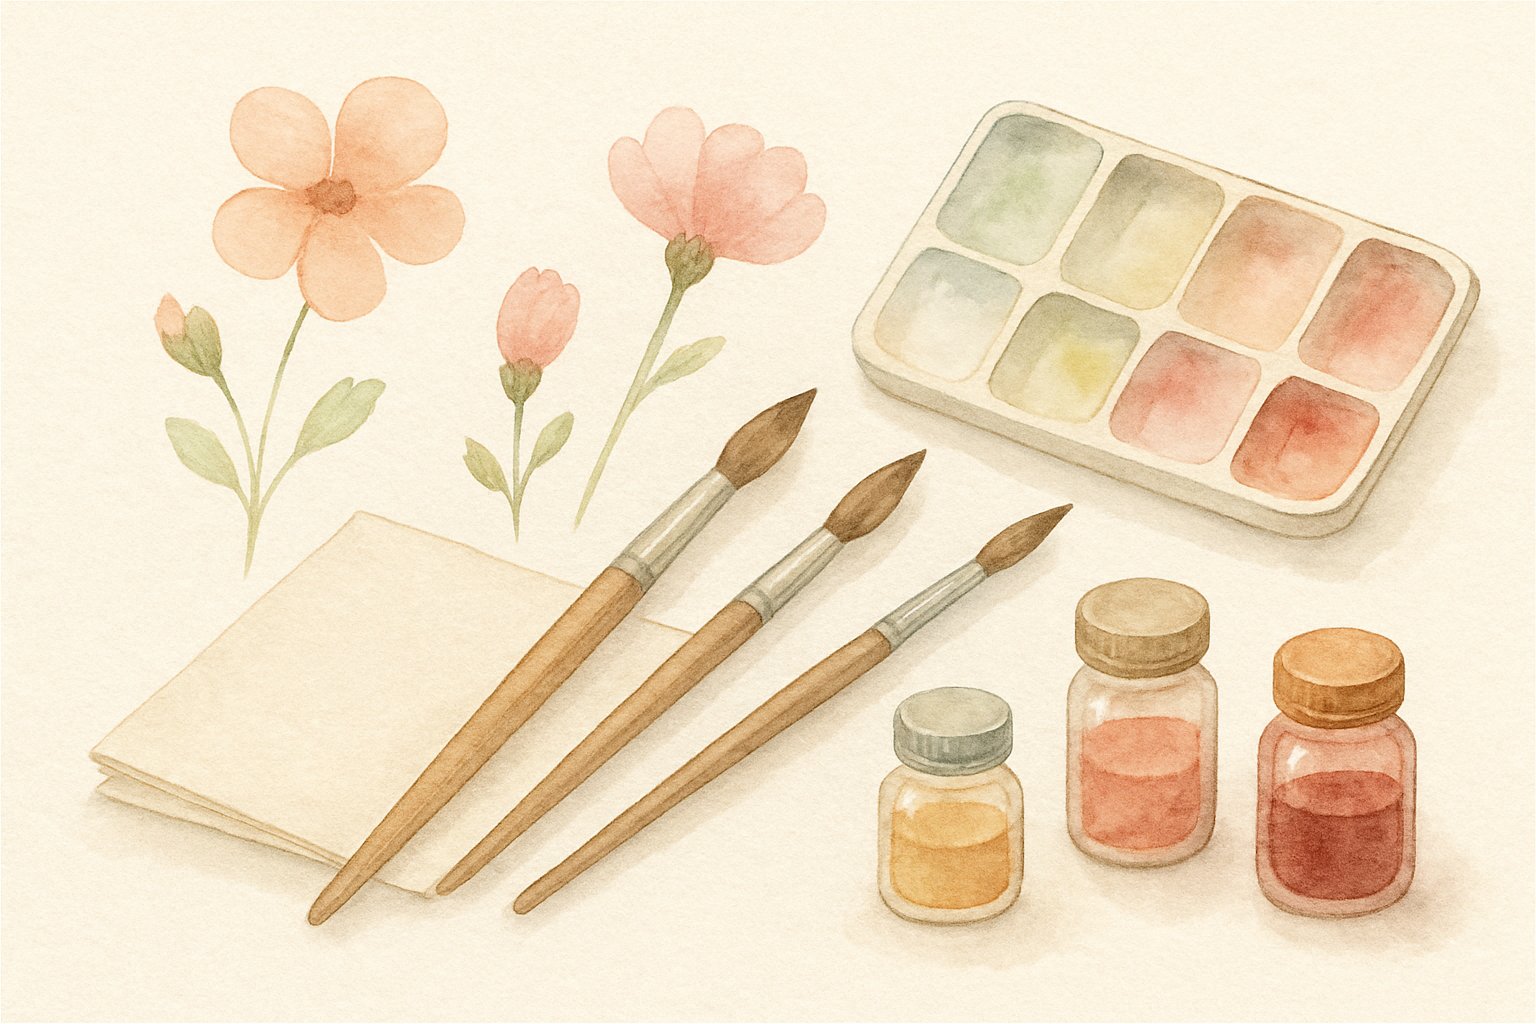
He needs a well-chosen set of paints, brushes, and surfaces to start painting flowers. The right tools affect how colors blend, how details form, and how the artwork lasts. Preparing a palette and extra tools improves the painting process and helps bring out the best in floral art.
Choosing Your Paints and Colors
The type of paint shapes the style and feel of the flower painting. Watercolors are best for soft, delicate looks. They allow smooth blends and light washes. Acrylics dry faster and create bright, bold colors that stand out. They work well for beginners because they are easy to clean and layer. Oil paints offer rich texture and slow drying time, which helps with blending but requires more patience.
Color choice matters for realism or style. He should pick a limited palette to keep harmony. Key floral colors include various greens for leaves and a range of pinks, reds, yellows, and purples for petals. Using color mixing helps make shades more natural and balanced.
Selecting the Right Brushes
Brushes play a big role in shaping petals and adding details. He needs multiple types for different effects.
- Round brushes create smooth, curved strokes for petal edges.
- Flat brushes cover large areas such as backgrounds or broad leaves.
- Detail brushes help paint small parts like veins and stamens precisely.
Brush size matters too. Smaller brushes offer control for fine lines, while larger ones speed up background work. The brush’s quality and stiffness will affect how easily it holds paint and moves on the surface.
Picking the Surface: Canvas vs. Watercolor Paper
The surface changes how paint looks and behaves. Canvas is sturdy and works best with acrylic or oil paints. It holds layers well and is good for bold, layered flower art. Canvas also comes in different textures, influencing how smooth or rough the brushstrokes appear.
Watercolor paper is specially made to hold water without warping. It works perfectly with watercolors and allows for subtle color transitions and blends in soft floral paintings. Paper weight and texture can vary; heavier papers resist buckling, and rough textures add visual interest.
Choosing the right surface matches the paint type and style he wants to achieve.
Palette Setup and Additional Tools
A well-set palette helps in mixing and controlling colors. He should arrange paint in a circle or line for easy access. Using a wet palette keeps acrylic paints moist longer, ideal for blending.
Additional tools improve the painting process. A pencil lets him sketch flower shapes lightly before painting. A palette knife helps mix thick paints or add texture. Sponges or fingers can create petals or special effects in simple flower painting tutorials.
Keeping water and cloths nearby is important to clean brushes quickly and adjust colors smoothly during the work.
Preparing for Your Flower Painting
Before starting a flower painting, it is important to set up everything carefully. This includes organizing the workspace, choosing good reference images, and deciding on the colors and layout. Preparing these elements well helps make the painting process smoother and more focused.
Arranging Your Workspace
A tidy, well-organized workspace is key for painting flowers effectively. The artist should find a flat, stable surface with enough room for paints, brushes, water, and any other tools.
Good lighting is also important, ideally natural light or a bright lamp, so colors show clearly. Having paper towels or rags nearby helps keep brushes clean and the space neat.
The palette should be close enough for easy mixing. Setting out acrylic or oil paints in small amounts of red, yellow, and green is common when painting flowers. Clean water for rinsing brushes and containers to hold paint will help avoid mess.
Selecting Reference Images
Choosing the right reference images makes it easier to paint flowers accurately. Photographs or real flowers work well as references to capture shapes and colors.
It helps to pick clear images showing the flower from different angles. Images with good lighting and high contrast allow the artist to see details like petal texture and leaf veins.
For beginners, simple flowers such as daisies or tulips are easier to paint. Complex flowers like roses can be chosen later as skills improve. Collecting 2-3 images provides a good mix for understanding form and color before starting the painting.
Planning Composition and Color Scheme
Planning the layout is important to make the flower painting visually balanced. The artist should decide how many flowers to include and where they will be placed on the canvas or paper.
Varying flower sizes and angles helps create a natural look. Leaving space between flowers for leaves or background is also useful.
Choosing the right colors is key. Mixing red and yellow can create a nice gradient for petals. Green shades should be mixed with water for smoother leaves. A simple table to organize colors might look like this:
| Color | Purpose | Notes |
|---|---|---|
| Red | Petal base | Use in small amounts |
| Yellow | Petal highlights | Mix with red for gradient effect |
| Green | Leaves | Add water for smooth application |
Clear planning helps avoid mistakes and supports a smoother painting process.
Drawing the Flower Outline
Starting a flower painting begins with a clear and accurate outline. This step involves creating simple shapes, recognizing the flower’s structure, and adding details to petals and stems. These actions lay the foundation for easy flower paintings by guiding the artist’s hand and ensuring correct proportions.
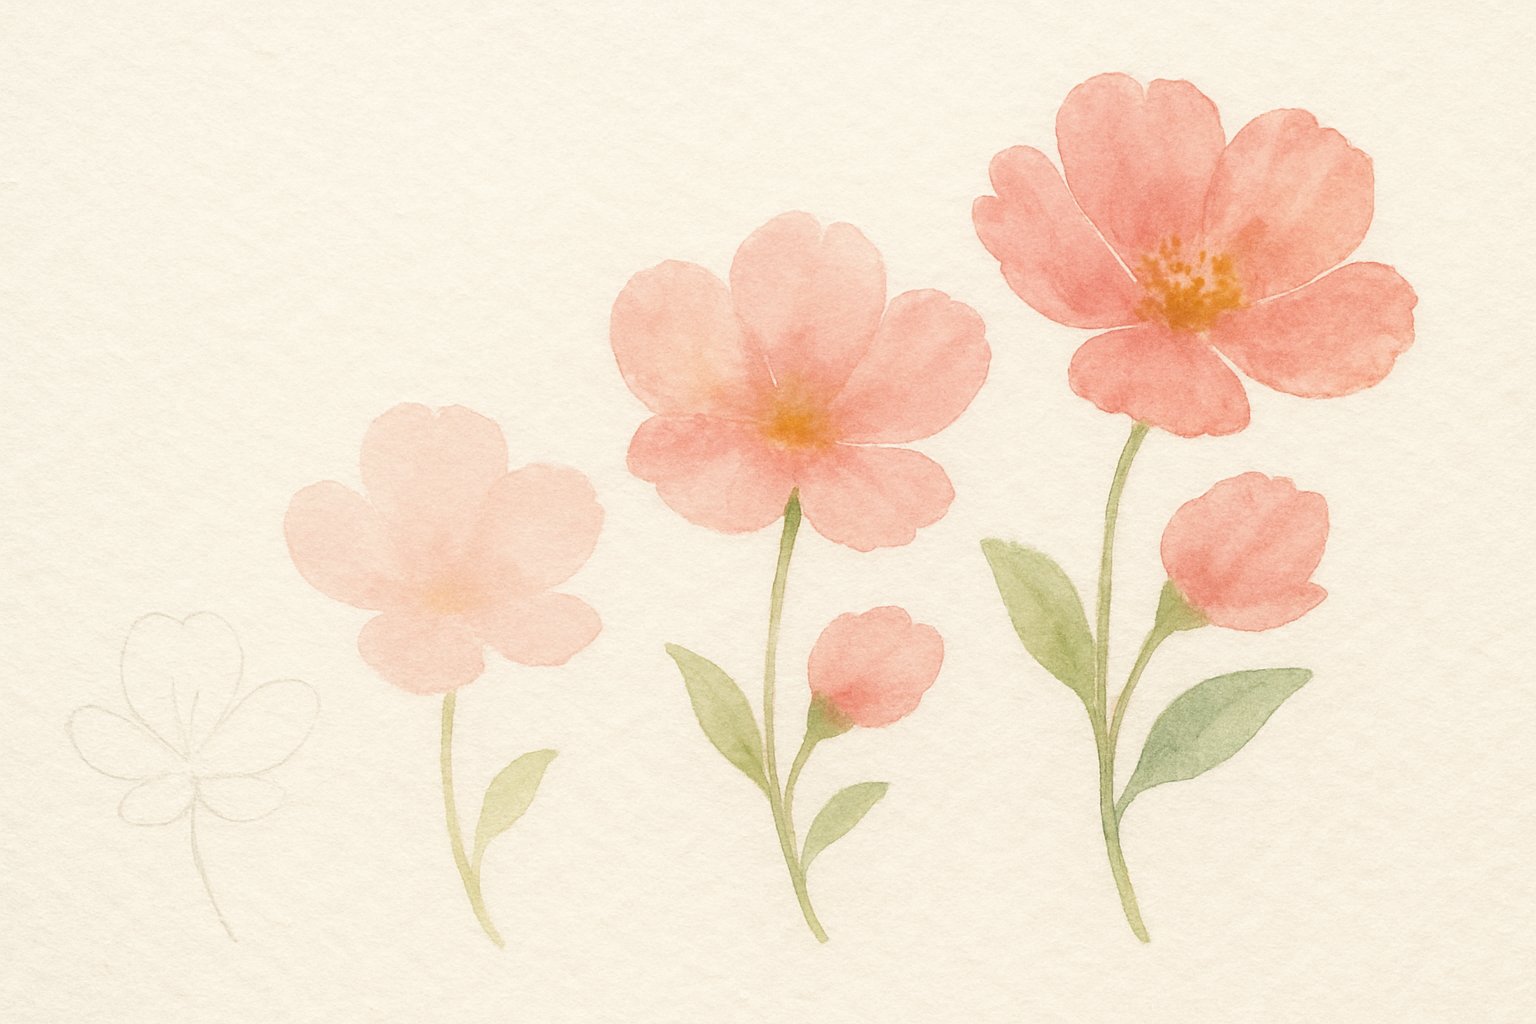
Sketching Basic Shapes
The first stage is to lightly sketch the main shapes of the flower. Use simple forms like circles, ovals, and lines to mark where the petals, center, and stem will go. This approach helps keep the drawing balanced and prevents mistakes.
Artists should start in the center and work outward. Light pencil strokes allow easy correction without damaging the paper. At this stage, focus on size and placement rather than details.
Keeping shapes loose and basic gives freedom to adjust as the flower takes form. This step saves time and produces a cleaner final painting.
Understanding Flower Anatomy
Knowing key parts of a flower helps make the outline more realistic. Important components include petals, sepals, stem, and leaves. Each part has a specific shape and structure that should be captured.
Petals often overlap and vary in size. Noticing these differences avoids flat, unnatural drawings. The stem usually appears thin and sometimes curved, supporting the flower’s weight.
Studying a real flower, photo, or reference helps artists understand how these parts connect. This knowledge directs the outline, so the painted flower looks convincing and balanced.
Refining Petal and Stem Details
Once basic shapes and anatomy are set, artists refine the outline by adding curves and edges to petals and refining the stem shape.
Petals should show variation in width, length, and edges. Some flowers have smooth petals while others have jagged or folded edges. Capturing these helps the final painting reflect the flower’s character.
For the stem, adding small details like subtle bends, thickness changes, and leaf attachments improves realism. Clear outlines of overlapping petals and leaves guide shading and color in later painting steps.
Precision in this phase improves both the drawing and the quality of the flower painting. The refined outline becomes a strong base for color and texture.
Step-By-Step Painting Process
This process starts with laying down a base color to shape the flower petals. Then, shadows and highlights are added to create depth. Finally, blending and layering techniques refine the colors and textures for a lifelike effect.
Applying the Base Layer
First, the painter chooses a light color for the petals. This acts as the foundation for the painting. Using a medium brush, they cover the petal shapes with even strokes.
It’s important to leave space in the middle of the flower. This space will hold later details. The base layer should dry before moving on.
The base sets the tone for the flower’s colors. Mixing small amounts of red with yellow can create a soft gradient that enhances the petals from the start.
Adding Shadows and Highlights
Next, shadows are painted on the petals. A darker color like deep red or brown is applied where the petals curve or overlap.
Highlights come from using lighter tones or a mix of white with the base color. These go on the parts of petals that catch light.
Using a fine detail brush helps to place shadows and highlights precisely. This adds depth and dimension to the flower painting.
The contrast between shadows and highlights makes the petals look more three-dimensional.
Blending and Layering Techniques
Blending is done by gently mixing the edges of different colors while the paint is wet. This softens harsh lines and creates smooth color transitions.
Layering involves painting over dry areas with new colors. This builds richness and texture on the petals and leaves.
Patience is key; each layer must dry to avoid muddy colors. Using thin paint layers gives the flower a delicate, natural look.
These techniques combine to make flower paintings vibrant and realistic without complicated tools.
Exploring Different Flower Styles
Painting flowers can involve many styles, each with its own focus and techniques. Some aim for detailed accuracy, while others simplify shapes or add decoration. Knowing these approaches helps artists choose the best method for their skill level and project type.
Realistic Flower Painting Techniques
Realistic flower painting focuses on capturing the true look of flowers. This means careful attention to color gradients, petal shapes, and shadows. Artists often study real flowers closely or use photos as references.
Key techniques include layering paint for depth and using fine brushes to highlight details like veins and stamens. Blending colors smoothly creates the soft, natural look of petals and leaves. This style can be challenging but produces impressive, lifelike results.
Beginners often start with common flowers like roses or daisies, where step-by-step guides break down shapes into simple parts. Practice with realistic style helps improve brush control and color mixing skills.
Simple and Modern Flower Styles
Simple and modern flower styles focus on clear shapes and bold colors without complex details. These paintings often use fewer brush strokes and more basic outlines.
Many easy flower paintings fit this style, making it ideal for beginners. Artists might paint flat petals or use swirls and dots to suggest flowers rather than draw them exactly. This approach suits wall art, cards, and crafts.
Using bright acrylic paints or markers can bring energy to simple flowers. The style allows creativity with colors and patterns. It is less about accuracy and more about impactful visuals and ease of creation.
Folk Art and Decorative Approaches
Folk art flower painting combines stylized designs with decorative patterns. It uses repeated shapes, bright colors, and clear lines. This style often appears on items like furniture, jars, or festive crafts.
Artists focus on symmetry, repetition, and simplified petals or leaves. One popular technique is the “one stroke” method, where multiple colors blend on the brush to create shading in a single stroke.
This style is good for crafters wanting easy flower paintings that feel traditional and vibrant. Decorative motifs like dots or swirls add charm and suit gifts or home decor. It encourages creative expression while keeping designs structured and neat.
Finishing Touches and Presentation
Careful attention to the background, final details, and proper display methods can enhance the impact of a flower painting. These steps help refine the artwork and ensure it lasts while showing off its full beauty.
Painting the Background
The background sets the mood and depth of the flower painting. Many artists apply a soft wash or muted colors to avoid distracting from the flowers. Choosing tones that contrast gently with the petals helps the flowers stand out clearly.
It is important to keep brush strokes smooth and colors blended for a natural look. An evenly painted background stops the edges of flowers from appearing harsh. Sometimes subtle textures or soft gradients add interest without overpowering the main floral subject.
The background should complement the flower colors and overall composition. Artists often layer the background first and let it dry before adding foreground details, ensuring clear separation and harmony.
Adding Final Details
Final details bring a flower painting to life through precision and contrast. Small brush sizes are useful for adding veins on petals, highlights where light hits, and shadows that shape the form.
Artists focus on delicate touches such as thin stem lines, leaf textures, and tiny highlights to make petals appear three-dimensional. Highlights can be applied using a lighter shade or white paint to mimic sunlight reflections.
Blending shadows smoothly helps maintain a realistic look without harsh lines. It is important to work slowly and carefully, allowing layers to dry to avoid smudging the details.
Displaying and Preserving Your Artwork
After finishing the painting, proper care preserves it for years. The artist should let the painting dry completely before applying a varnish to protect colors and surface texture.
Choosing a frame that fits the style of the flower painting enhances its presentation. Frames can be modern floating styles or traditional designs, depending on the room or the artist’s taste.
The artwork should be displayed in an area with indirect natural light or soft artificial light. Avoid direct sunlight to prevent fading. Signing the painting in a discreet corner adds a personal, professional touch.