Painting a red rose can be a rewarding project for beginners interested in floral art. The process is simple to follow when broken down into clear steps that focus on shape, shading, and color blending. By understanding these key techniques, anyone can create a realistic and vibrant red rose painting.
This guide outlines each stage of painting a red rose, from sketching the basic form to adding final highlights. It emphasizes practical tips that help achieve depth and dimension with accessible materials. Readers will gain confidence in handling colors and brushwork specific to red rose petals.
Following this step-by-step approach removes common challenges and encourages steady progress. Whether painting on canvas or paper, the instructions aim to build both skill and appreciation for natural beauty in art.
Essential Art Supplies and Paint Colors
To paint a red rose successfully, selecting the proper tools and colors is critical. Preparing the workspace also ensures a smooth and focused painting process.
Choosing the Right Art Supplies
A basic acrylic painting kit includes high-quality brushes in various shapes—round brushes size 6 and 10 are ideal for petals and details. A sturdy canvas or acrylic paper provides a reliable surface.
Other necessary tools include a palette for mixing, a jar of clean water for rinsing brushes, and a sharpener if using pencils for preliminary sketches. Using professional or student-grade acrylic paints will affect the final outcome.
He or she should avoid coarse brushes that may damage the canvas or produce uneven strokes. A palette knife can be helpful for mixing but is optional.
Recommended Acrylic Paint Colors
The essential acrylic paint colors to create the shades of a red rose are Alizarin Crimson and Cadmium Orange for deep reds and warm highlights. Cadmium Yellow Medium can be added subtly to capture light reflections on edges.
Titanium White is necessary for blending and creating lighter tints within the rose petals. For shadows and depth, Burnt Umber offers a natural dark tone without overpowering the reds.
This combination allows a painter to layer colors and build gradients realistically. Buying artist-grade pigments will enhance color vibrancy.
Preparing Your Workspace
A clean and organized area helps maintain concentration during painting. Arrange all supplies within easy reach on a flat, stable surface.
Good lighting is crucial. Natural light or daylight bulbs that simulate natural light prevent color distortion.
Cover the workspace with protective sheets to catch spills. Set up paper towels or rags for quick cleanup. A water container and palette should be placed in a way that avoids accidental tipping.
This preparation reduces interruptions and protects materials.
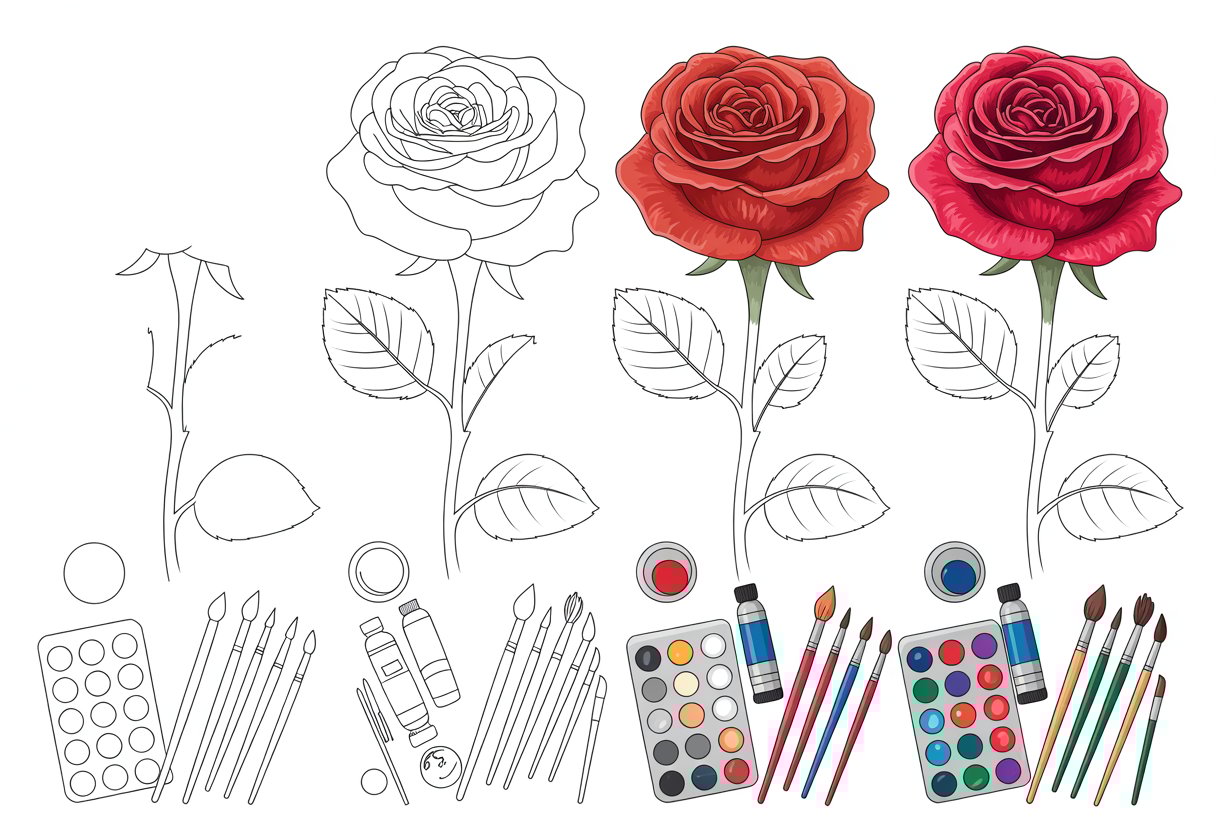
Step-by-Step Guide to Painting a Red Rose
The process starts with capturing the basic rose shape accurately, then layering colors to create depth in the petals. Attention to shadows and highlights defines the form, while refining leaves enhances realism.
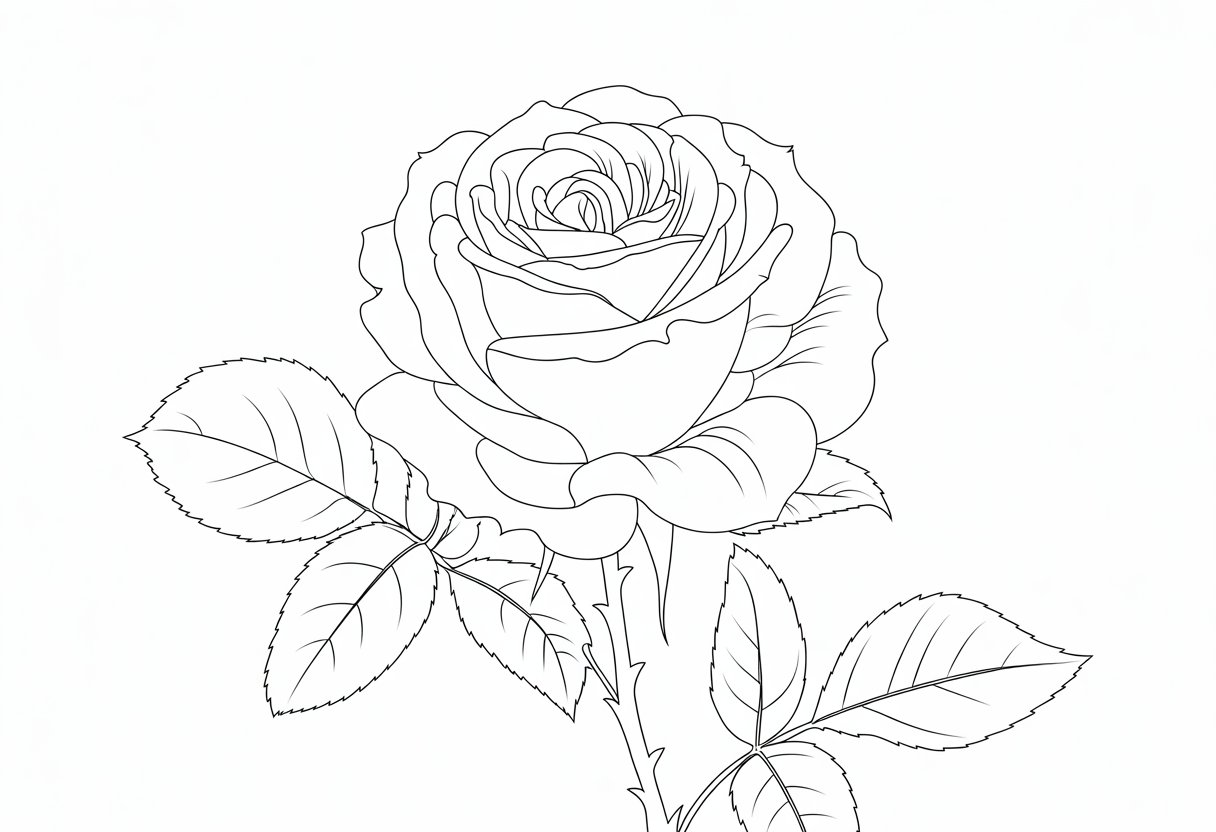
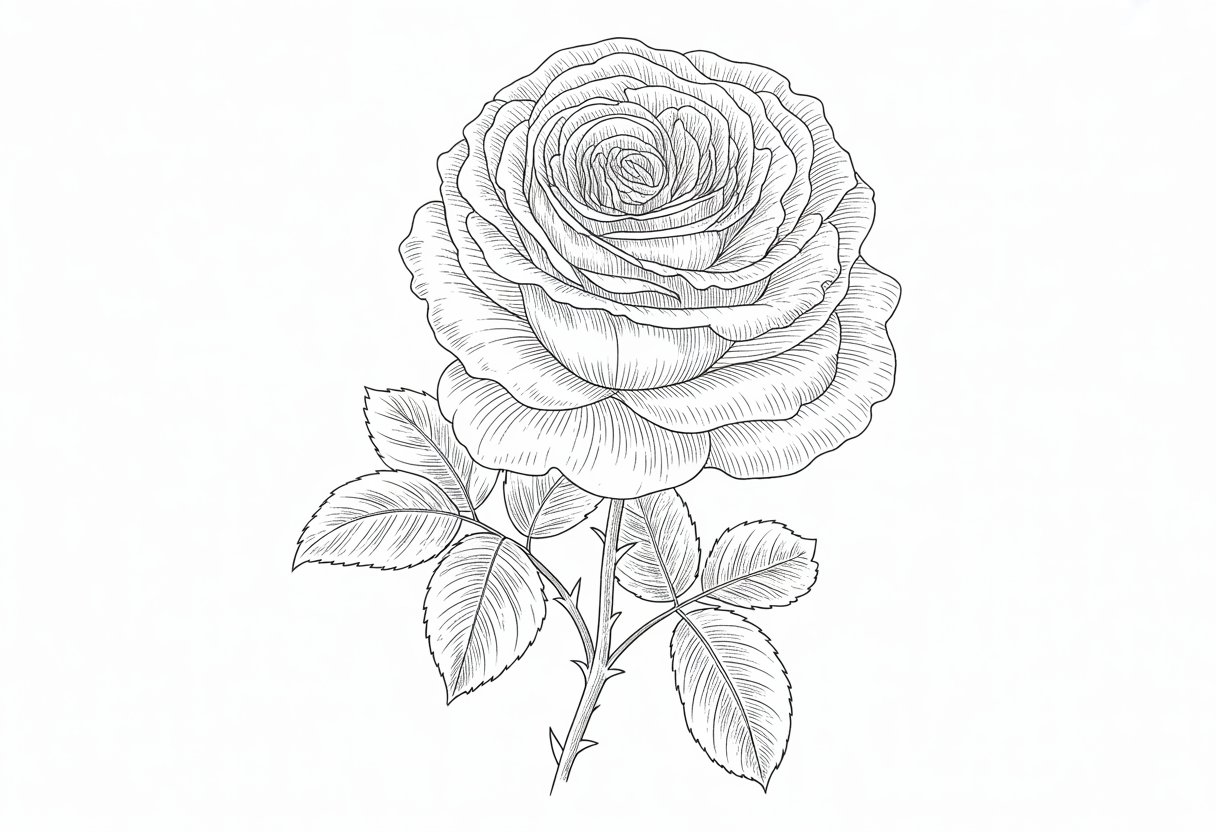
Sketching the Rose Shape
The initial sketch sets the foundation for the painting. The artist uses light pencil strokes to outline a circular base representing the rose’s center. From there, they add overlapping curved lines to mimic petals, using soft comma strokes to suggest their natural curl and flow.
It is essential to keep petals loosely drawn at this stage to allow adjustments. The sketch should show a spiral pattern at the center, gradually expanding outward. This helps establish the rose’s layered petal structure before applying paint.
Painting Rose Petals
The artist begins with a base wash of red, using diluted paint to cover all petal areas uniformly. After drying, they apply a deeper red along petal edges and folds to create dimension. A mix of short, curved strokes emphasizes petal shape and direction.
Layering thinner paint builds color intensity without obscuring details. The painter often uses a small round brush to replicate the delicate texture of petals. Maintaining wet edges prevents harsh lines, resulting in natural transitions.
Applying Shadow Colors and Highlights
Shadows are crucial to showing petal depth. The painter mixes a darker red with a touch of brown or purple to paint shadows where petals overlap. These shadow colors are placed carefully to follow the rose’s natural light source.
Highlights come last and use a lighter, almost pinkish tone added sparingly to petal tips and raised areas. The painter uses a dry brush or fine tip to lightly tap highlights, increasing dimensionality. Proper contrast here makes the rose appear three-dimensional.
Adding Details to Rose Leaves
Leaves require a fresh green base mixed with a touch of blue for realism. Using pointed brush strokes, the artist paints leaf veins and edges sharply. It’s important to capture irregular leaf shapes and slight color variations for authenticity.
Shadow colors on leaves use darker greens mixed with a hint of black, applied along veins and near the rose stem. Highlights on leaves get a small amount of yellow or white to show reflected light. These details balance the composition and draw attention to the rose itself.