Hey there, fellow art lover! So, you’ve decided to dive into the world of watercolor flowers, huh?

Whether you’re a seasoned artist or just starting out, painting flowers with watercolors can be both incredibly rewarding and, let’s be honest, a tad intimidating.
But don’t worry, I’ve got your back! In this guide, we’ll walk through the essentials of painting watercolor flowers, step by step.
By the end, you’ll be creating floral masterpieces that even Monet would be proud of. Ready? Let’s get those brushes wet!
Why Watercolor Flowers?
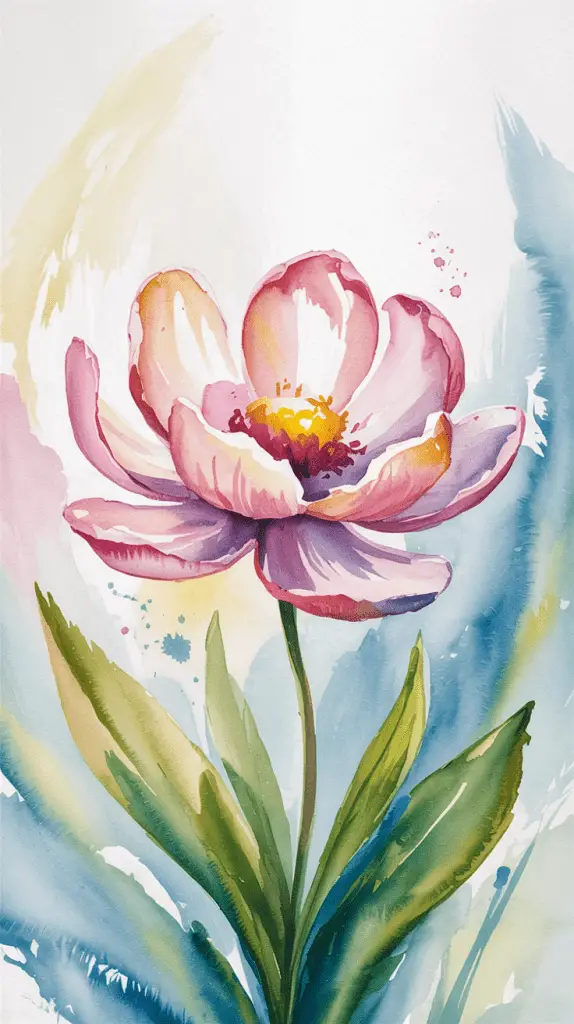
Before we jump into the nitty-gritty, let’s talk about why watercolor flowers are so captivating.
Watercolors have this magical ability to blend and flow, creating soft, ethereal effects that are perfect for capturing the delicate beauty of flowers.
Plus, it’s super satisfying to watch those colors meld together on the paper. Trust me, once you start, you won’t want to stop.
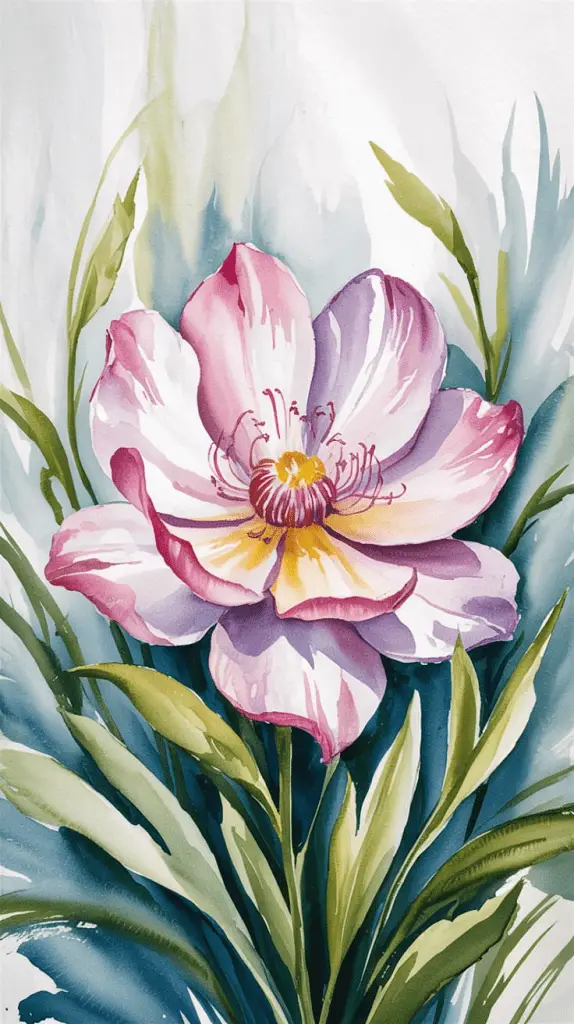
Step By Step Guide On How to Paint Watercolor Flowers
Alright, let’s gather our supplies. Here’s a quick list of the essentials:
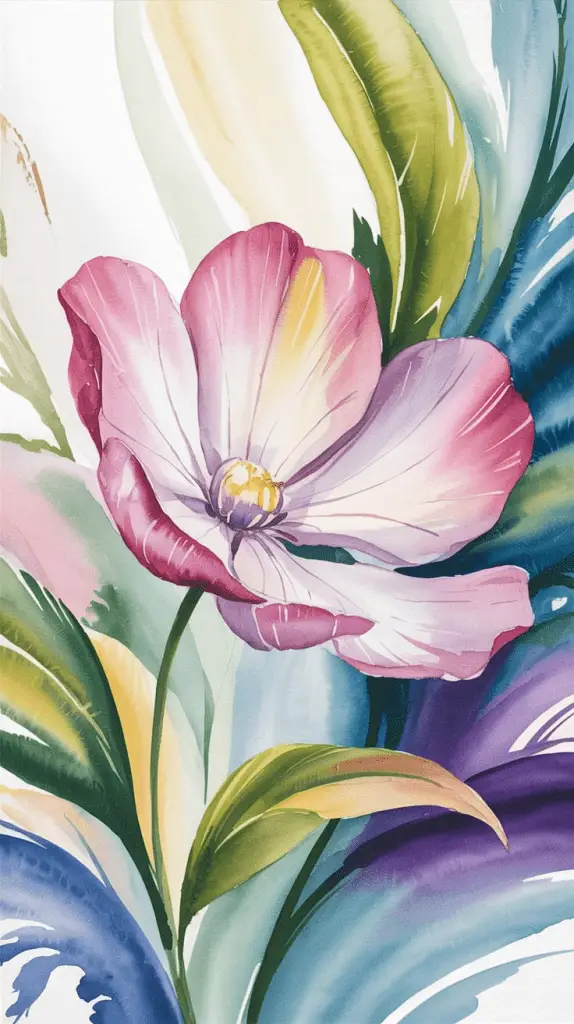
1. Watercolor Paints
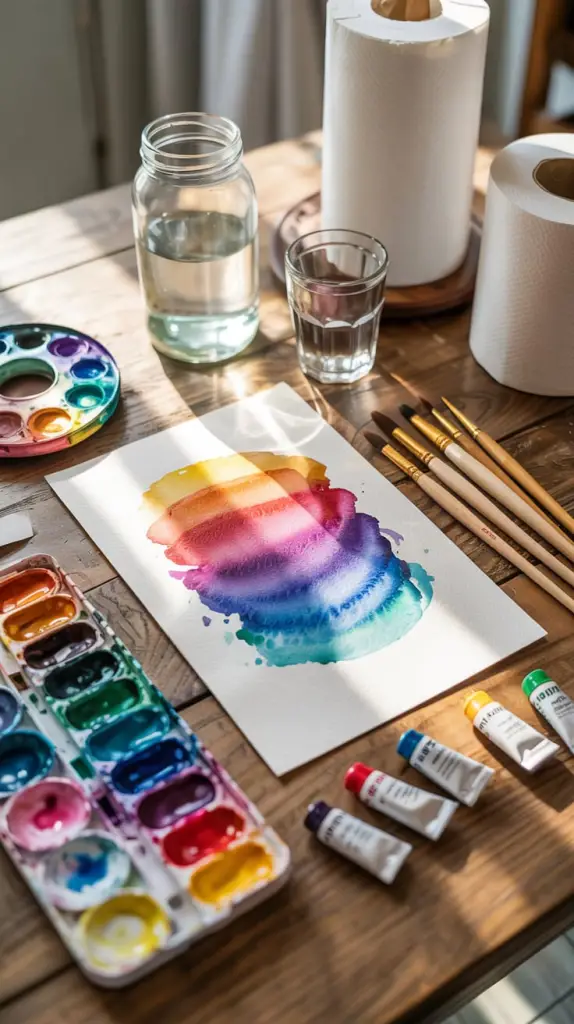
- Quality over Quantity: You don’t need a million colors. A basic set with primary colors will do. You can mix them to create any shade you need.
- Types: Tubes vs. pans. Tubes are great for vibrant, intense colors, while pans are convenient and less messy.
2. Brushes
- Round Brushes: Sizes 4, 6, and 8 are perfect for most flower paintings.
- Detail Brushes: For those tiny details, a size 0 or 1 brush is a must.
3. Paper
- Cold Pressed: This type has a slightly textured surface, which is perfect for watercolor.
- Weight: Go for at least 140 lb (300 gsm) to avoid warping when wet.
4. Palette
- Mixing Space: Make sure it has enough space for mixing colors.
5. Water Jars and Paper Towels
- Clean Water: Keep two jars—one for rinsing brushes and one for clean water.
- Paper Towels: For blotting and correcting mistakes.
Got everything? Awesome! Now, let’s get to the fun part.
Basic Techniques: Laying the Foundation
1. Wet-on-Wet Technique
This is where you wet the paper before applying paint. It creates soft, blended edges—perfect for petals.
- Wet the Paper: Use a clean brush to apply water to the area you’ll be painting.
- Add Color: Drop in your watercolor. Watch it spread! 😍
2. Wet-on-Dry Technique
Here, you apply wet paint onto dry paper. This gives you more control and sharper edges.
- Paint Directly: Use your brush to apply paint directly to the dry paper.
- Layering: You can layer colors once the first layer is dry for more depth.
3. Lifting
Made a mistake? No worries. You can lift paint off the paper using a damp brush or a paper towel.
Step-by-Step: Painting a Simple Flower
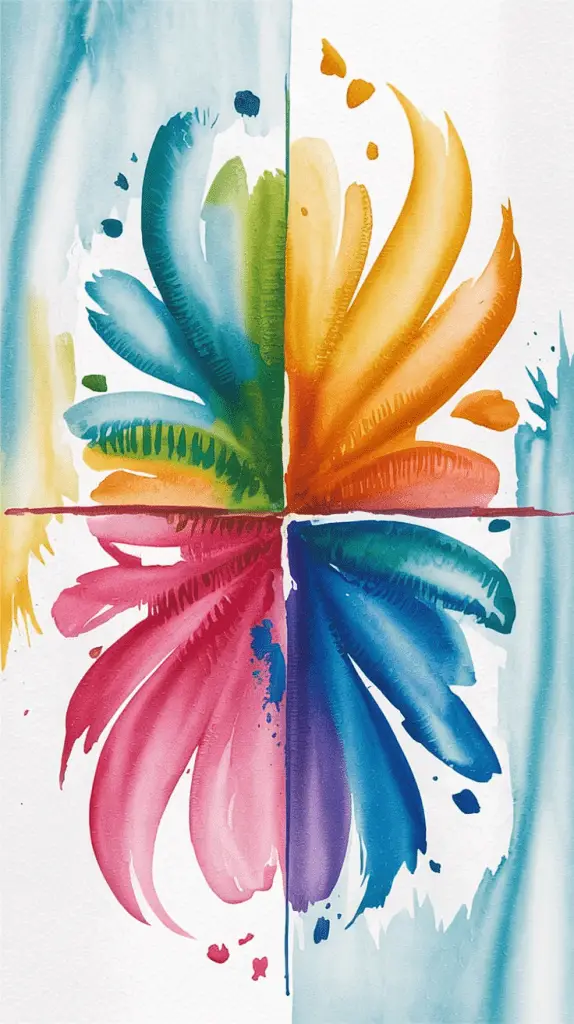
Let’s paint a basic flower together. How about a rose?
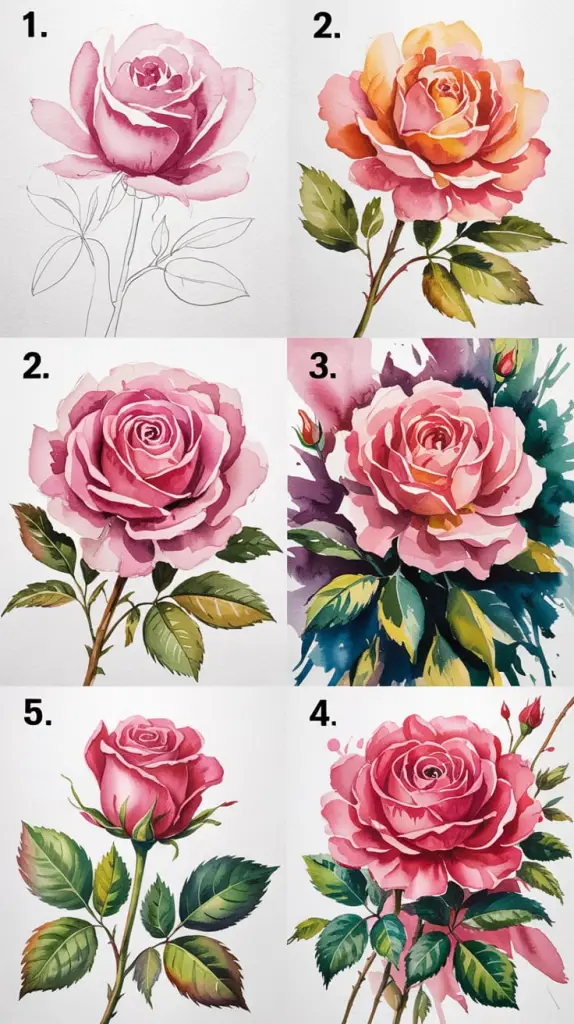
1. Sketch the Outline
- Light Pencil: Use a light pencil to sketch the basic shape of the rose. Don’t worry about details; just get the general form down.
2. First Wash (Wet-on-Wet)
- Petals: Wet the petal areas with clean water.
- Add Color: Drop in a light red or pink. Let the colors flow and blend.
3. Adding Depth (Wet-on-Dry)
- Darker Shades: Once your first wash is dry, use a darker shade to add depth to the petals.
- Details: Add in the details with a smaller brush. Think about where the shadows would naturally fall.
4. Final Touches
- Highlights: Use a damp brush to lift paint and create highlights.
- Background: Add a light wash of green or blue around the flower to make it pop.
Common Mistakes and How to Avoid Them
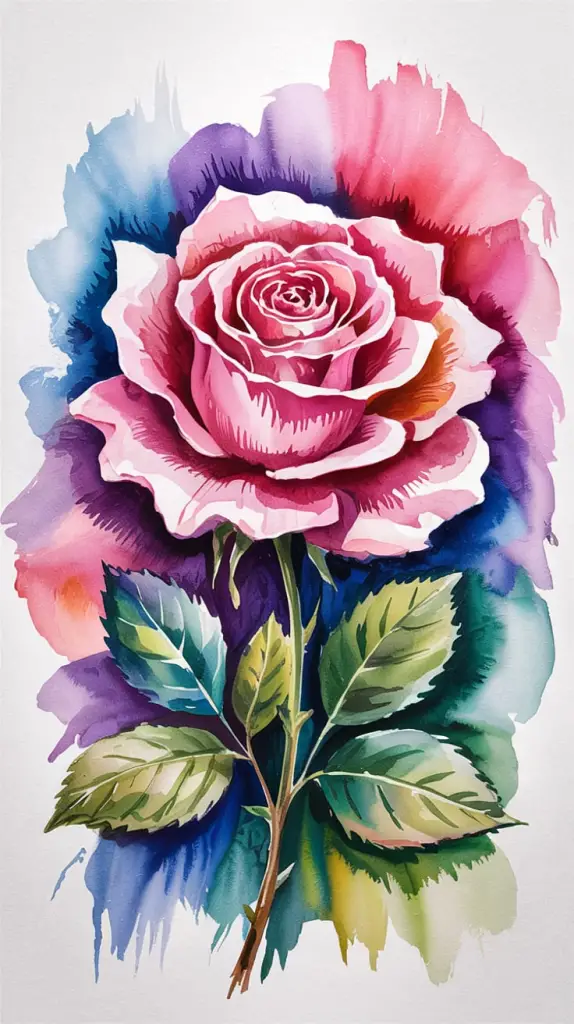
1. Overworking the Paper
- Less is More: Watercolor is all about subtlety. Don’t overwork the paper by adding too many layers.
2. Muddy Colors
- Clean Water: Always use clean water and clean your brushes thoroughly between colors to avoid muddy mixes.
3. Hard Edges
- Blend Quickly: Work quickly to blend edges before they dry.
Tips and Tricks: Elevate Your Art
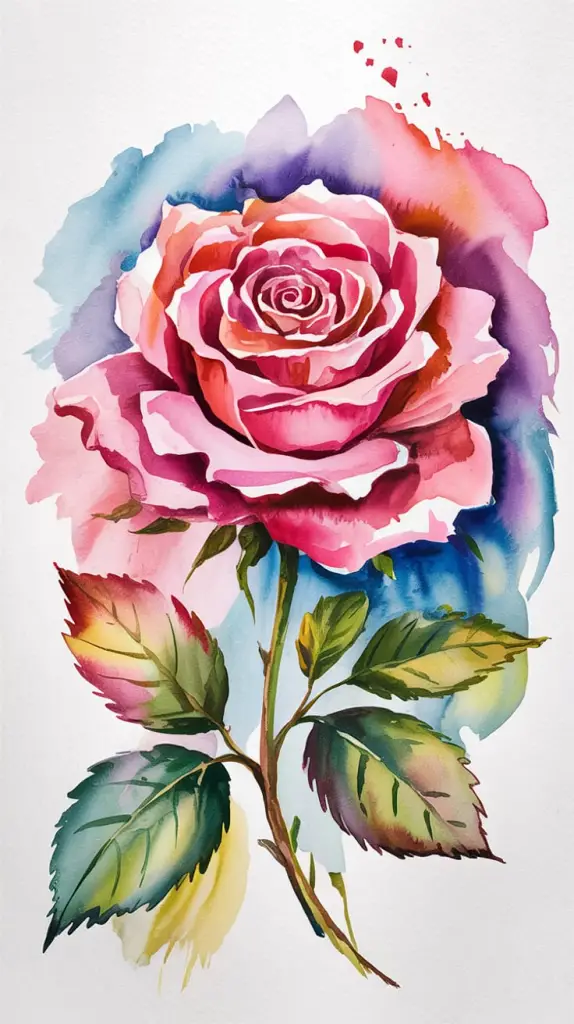
1. Experiment with Colors
- Mix It Up: Don’t just stick to the colors in your palette. Mix and match to create unique shades.
2. Use Salt for Texture
- Sprinkle Salt: While your paint is still wet, sprinkle a bit of salt. It creates a beautiful, textured effect as it dries.
3. Practice, Practice, Practice
- Daily Doodles: Even quick, daily sketches can vastly improve your skills over time.
Conclusion: Your Floral Masterpiece Awaits
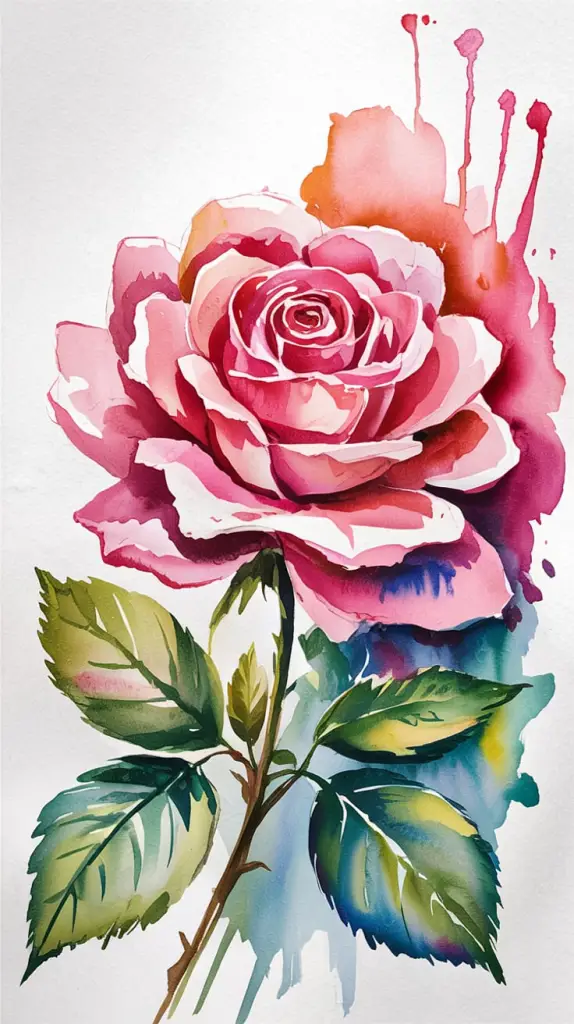
Painting watercolor flowers is a journey, and like any journey, it’s filled with learning, experimenting, and lots of happy accidents. Remember, the key is to enjoy the process. Don’t stress about perfection—sometimes the most beautiful pieces come from unexpected mistakes. So grab your brushes, let your creativity flow, and most importantly, have fun!
Now, go on and create your floral masterpiece! And hey, if you paint something you’re proud of, I’d love to see it. Share your work and let’s keep this artistic conversation going.