Watercolor brush pens are a simple and versatile tool for creating watercolor effects without needing traditional paint or brushes. They have flexible brush tips and water-based ink that can be blended with water or special blender pens to make smooth color transitions. Using these pens involves applying ink to paper and then blending or diluting it with water or a blender pen to achieve the desired watercolor look.
These pens are portable and require minimal setup, making them ideal for beginners who want to explore watercolor painting easily. They work well on watercolor paper, which handles the water and ink better. With some practice, anyone can use watercolor brush pens to create washes, gradients, and detailed artwork.
The wide range of techniques includes drawing directly on paper, mixing colors on a palette, or adding ink to a wet surface for soft blends. Understanding how to control water and pressure allows for varied effects, from light washes to rich, saturated colors. This guide will help readers learn these basics to confidently start using watercolor brush pens.
Understanding Watercolor Brush Pens
Watercolor brush pens combine the ease of a marker with the look of watercolor paint. They use special brush tips and water-based ink to create smooth strokes and blending effects. These tools are designed to be portable and simple to use, making watercolor art more accessible.
What Are Watercolor Brush Pens?
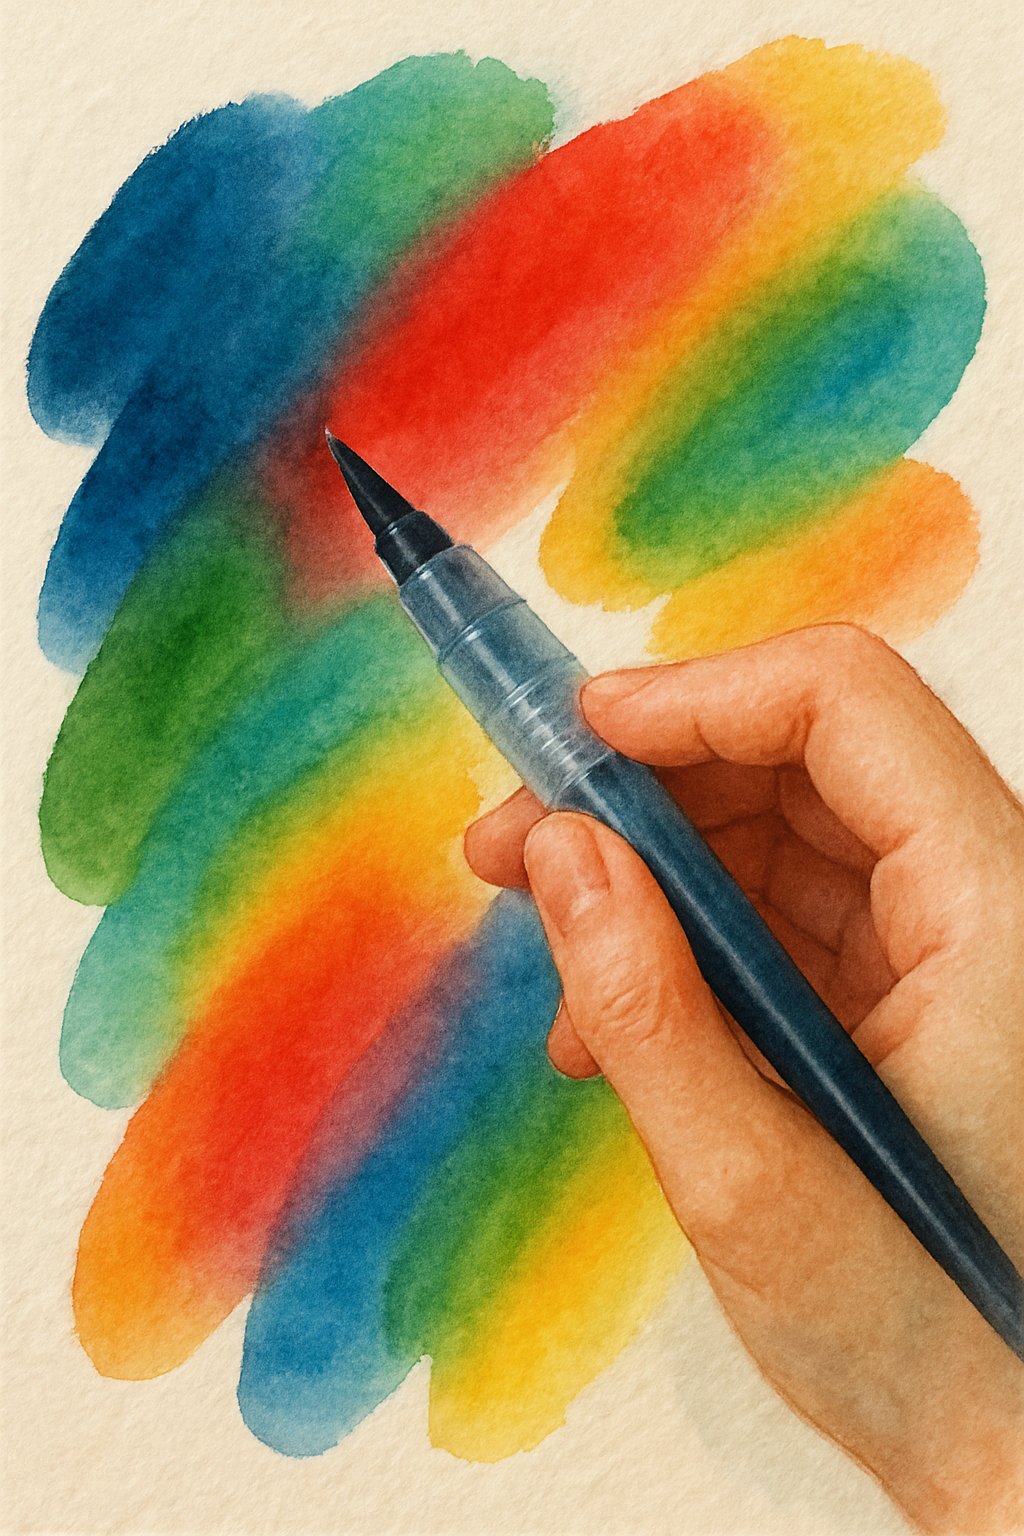
Watercolor brush pens are markers filled with water-based or dye-based ink. They have flexible brush tips that work like a paintbrush, allowing the artist to create thick or thin lines depending on pressure.
These pens let users draw directly on paper with vibrant colors. The ink can be blended or diluted with water for softer effects, mimicking traditional watercolor painting. They are different from regular brush pens because their ink can be activated or spread using water.
Watercolor brush pens are popular for quick sketches, lettering, and detailed watercolor art without the mess of paint and palettes.
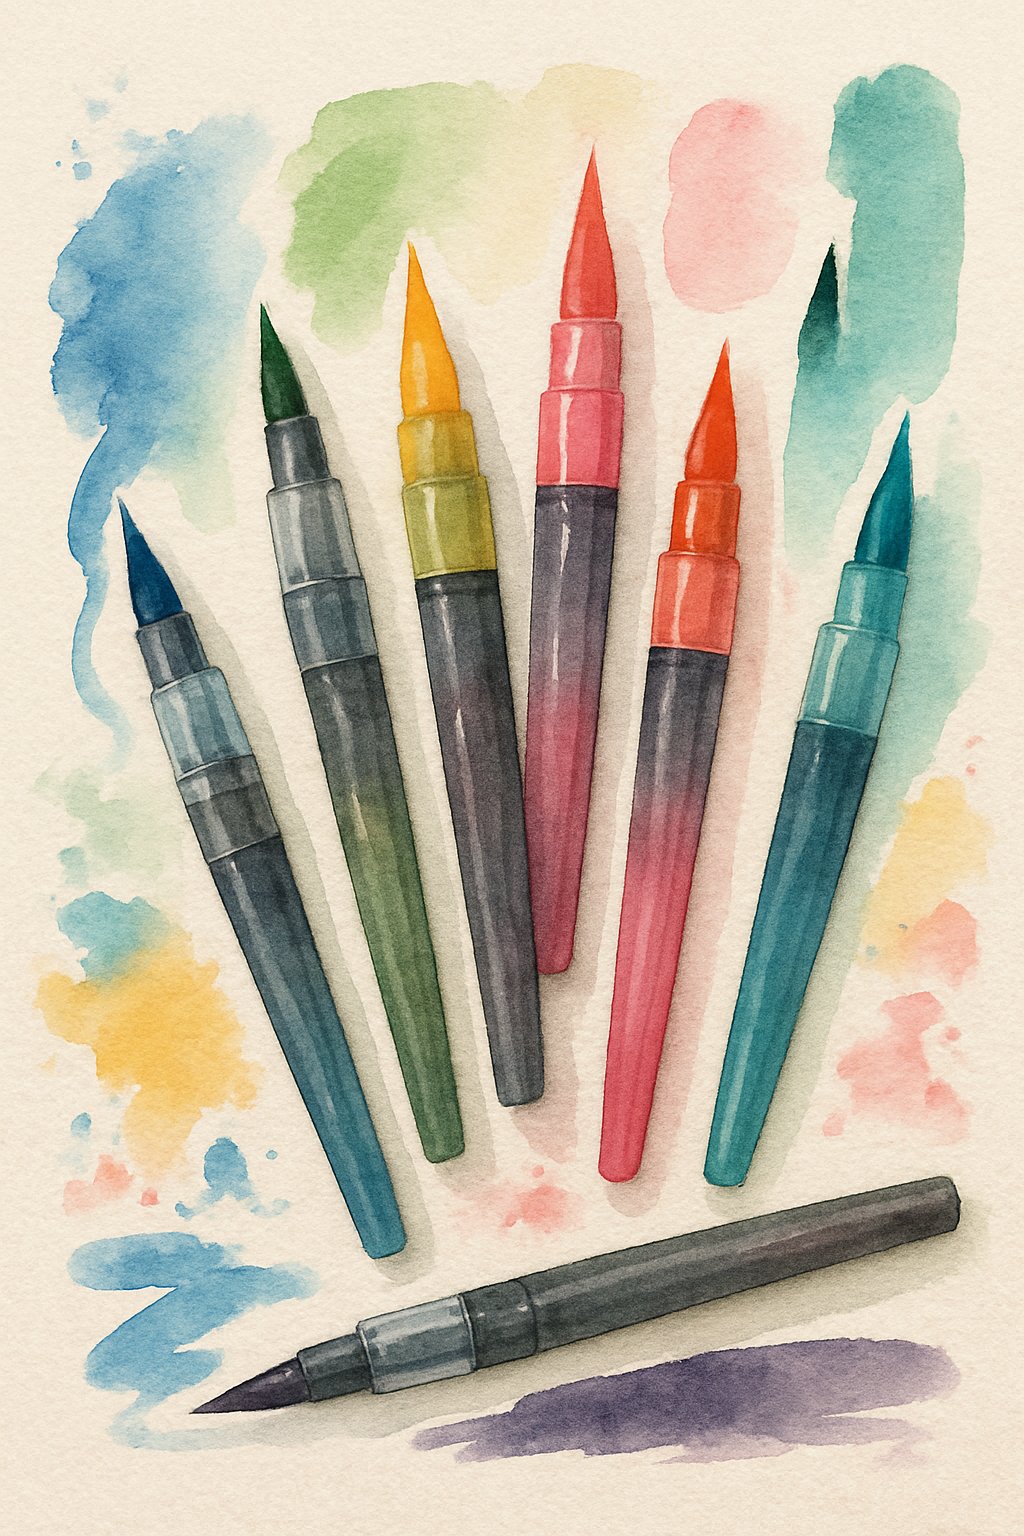
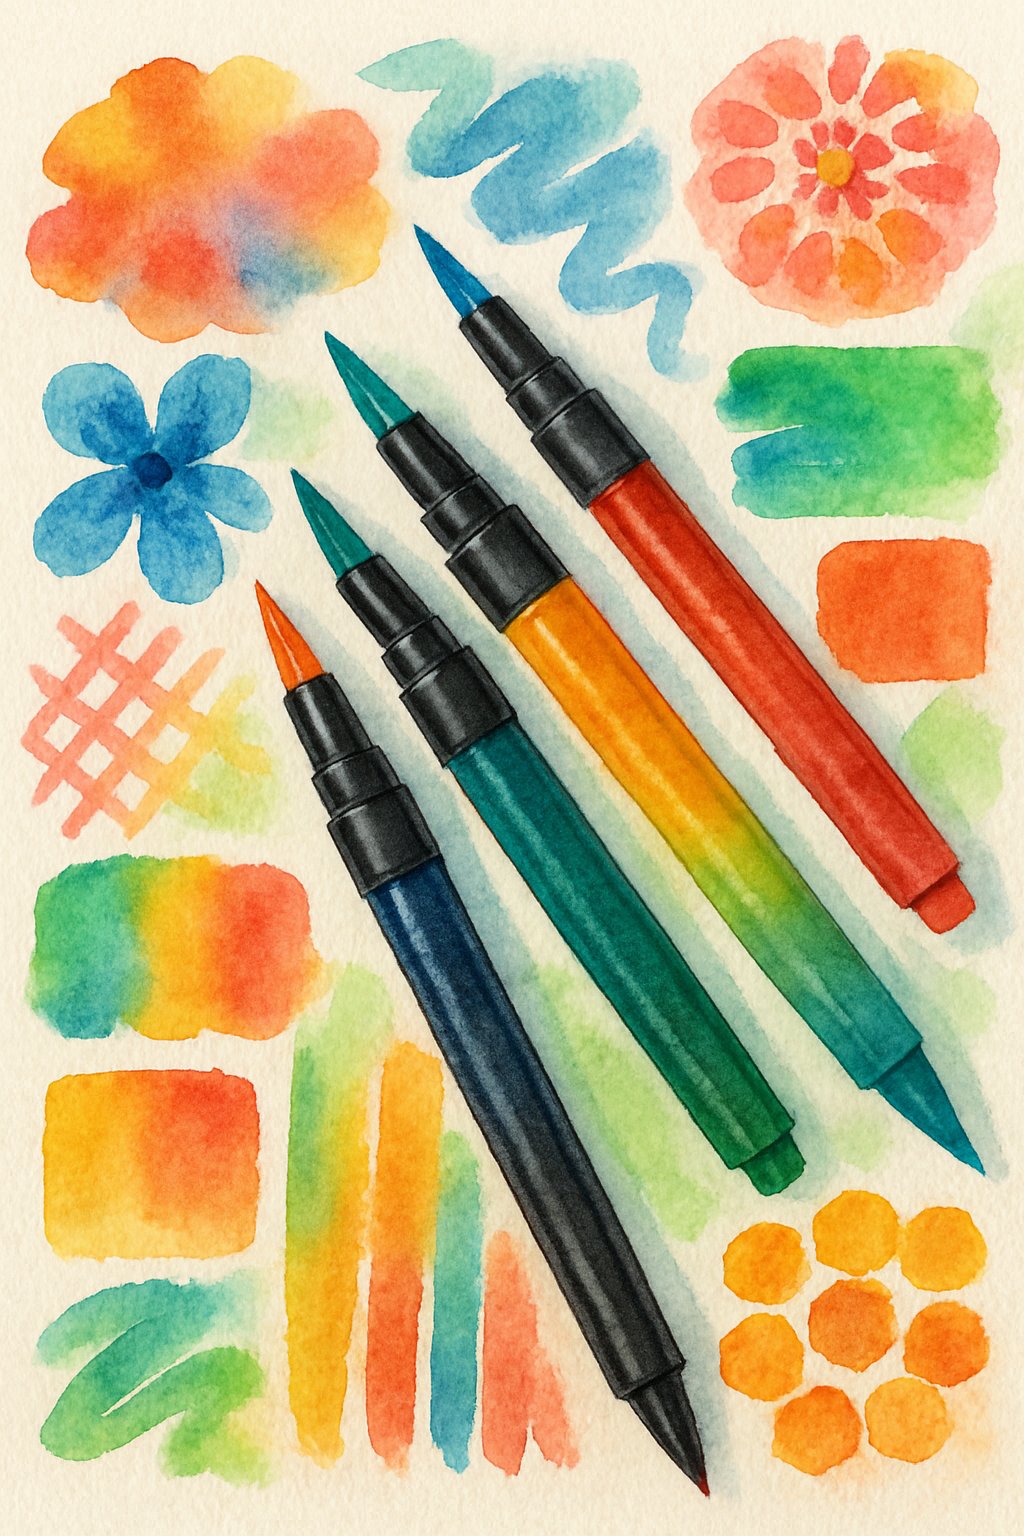
Components and Types of Brush Tips
The tip of a watercolor brush pen is designed to imitate a real paintbrush. There are two main types:
- Felt or synthetic brush tips: Soft and shape-holding, good for controlled strokes.
- Bristle brush tips: Made of fine fibers that spread like a natural paintbrush, ideal for texture and blending.
The shape of the tip allows for different stroke widths. Applying light pressure creates thin lines; pressing harder yields thicker strokes.
Many pens come with additional tools like colorless blender pens or water brushes, which help mix and spread the ink without extra mess.
How Water-Based Ink Works
Watercolor brush pens use water-based ink that dissolves and flows when wet. This allows the ink to be spread and mixed on paper or a palette, creating a gradient or wash effect.
The ink dries quickly but remains activatable with water, meaning artists can rework colors even after the ink has dried. The water-based ink is gentle on brush tips and does not clog easily.
Because the ink is water-reactive, finished artwork must be handled carefully to avoid smudging or unintended blending from moisture exposure. This feature is what gives the pens their watercolor-like qualities.
Essential Tools and Materials
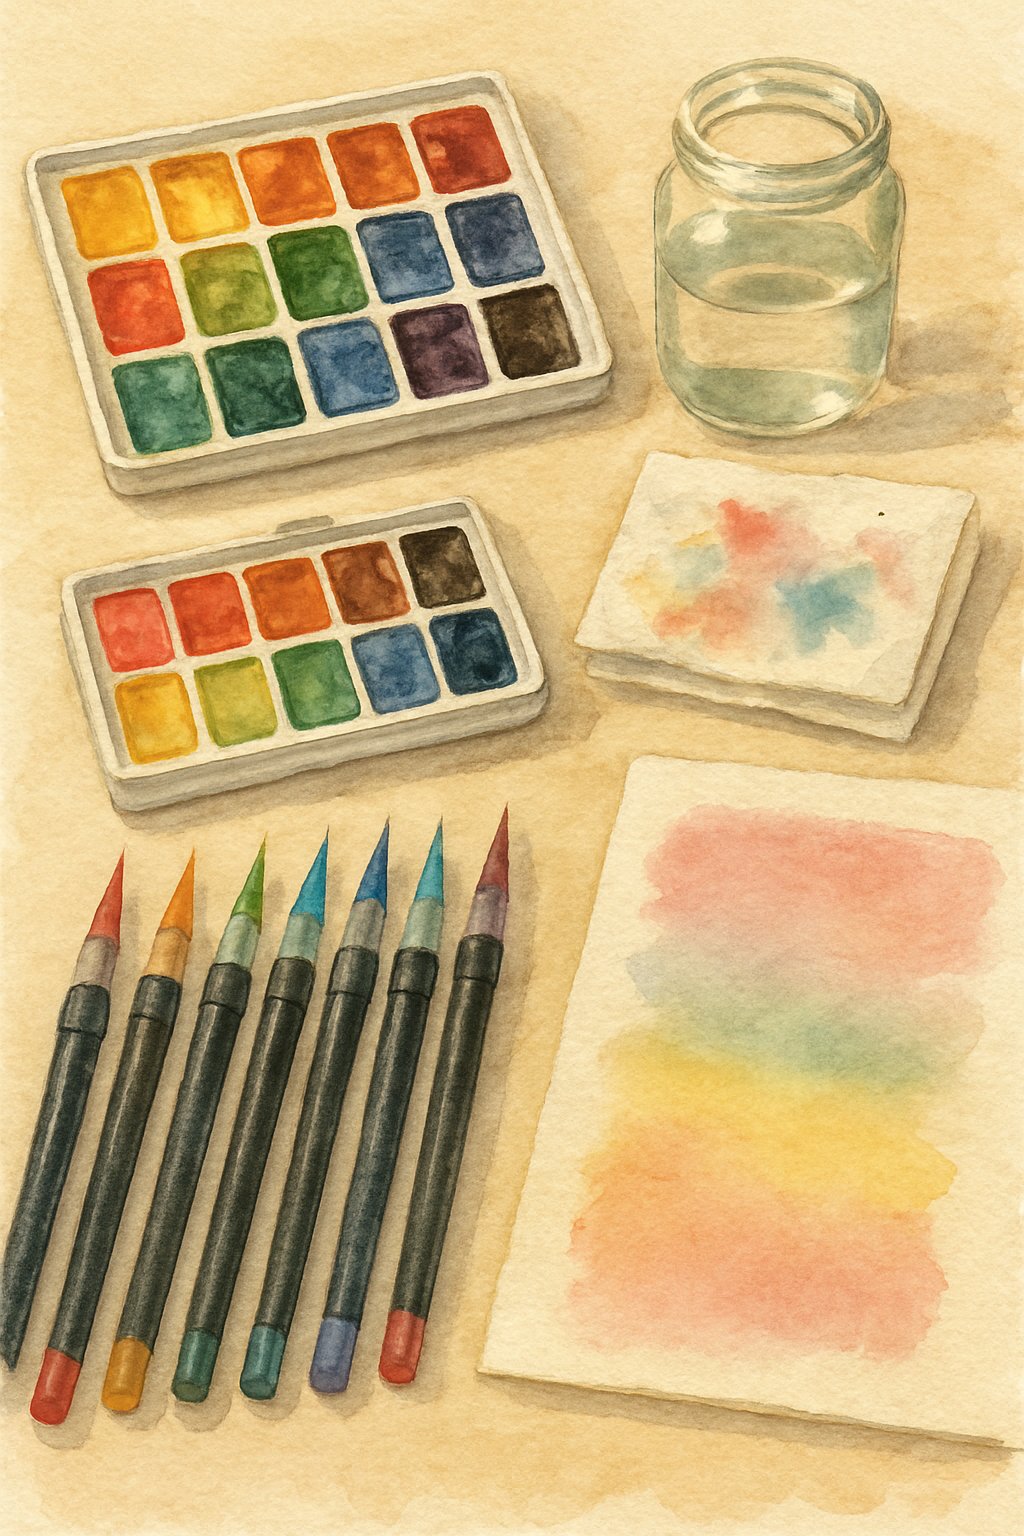
To get the best results from watercolor brush pens, it’s important to use the right paper and tools. The quality of materials affects how the colors blend and how the ink behaves. Choosing suitable paper, pens, and complementary tools helps create cleaner and more vibrant artwork.
Choosing the Right Watercolor Paper
Watercolor paper must handle water well without buckling or tearing. A weight of 300 gsm (grams per square meter) is ideal for beginners, as it supports multiple layers and washes. Heavier paper may be needed for more intense water use.
Good watercolor paper allows colors to blend smoothly and prevents harsh marker lines. Artist-grade papers like Arches, Fabriano Artistico, and Canson L’Aquarelle Heritage often provide better results than student-grade papers.
Mixed media paper can be used if less water is involved, but it’s best suited for brush calligraphy or light washes. The surface texture also matters: smoother paper works better to keep pen tips sharp, while rougher papers can wear out the pen tips faster.
Selecting Watercolor Brush Pens and Markers
Watercolor brush markers have brush-like tips that vary by brand. Pens with flexible, bristle-style tips often mimic the feel of a paintbrush and allow for both thick and thin strokes.
Popular brands include:
- Royal Talens Ecoline – Liquid watercolor ink, vibrant and refillable brush tips.
- Karin Brushmarker Pro – Rich pigments, excellent for blending, but pricier.
- Staedtler Double-Ended – Brush tip with a fine tip on the opposite end for detail work.
Different pens use water-based or dye-based inks, which impacts blending and drying time. Using a colorless blender pen can help mix colors smoothly without extra water.
Additional Tools: Water Brush and Blender Pen
A water brush is a paintbrush with a built-in water reservoir. It allows for easy activation and blending of marker ink directly on paper without needing a separate container of water.
The blender pen contains clear, water-based liquid that softens and blends colors when applied. It works well for controlled blending and creating gradients without excessive water.
Both tools increase portability and convenience, making it easier to create watercolor effects on the go while reducing mess. Using them alongside watercolor brush markers helps achieve smooth transitions and richer layers in artwork.
Getting Started: Basic Techniques
Using watercolor brush pens well means understanding how to apply color directly, test your shades before working, and control the brush tip for different effects. These steps help create clean lines, smooth blends, and consistent results when painting or lettering.
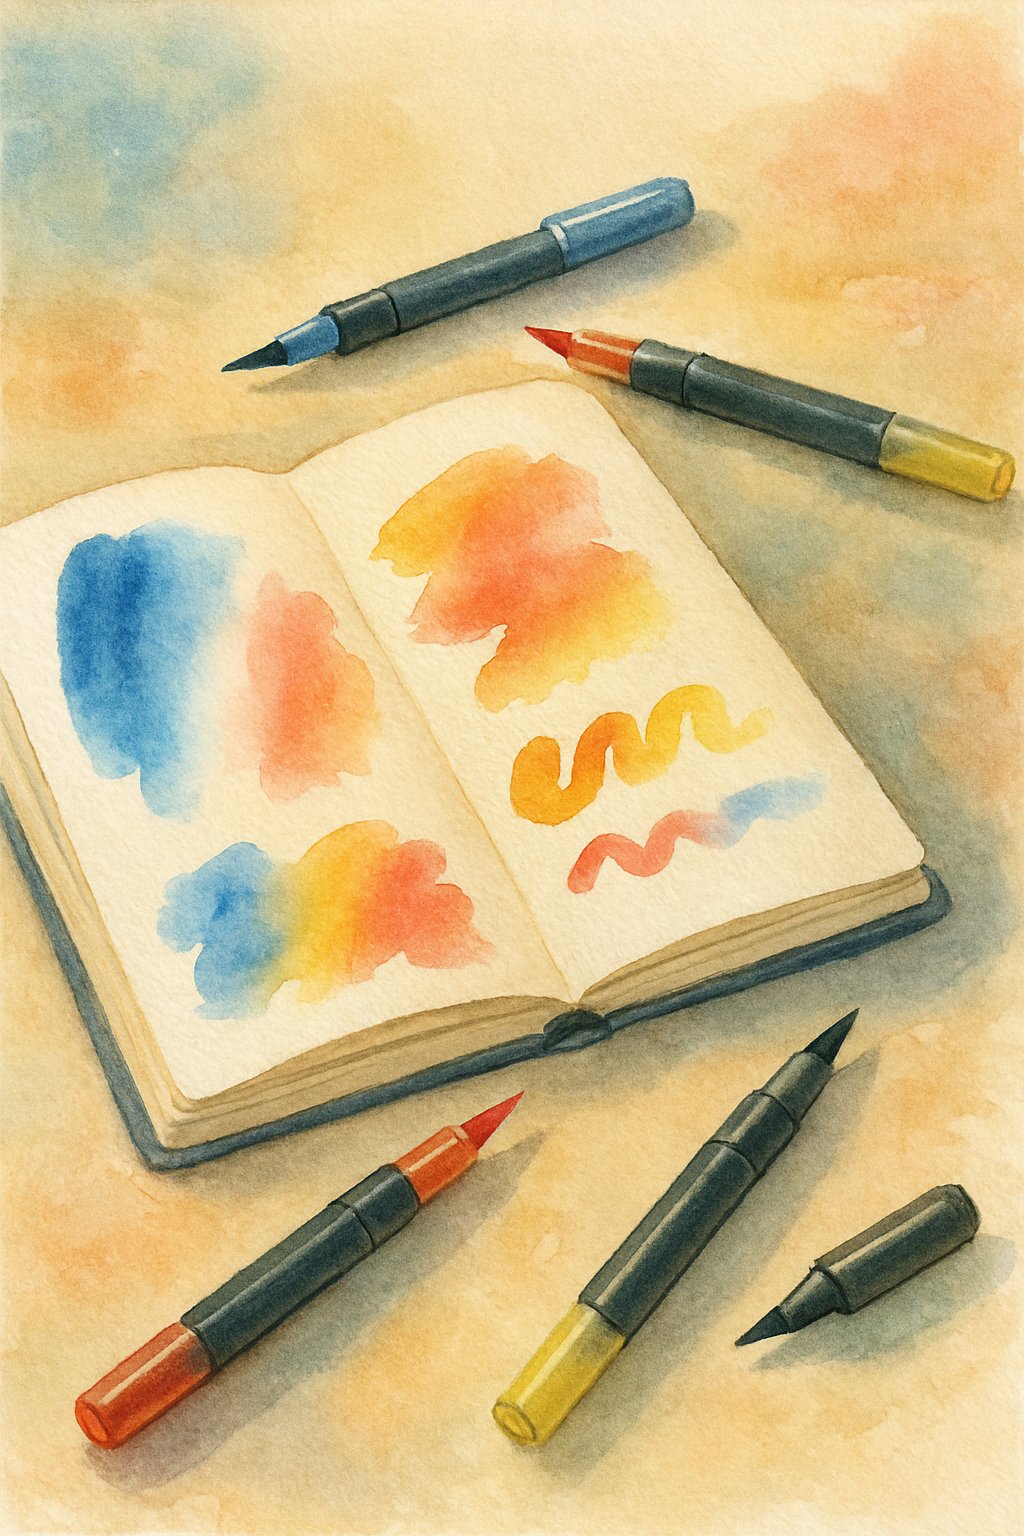
Direct Application
To start, use the brush tip to apply ink straight onto your paper. Vary the pressure to create thick or thin lines—press harder for wider strokes and lighter for finer lines. This mimics using a paintbrush, giving control over shape and texture.
Working on dry paper allows for sharper marks. For softer blends, add water with a brush after applying ink. Avoid dipping the pen into water directly, as it can wash out the color. Instead, apply water over the ink for blending and fading effects.
This method is good for lettering, details, or quick sketches. Clean the brush tip by scribbling on scrap paper or a palette to avoid mixing colors unintentionally.
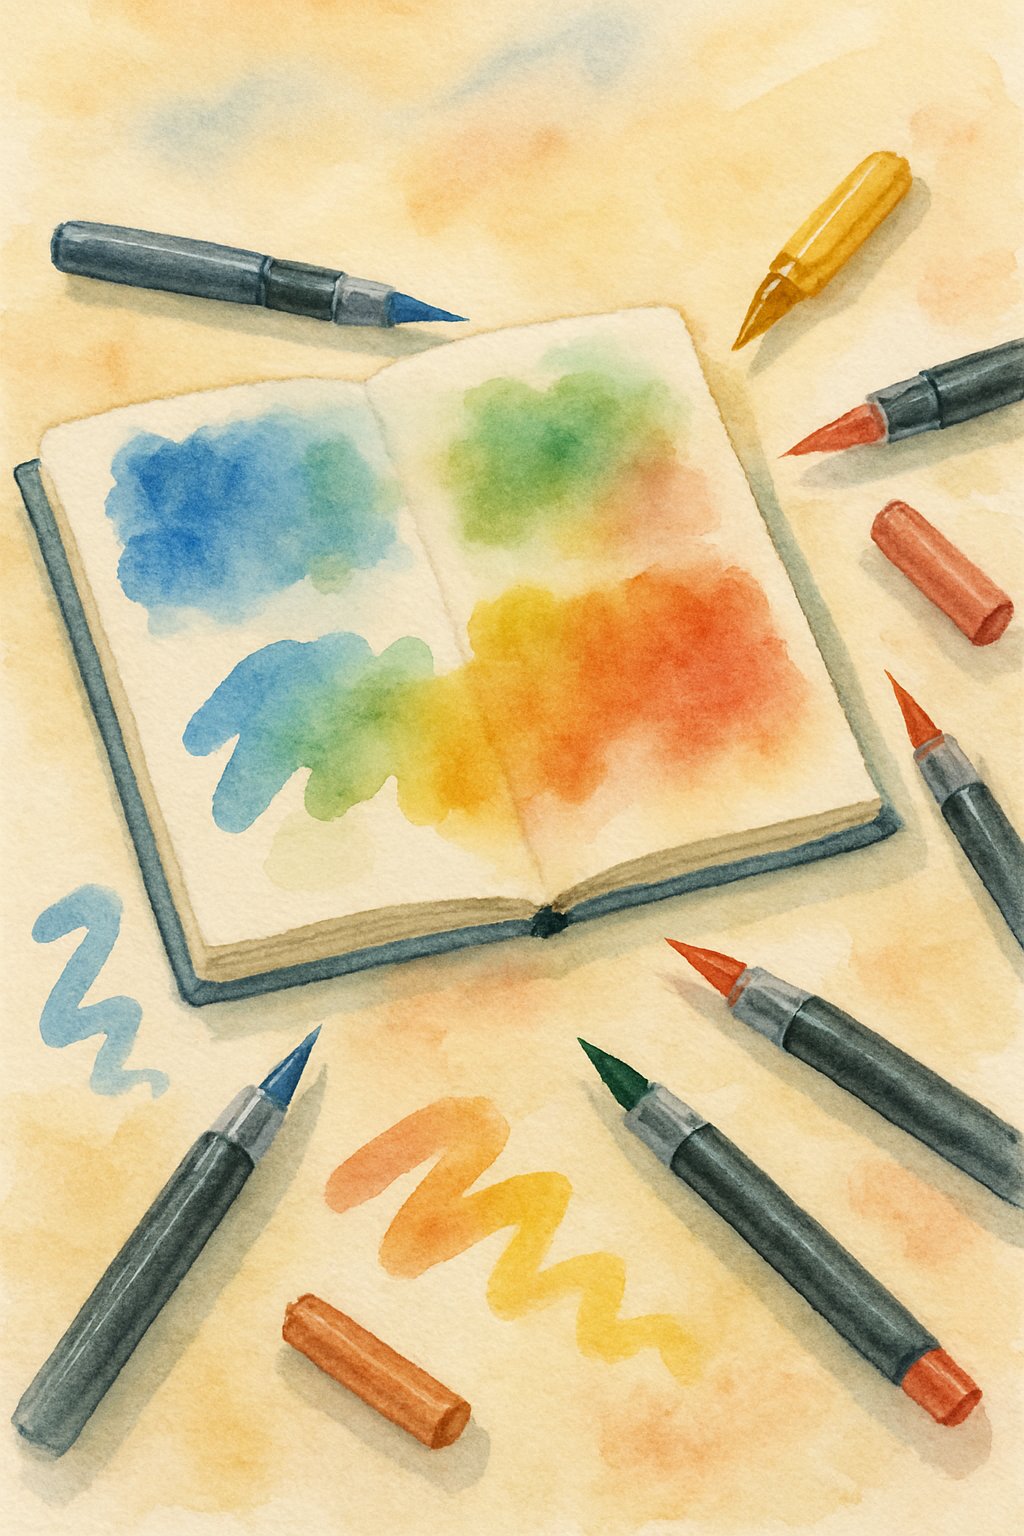
Swatching and Color Testing
Before starting a project, swatch each pen color on the paper you plan to use. This shows the true color and how it changes when water is added. It also helps check how transparent or saturated each shade appears.
Create a simple color chart by drawing swatches and blending some with a wet brush. Note how colors lighten or layer on top of each other. This testing lets artists plan palettes and prevents surprises during the painting process.
Swatching also helps identify which pens react best with your paper type, reducing rough edges or unwanted bleeding. Testing your colors first is an important step to working confidently and avoiding mistakes.
Holding and Controlling the Brush Pen
Proper grip affects precision and stroke quality. Hold the pen like a regular brush pen, near the tip, but with a relaxed hand. This balance helps control the nib’s flex and pressure.
Keep the pen perpendicular to the paper when pressing tips together to blend colors directly. Adjusting the angle changes stroke width and ink flow. Practice smooth, fluid motions rather than stiff or jerky movements.
Controlling speed matters too. Slow movements deposit more ink for saturated color, while faster strokes produce lighter marks. Working quickly helps blend colors before they dry, which is essential for soft gradients.
Mastering pen control takes practice but is key for achieving various effects with watercolor brush pens.
Blending and Color Mixing Methods
Blending watercolor brush pens creates smooth color changes and new shades. Artists use water, blender pens, and direct pen-to-pen mixing to control how colors merge. Each method offers different results and works best in certain situations.
Blending With Water
Using water is the classic way to blend colors with watercolor brush pens. First, apply one or more colors to your paper. Then, use a wet brush or water brush to gently spread and smooth the edges where the colors meet.
The amount of water controls the softness of the blend. Less water keeps colors vibrant and textured, while more water creates soft, smooth gradients.
Water blending works best on watercolor or mixed media paper because the surface holds water well. It allows for easy layering and reactivating dried colors by adding more water.
Using a Blender Pen for Smooth Transitions
A blender pen contains a clear solution that helps blend colors without water. Drawing over two adjacent colors with a blender pen softens the line between them and lifts pigment slightly for smoother transitions.
The blender pen is useful when you want to control blending precisely or avoid adding extra water. It works well on dry paper and can adjust edges after initial coloring.
This tool is especially good for small details or touch-ups. It mixes colors gently without spreading pigment too far, helping maintain neat edges and clear shapes.
Tip-to-Tip Color Mixing
Tip-to-tip mixing means touching one watercolor brush pen’s tip to another’s to transfer color directly. This technique quickly creates a gradient effect on the tip before applying it to paper.
It allows artists to blend colors without a palette or extra tools. For example, touching a dark pen to a lighter one produces a multicolor stroke with a smooth shift between shades.
This method is ideal for controlled color blending in one stroke. It works best on dry paper and helps achieve natural-looking color changes with minimal effort.
Creative Techniques and Project Ideas
Watercolor brush pens offer many ways to add depth, texture, and smooth color changes to artwork. Mastering layering, blending, and washes helps artists create detailed and vibrant paintings. These techniques expand the possibilities for unique watercolor projects.
Layering and Ombre Effects
Layering with watercolor brush pens means applying one color over another after the first layer dries. This builds richer colors and creates a sense of dimension. Artists should wait until each layer is dry to avoid colors mixing too much or paper damage.
Ombre effects are created by blending two shades from light to dark. To do this, touch the tip of a darker pen to a lighter one to transfer ink. Apply the pen on paper to make smooth, gradual color shifts. This method works well for backgrounds and lettering.
Both layering and ombre techniques require using thick watercolor paper (around 300gsm) to handle repeated moisture without warping or tearing.
Painting Textures and Details
Watercolor brush pens are good for adding textures like rough bark, petals, or hair. Using the tip of the pen, small, controlled strokes produce fine details. Artists can vary pressure to create lines of different thicknesses.
For texture, artists often alternate dry strokes with wet-on-wet washes. Dry strokes provide sharp edges, while wet strokes blend softly. Combining these effects helps make elements in paintings look more lifelike.
Using complementary colors or different tones next to each other enhances texture by adding visual contrast. Adding small dots or lines can simulate grain or speckled surfaces.
Creating Gradients and Washes
Gradients smoothly transition from one color to another. Artists apply watercolor brush pen ink on wet paper or add water after drawing to soften edges and blend colors. This works well for skies, backgrounds, or abstract shapes.
Washes cover large areas with transparent layers of color. Start by wetting the paper, then apply pen ink, letting it spread naturally for smooth coverage. Multiple layers can be added after drying to deepen colors.
Using a large brush or wet brush pen helps create even washes. Salt can be sprinkled on wet washes to create speckled, star-like textures as it absorbs pigment while drying.