The calla lily is known for its simple, elegant shape and smooth, flowing lines. While the white variety is most familiar, shades like pink, purple, and black offer distinct beauty that artists often enjoy capturing. This flower’s graceful form makes it a popular subject in watercolor painting, where subtle color blending and soft washes help bring out its natural look.
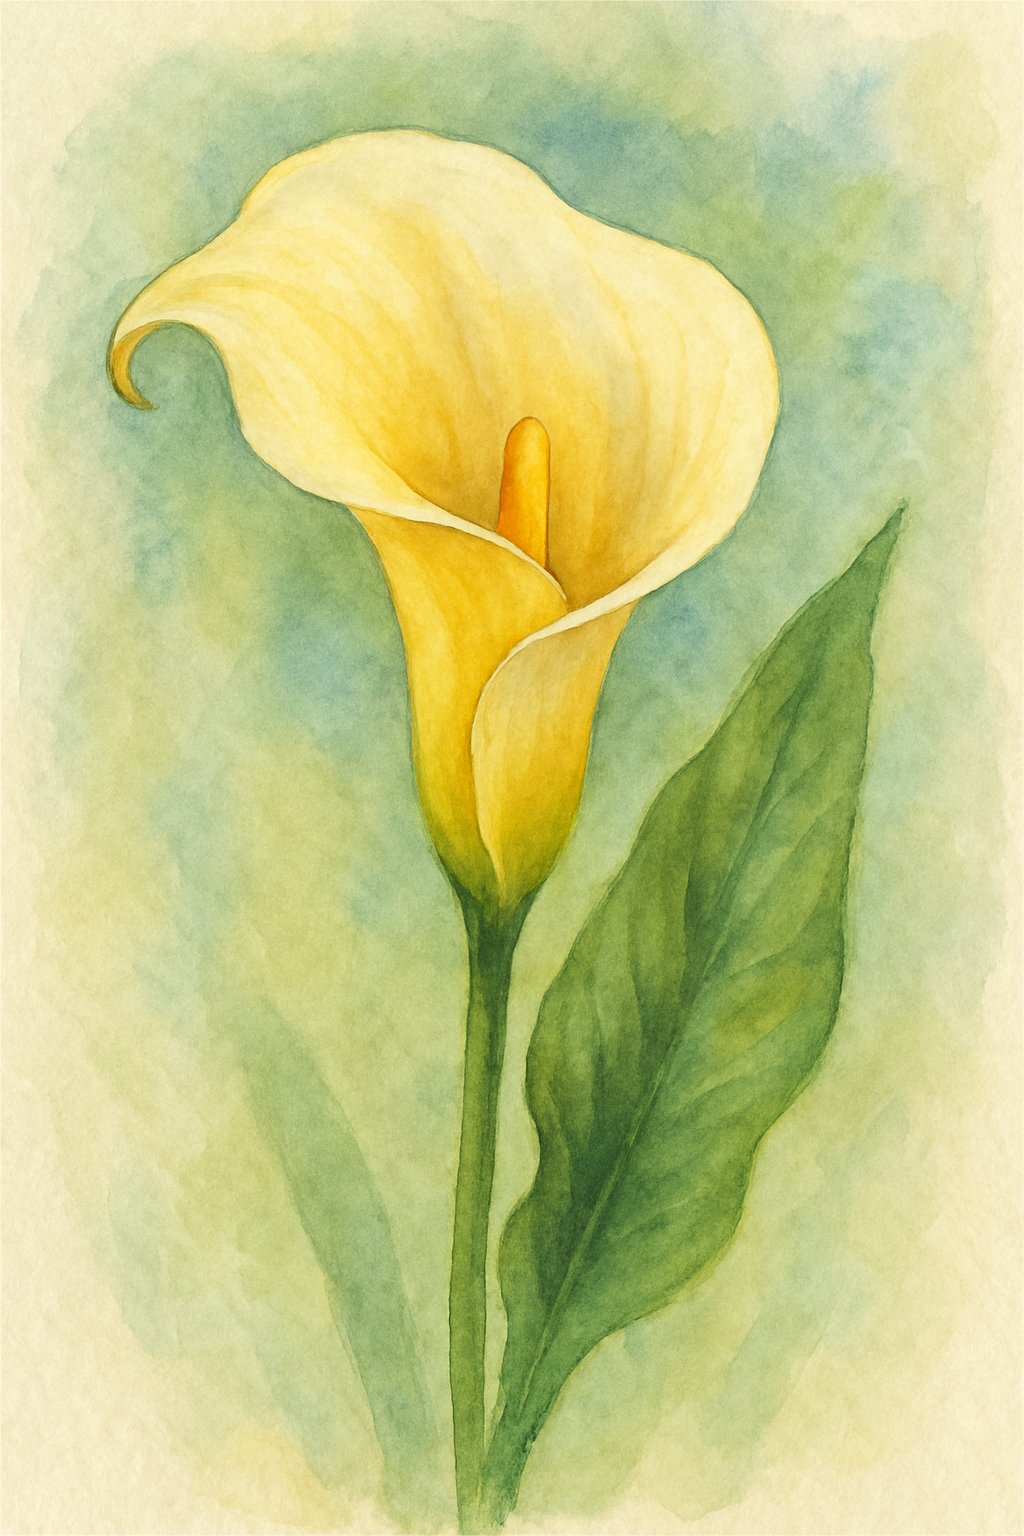
Watercolor techniques are well suited for painting calla lilies, allowing artists to create depth and texture with ease. By layering washes and adding fine details, painters can highlight the delicate gloss of the petals and the rich tones of the leaves. This approach helps produce a lifelike and balanced representation of the flower.
Painting Tools
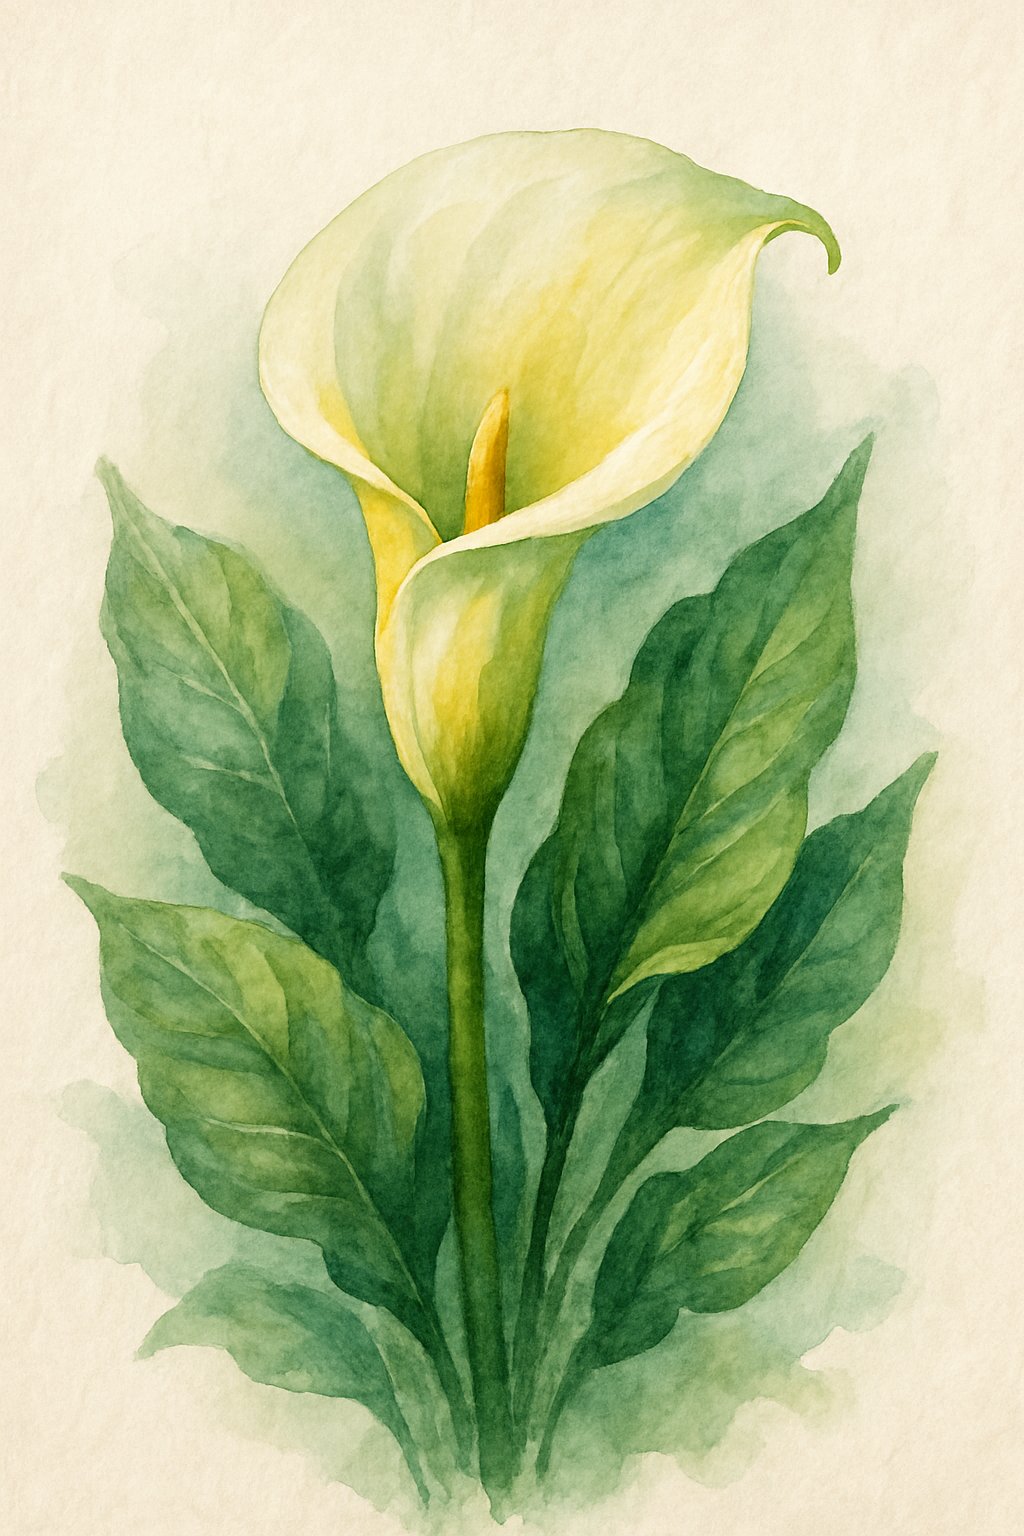
Choosing the right supplies is important for watercolor painting. Use cold-pressed watercolor paper for better texture and water absorption. Quality brushes like size #8 or #10 round brushes work well for detail and washes. Acrylic paints can be used but traditional watercolors offer more transparency. Select colors carefully to match the desired effect.
1. Initial Color Layer
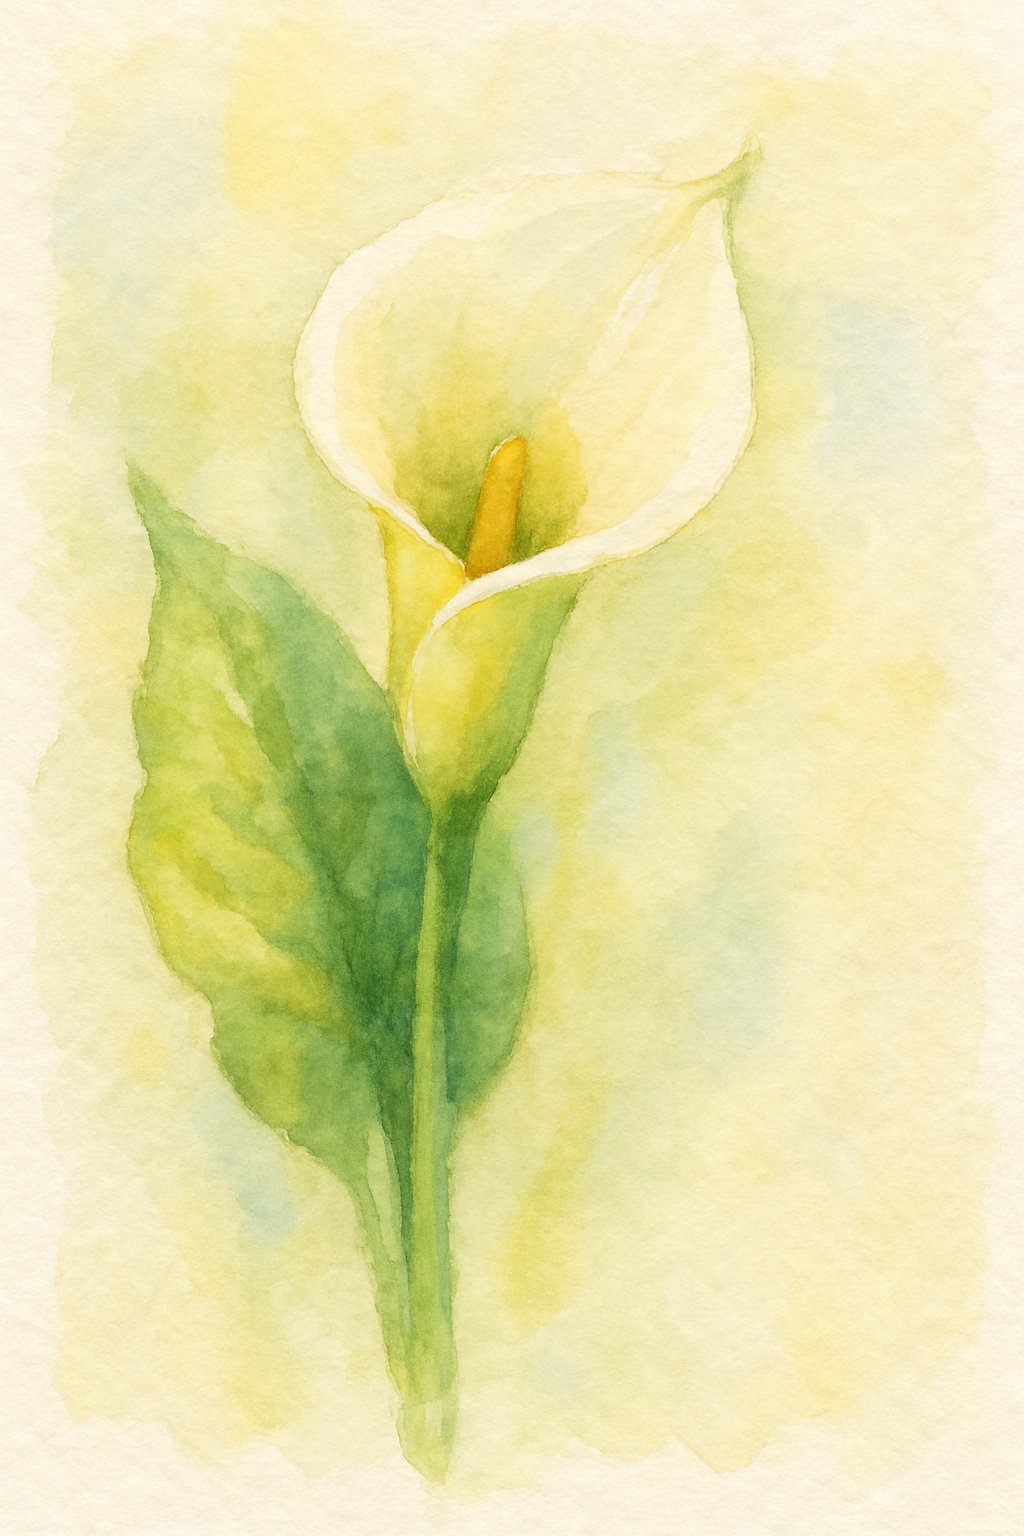
He begins by mixing a warm pink using magenta and a small amount of cadmium red light. This soft pink is gently applied starting at the top of the calla lily. The color then fades smoothly into a permanent green olive shade toward the base. This creates the first wash and sets the foundation for the painting.
2. Adding Texture and Shine to the Spathe
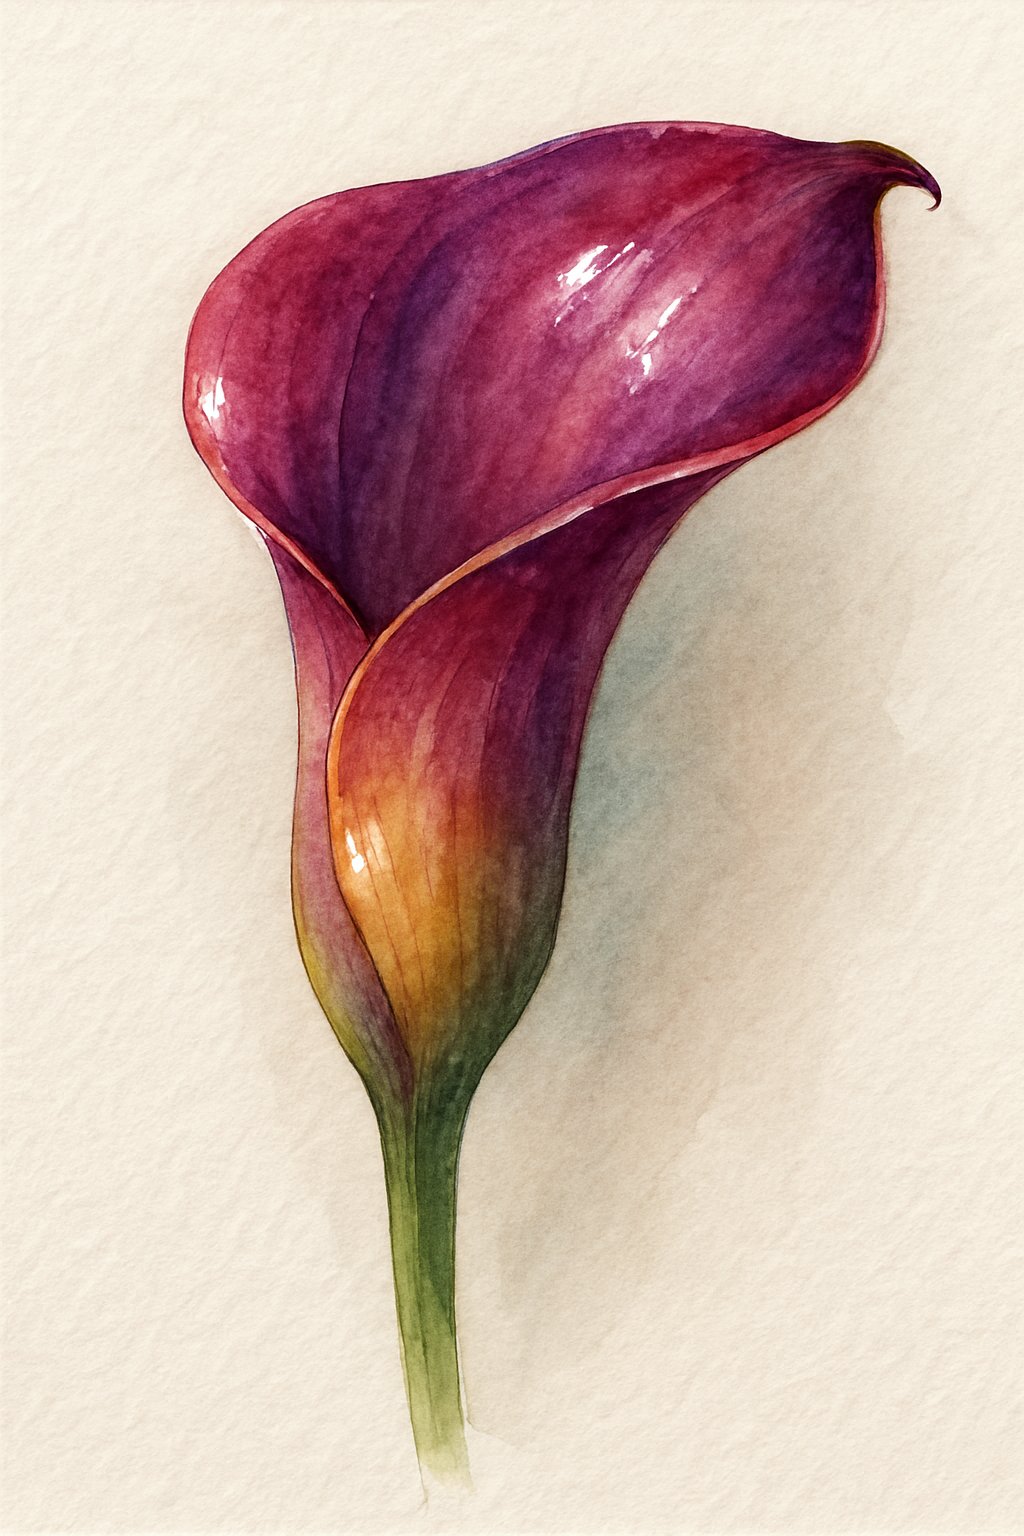
To create the curved texture of the Spathe in a calla lily watercolor, start by working while the paint is still damp. If the layer has dried, moisten it gently with clean water before adding more color.
Use a mix of Magenta and Cadmium Red Light to paint the deeper areas, like the central curve and edges. This adds contrast and helps form the flower’s trumpet shape.
After this dries, apply a second layer at the base of the Spathe to show its thickness and volume. These layers build texture and depth.
Tip: Let each layer dry before adding the next to keep the colors clear and avoid muddying. The final effect should highlight the natural curves and shine of the Spathe.
3. Painting the Leaves
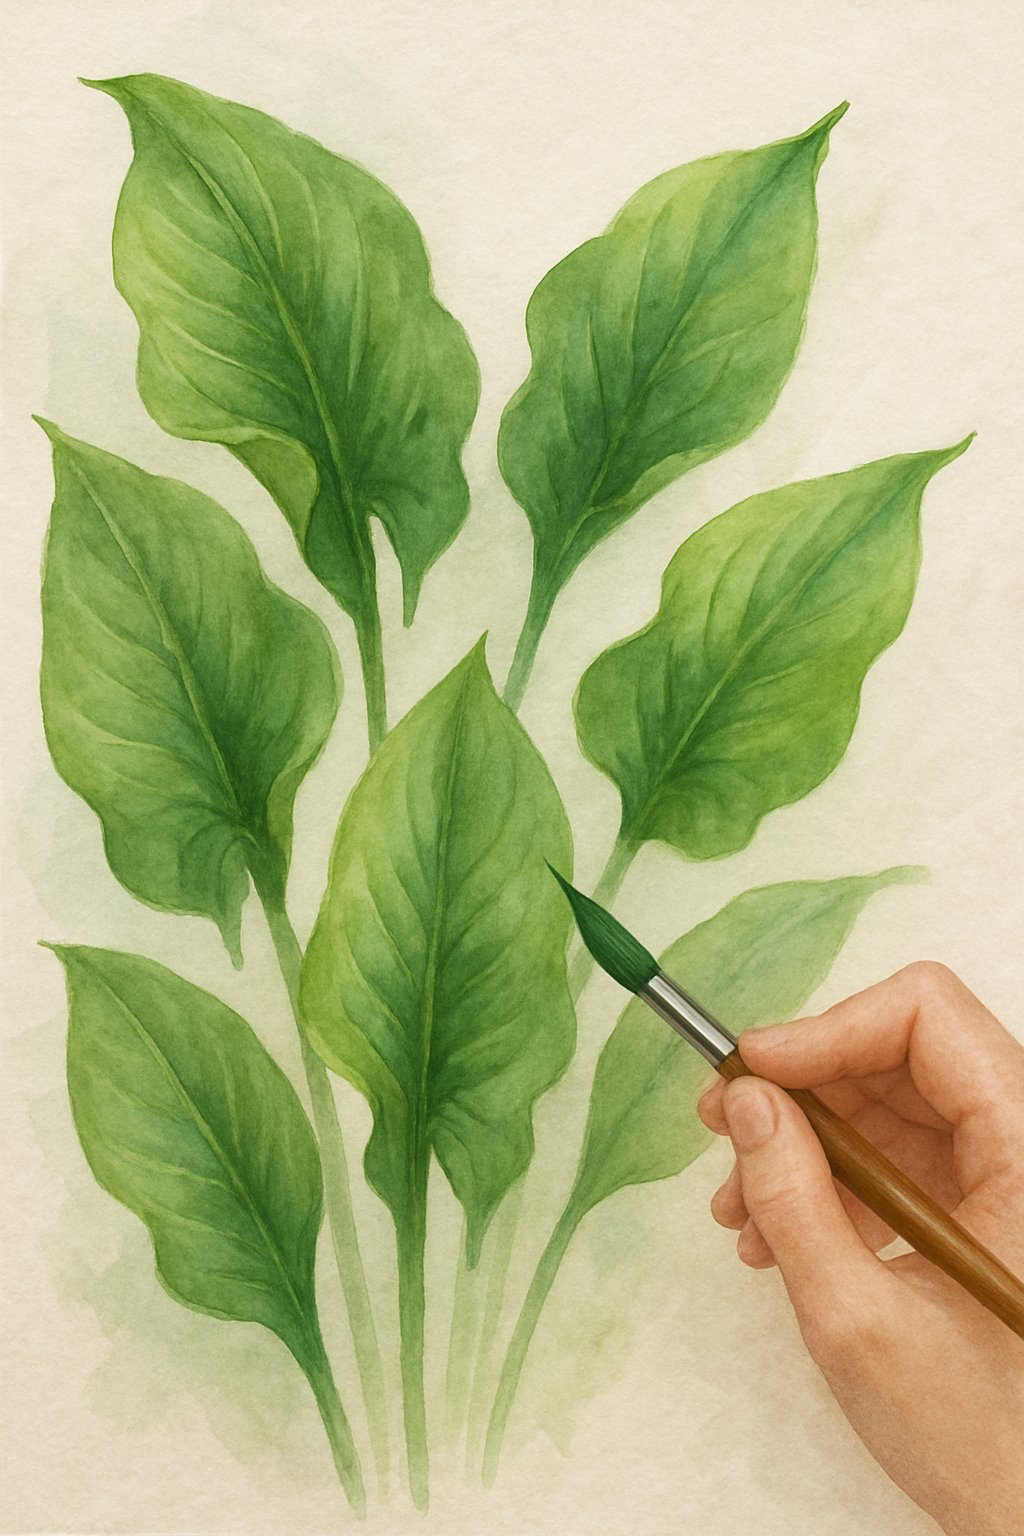
To paint the leaves, start with a blend of May Green and Permanent Green Olive for the main leaf area, leaving the underside on the right side unpainted. Then, mix Ultramarine with Permanent Green Olive to create a darker shade. This darker green is applied to the leaf tips, base, and a few veins. After the paint dries, add color to the leaf’s underside, keeping a thin white edge to show thickness. This approach gives the leaves a natural look with depth and detail.
4. Refining the Final Touches
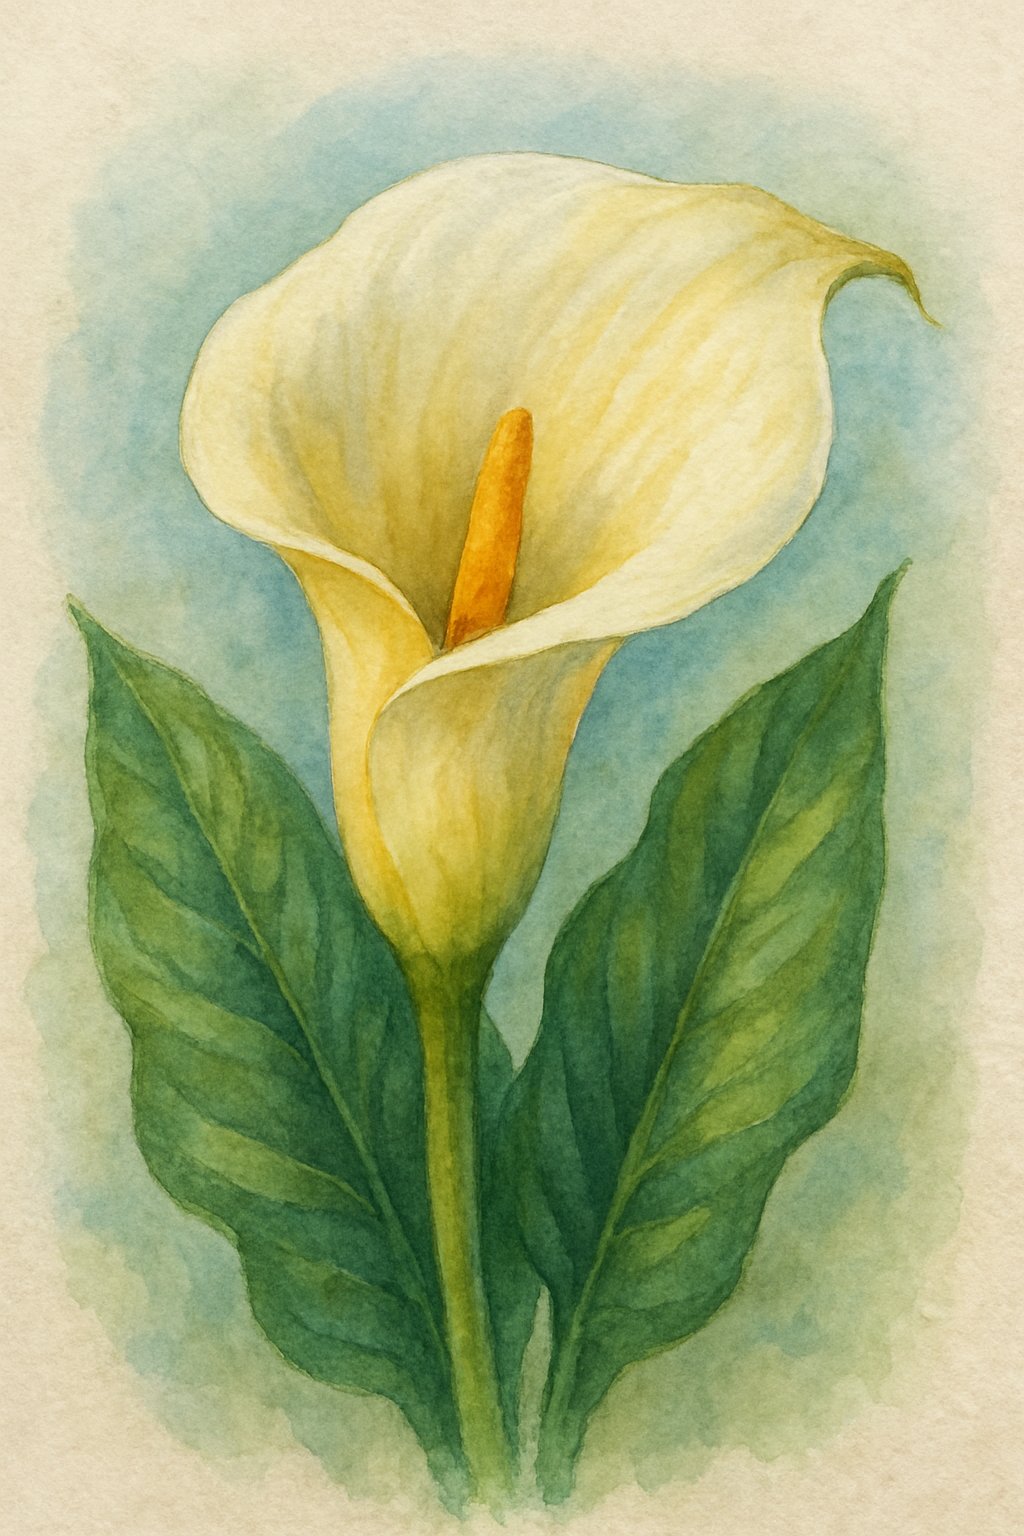
To complete the painting, focus on adding depth and subtle details. Begin by darkening the inner part of the flower that curves inward, highlighting the unique overlapping shape of the Calla Lily’s spathe.
After that area is dry, use a small brush to gently lift some paint and suggest fine lines. These lines should be delicate and not too bold, giving a soft texture without overpowering the flower’s natural look.
Next, the spadix—the flower’s central spike—needs to be painted yellow. To make it stand out more, surround it with a muted pink color created by mixing the flower’s base pink with a small amount of green. This contrast helps the spadix appear more three-dimensional.
Finally, add tiny brush strokes along the curve of the spathe. These fine marks add texture and help bring the flower to life. Use the tip of a fine brush for this step, applying light pressure.
Key steps to remember:
- Darken the inner cup of the spathe
- Lift paint lightly for soft lines
- Paint the spadix yellow, with a muted pink background
- Use fine brush strokes for texture
These finishing touches enhance the shape and depth of the Calla Lily, completing the soft and natural look of the watercolor painting.
Frequently Asked Questions
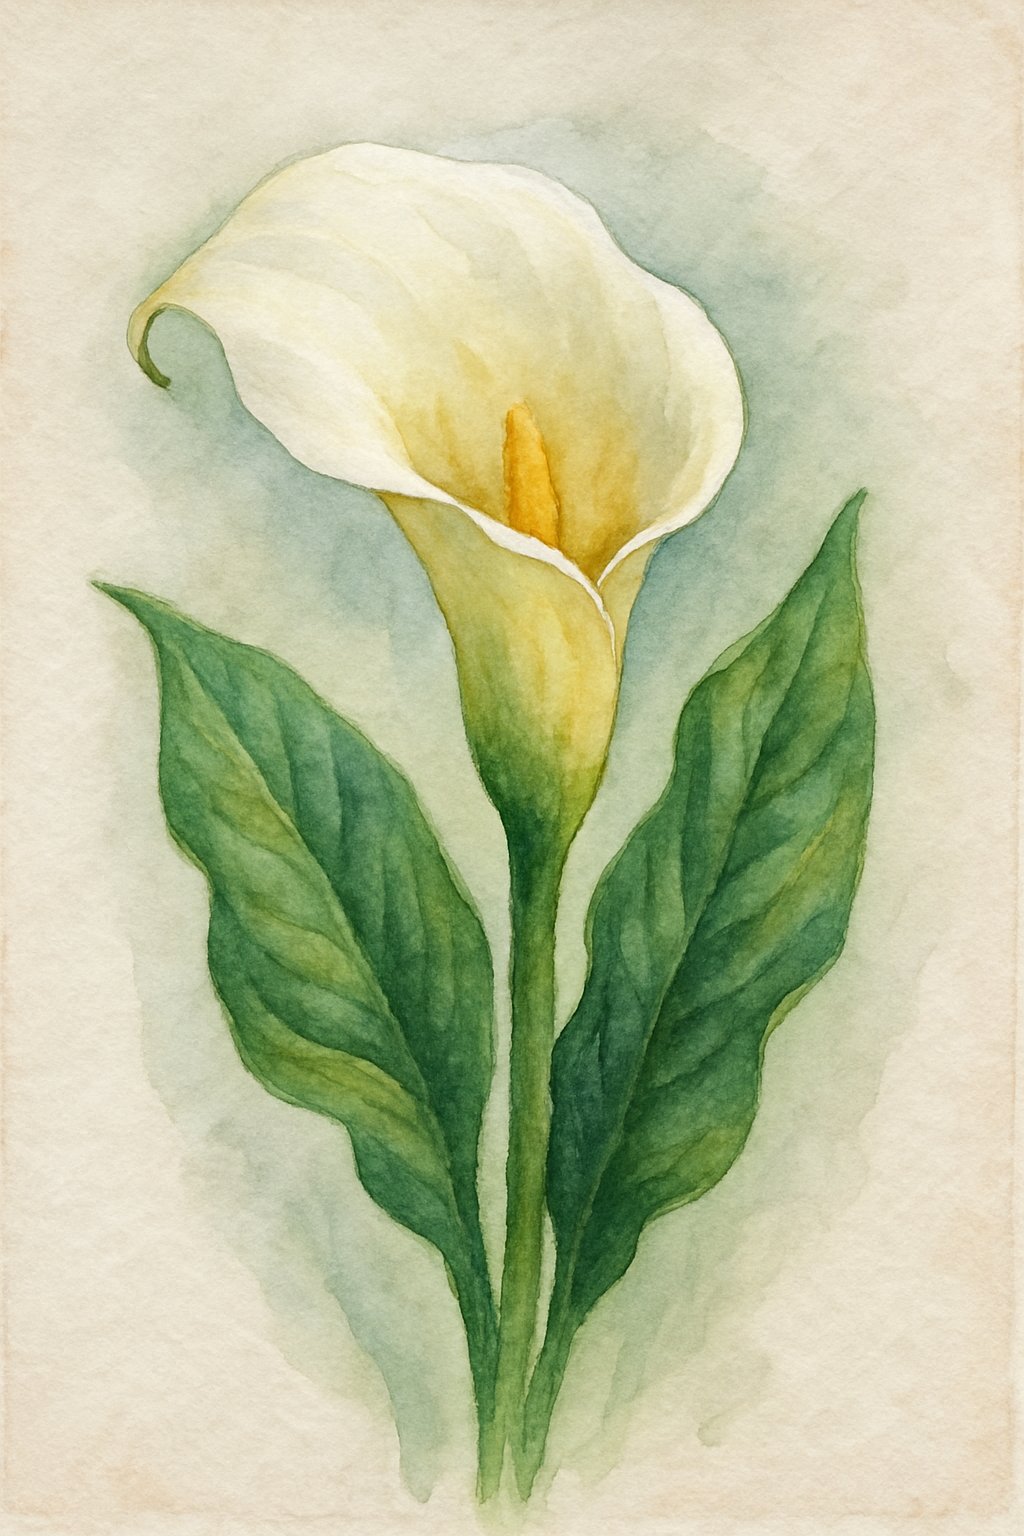
What are the main steps to paint a calla lily using watercolors?
- Lightly sketch the flower shape, focusing on its curved petal.
- Wet the paper where the paint will go.
- Start with light colors, usually yellows or pale tones, and allow drying.
- Add layers of color, such as blues or purples, to build depth.
- Use water control to blend gently and show the flower’s smooth curves.
Where can beginners find easy watercolor tutorials for painting flowers?
Beginners can find step-by-step watercolor lessons that use clear photos and simple instructions. Many tutorials focus on painting soft colors and shapes typical for flowers like calla lilies. Online video tutorials with live painting show the full process at an easy pace.
How can an artist show fine details of a calla lily in a watercolor painting?
Fine details are created by layering light washes first, letting each layer dry. Then, adding subtle lines or shadows with a thin brush helps define the shapes. Using water-soluble pencils under the paint can help mark areas without leaving harsh lines.
What methods help create realistic effects in watercolor portraits?
Realistic portraits rely on controlled layering and slow build-up of colors. Starting with light skin tones and gradually adding shadows and highlights creates dimension. Wet-on-wet techniques help blend colors softly, while dry brush strokes add texture.
What is the approach to making a loose style watercolor portrait?
A loose portrait uses relaxed brushstrokes instead of detailed lines. The artist applies broad washes of color then adds a few strategic darker tones to suggest features. This style allows some flow and unpredictability, focusing on mood rather than precision.
Which brushes and tools work best for painting flowers with watercolors?
- Round brushes: for details and broad strokes
- Flat brushes: for washes and backgrounds
- Small detail brushes: for sharp edges and fine lines
Using water-soluble pencils for sketching can be helpful. Paper quality should have good absorbency to hold layers well. Access to clean water and paper towels aids in controlling paint and water balance.