Simple watercolor paintings offer an accessible way for anyone to explore art without needing advanced skills or expensive materials. They provide an opportunity to practice basic techniques while creating visually pleasing artwork.
Simple watercolor paintings are an easy way to begin learning how to paint, making it possible to enjoy creativity without feeling overwhelmed. This approach helps build confidence and skills step by step, encouraging continued practice and growth.
1) Sunset gradient wash
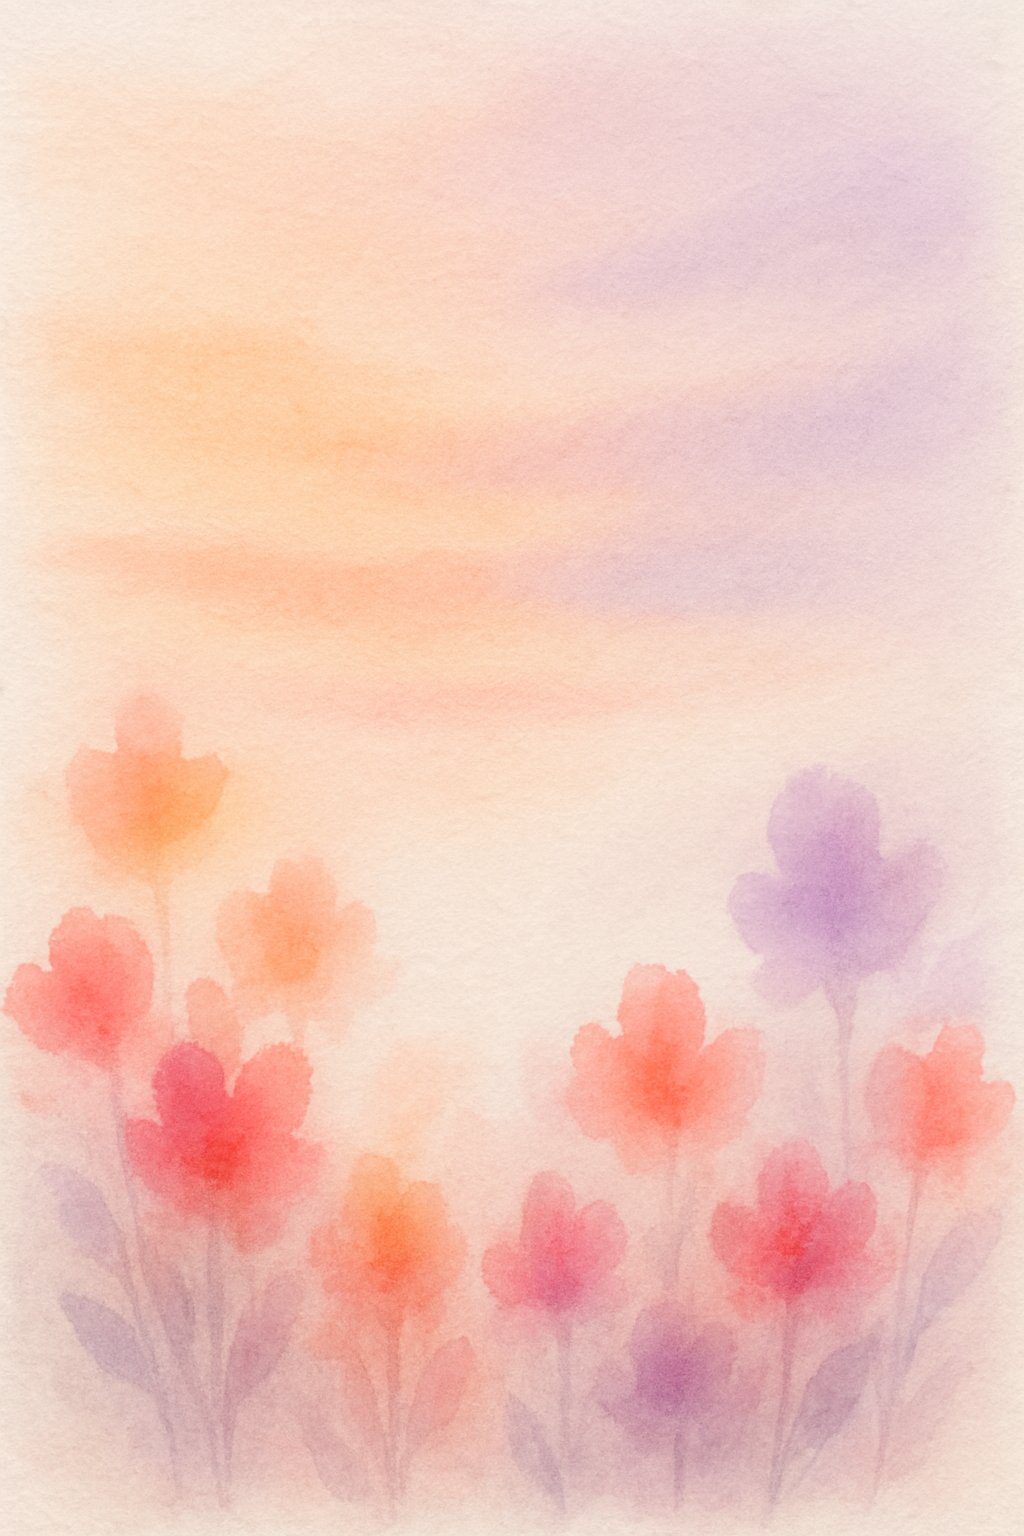
They start by applying a light wash of water on the paper. Next, colors like pink, orange, and purple are added smoothly to create a gradient.
Blending is done while the paint is still wet to avoid harsh lines. This technique gives a soft, natural sunset effect.
2) Simple balloon scene
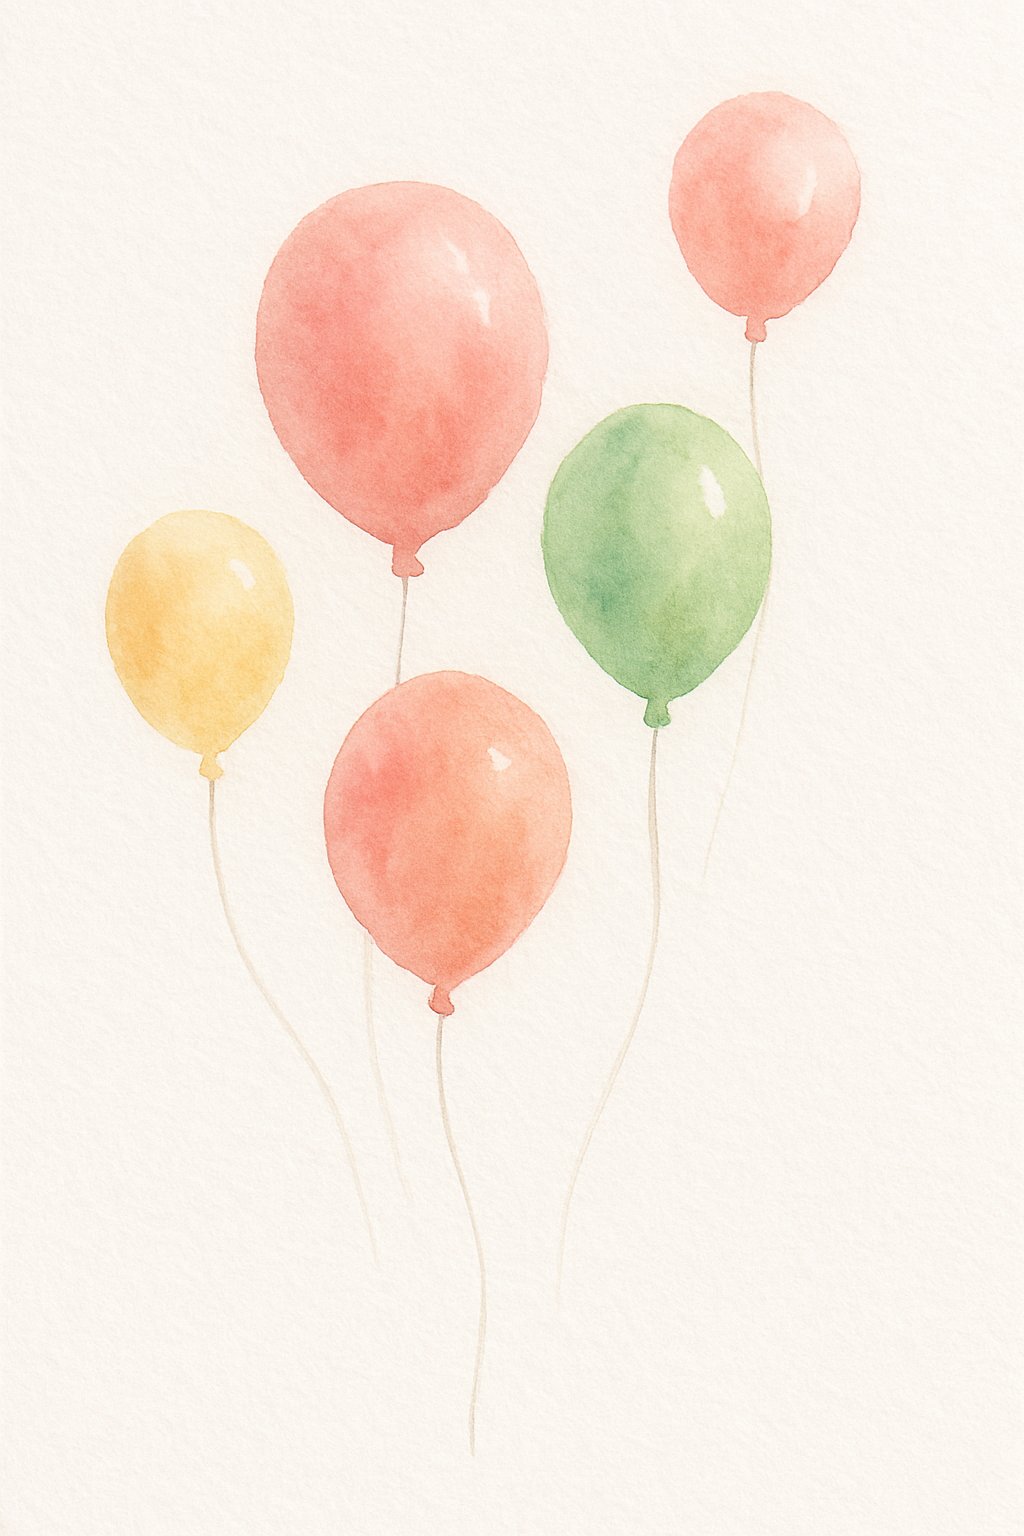
A simple balloon scene is an easy project for beginners. It usually shows colorful balloons floating in the sky with a light background.
This type of painting helps practice basic shapes and layering colors. It also teaches how to create soft edges for a gentle look.
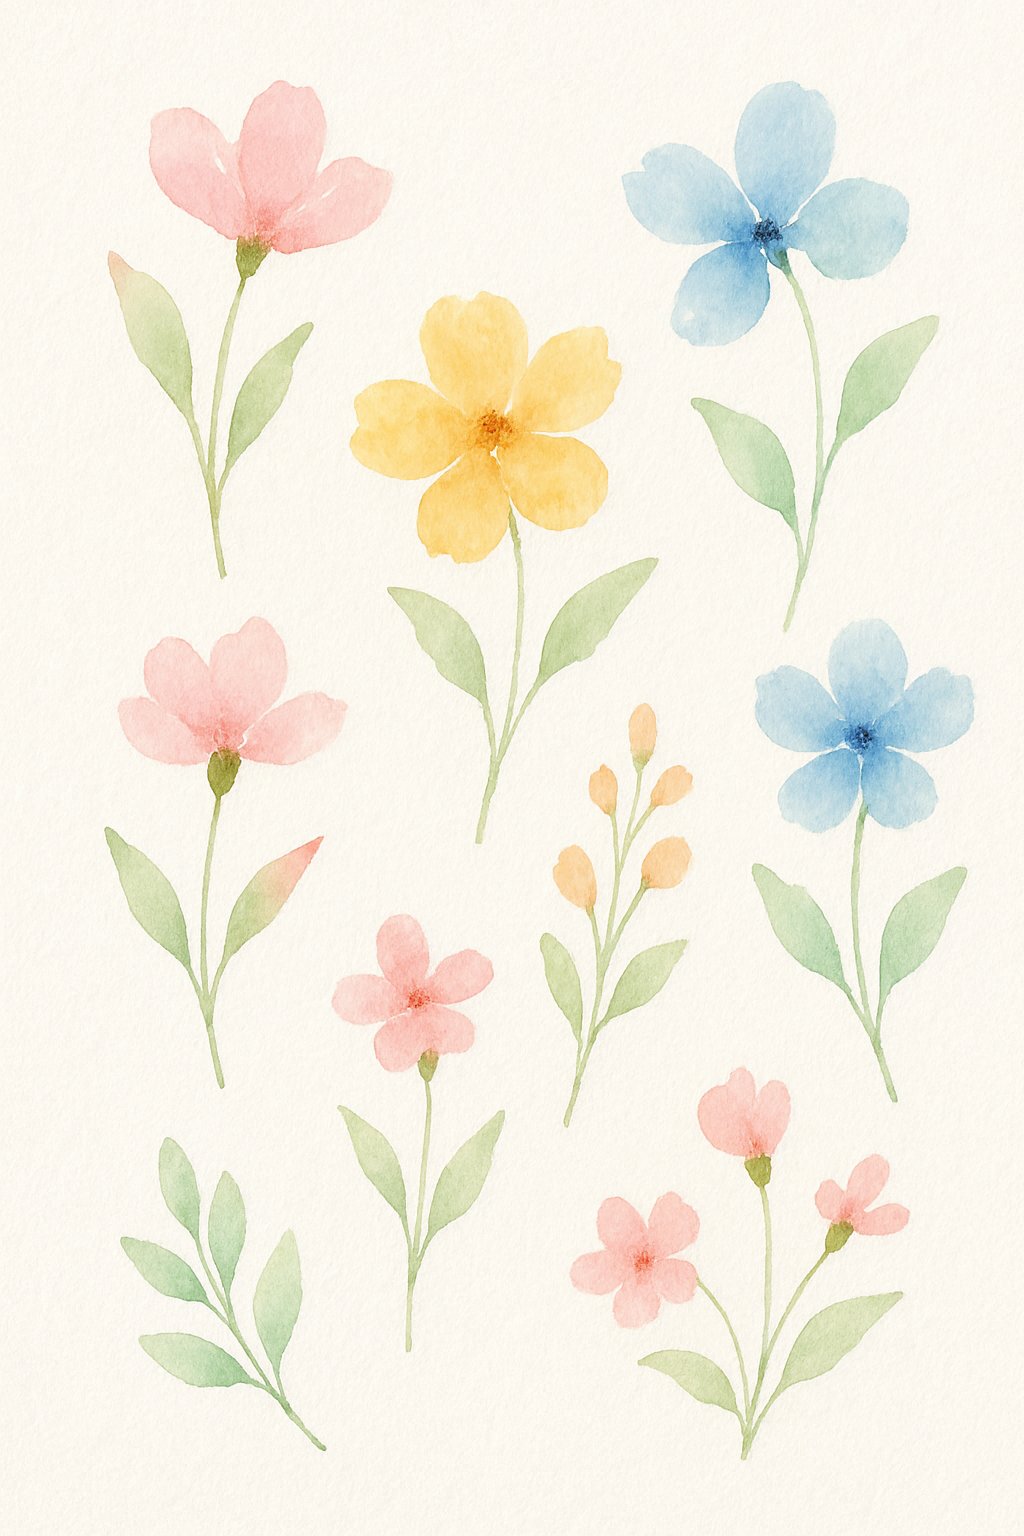
3) Bright flower bouquet
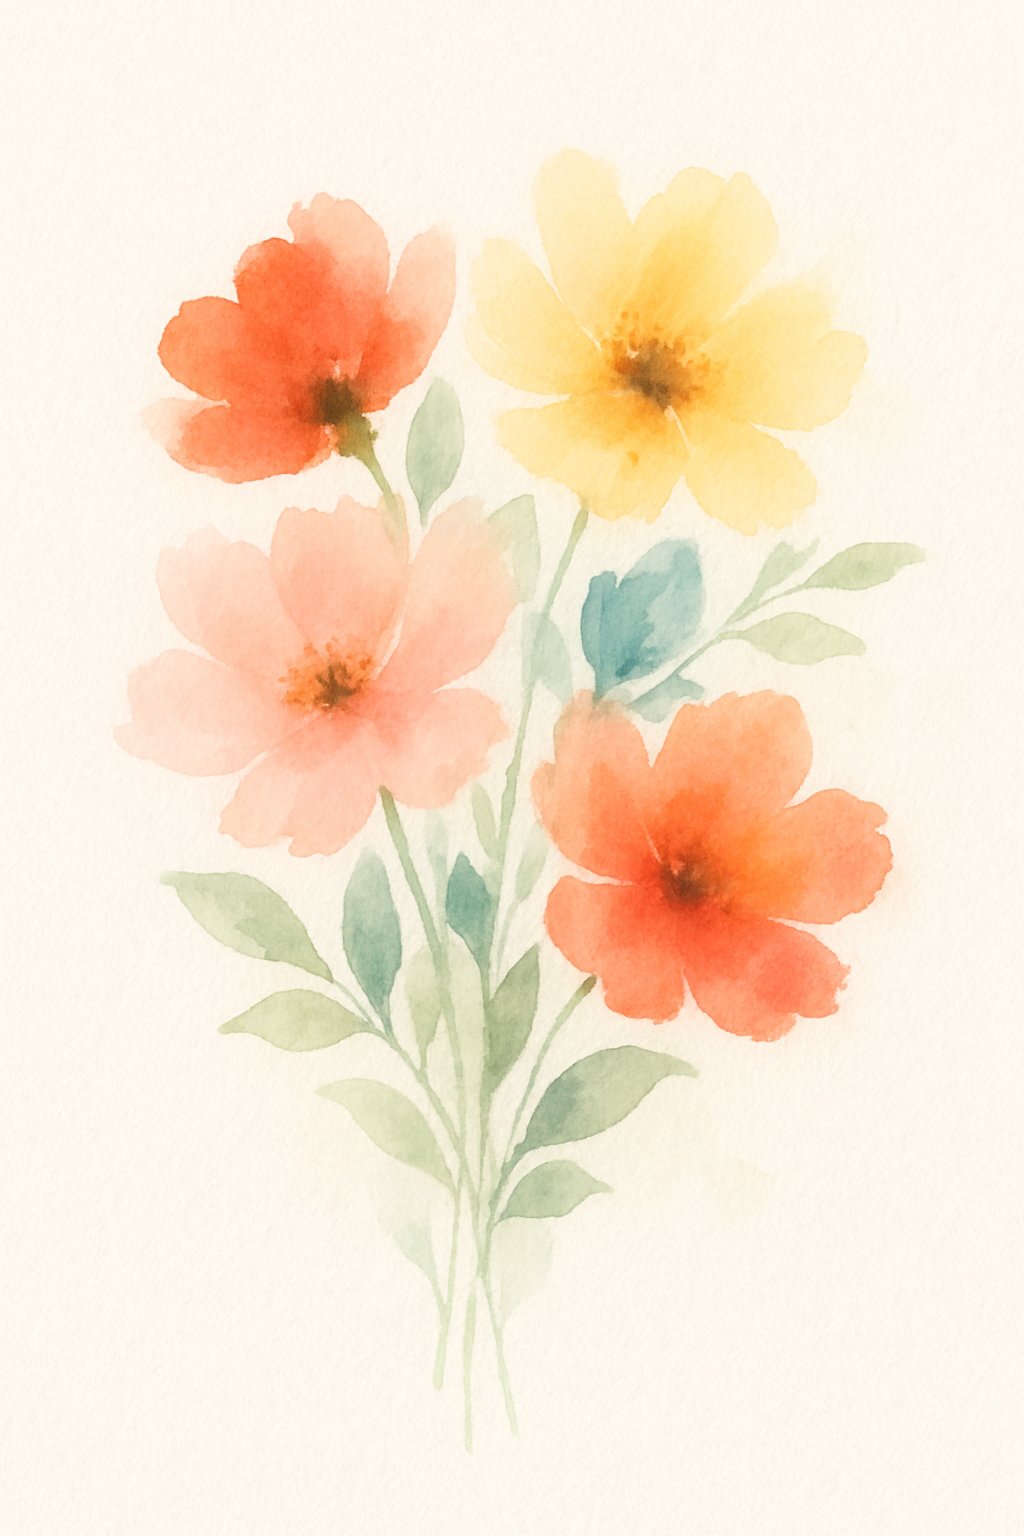
They use vibrant colors to paint bright flower bouquets. Simple brush strokes create lively petals and leaves. The focus is on mixing bold pinks, oranges, and reds to make the flowers stand out. This style works well for beginners and adds energy to the painting.
4) Minimalist city skyline
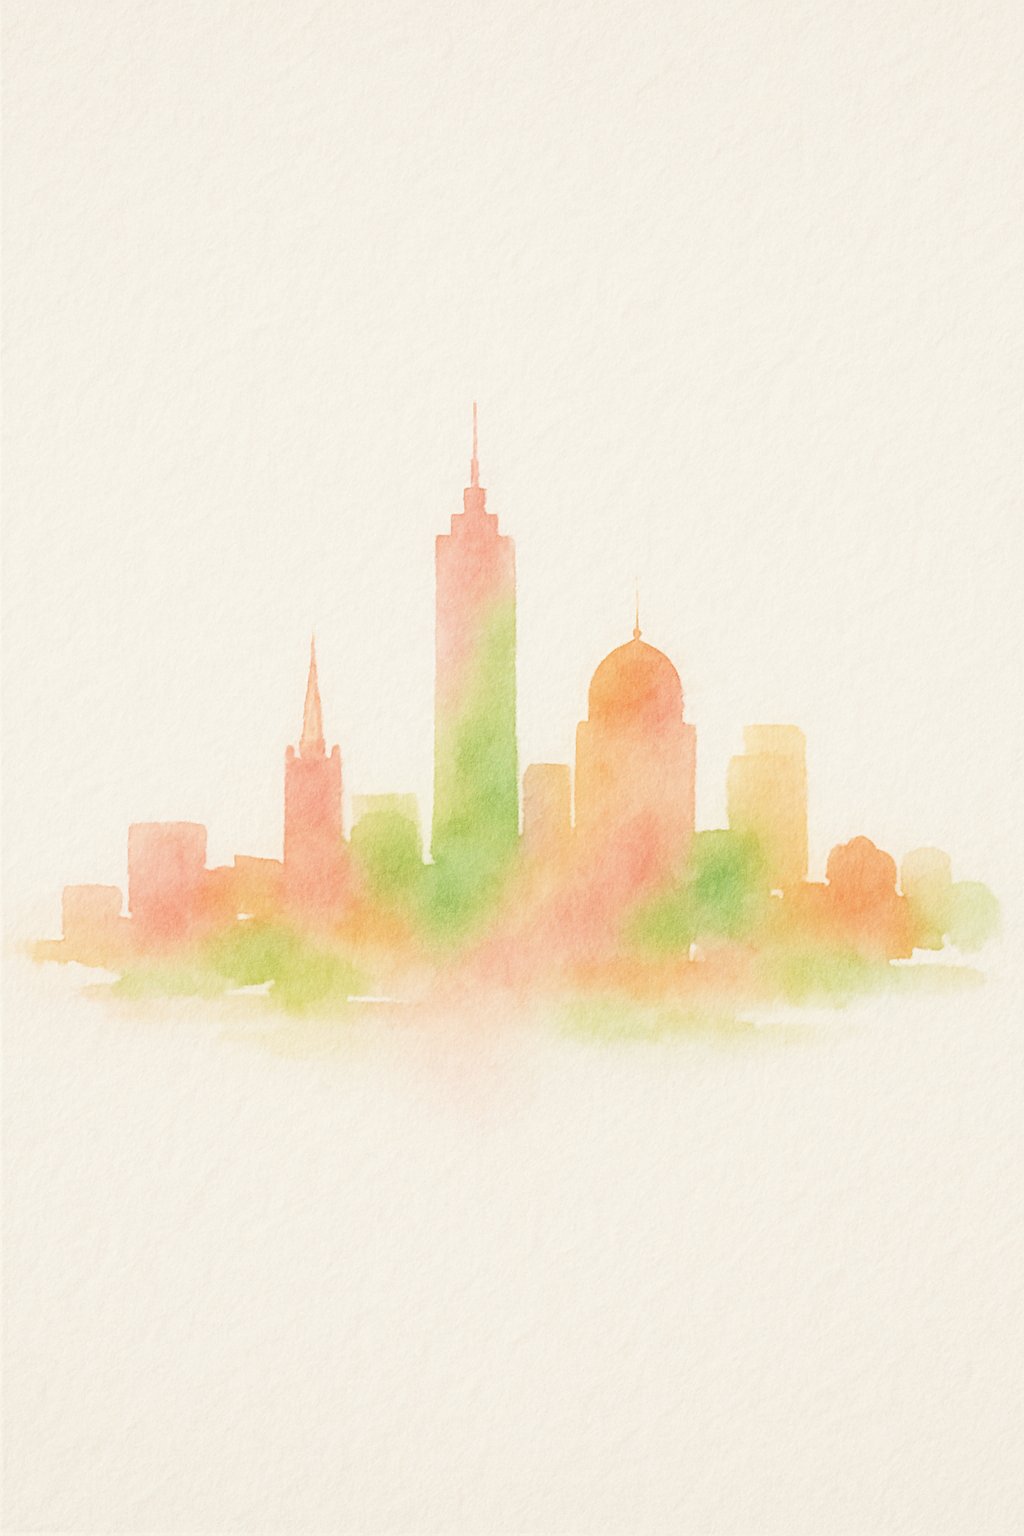
Minimalist city skyline paintings use simple shapes and soft colors. They focus on basic building outlines without many details.
This style is easy to create and looks calming. It highlights the beauty of a city with few brush strokes.
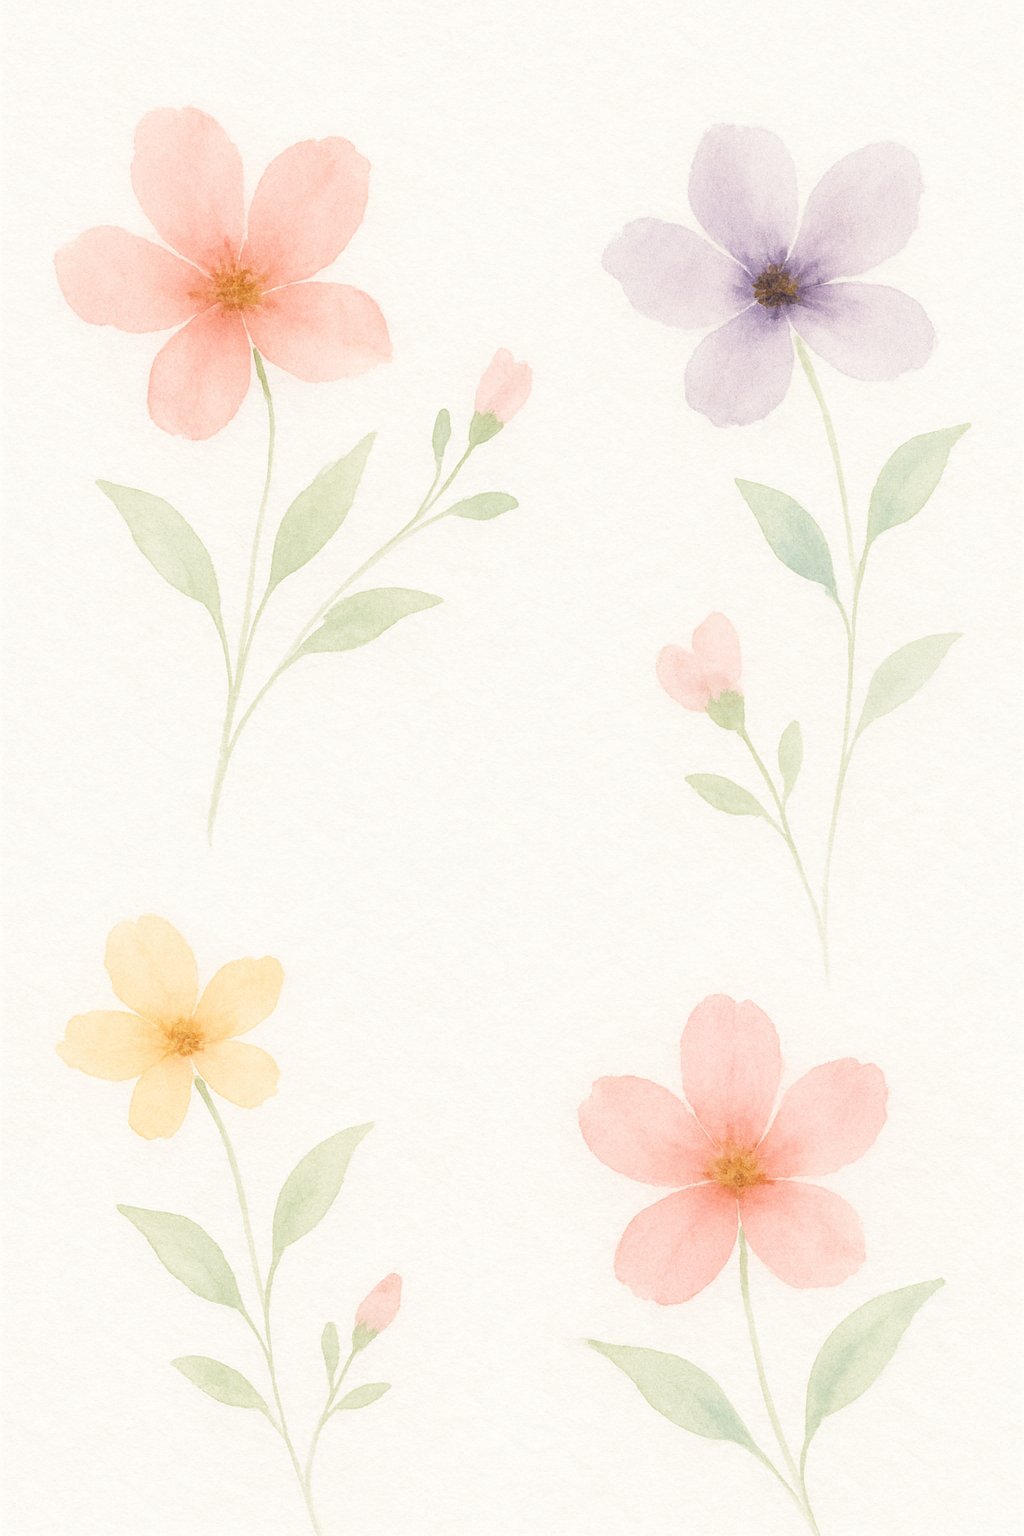
5) Chick in the grass
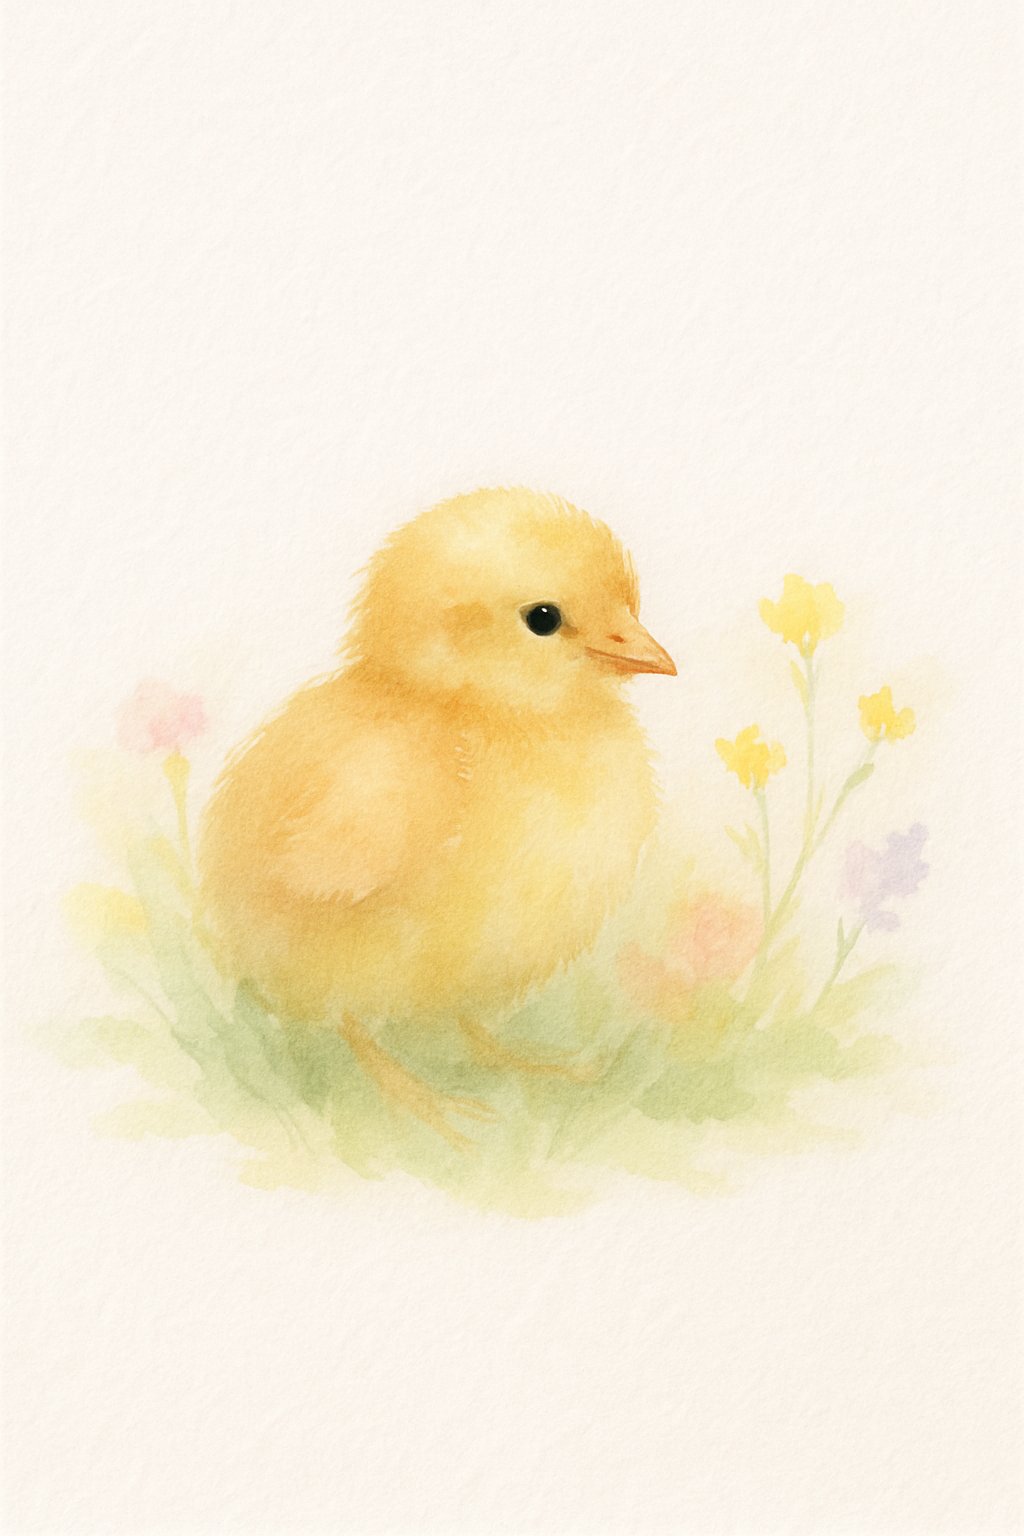
A chick in the grass is a simple and popular subject for watercolor painting. It allows artists to practice soft color blends and basic shapes. Painting small chicks with grass adds natural texture and gentle color contrasts. This subject works well for beginners learning basic watercolor techniques.
6) Galaxy night sky
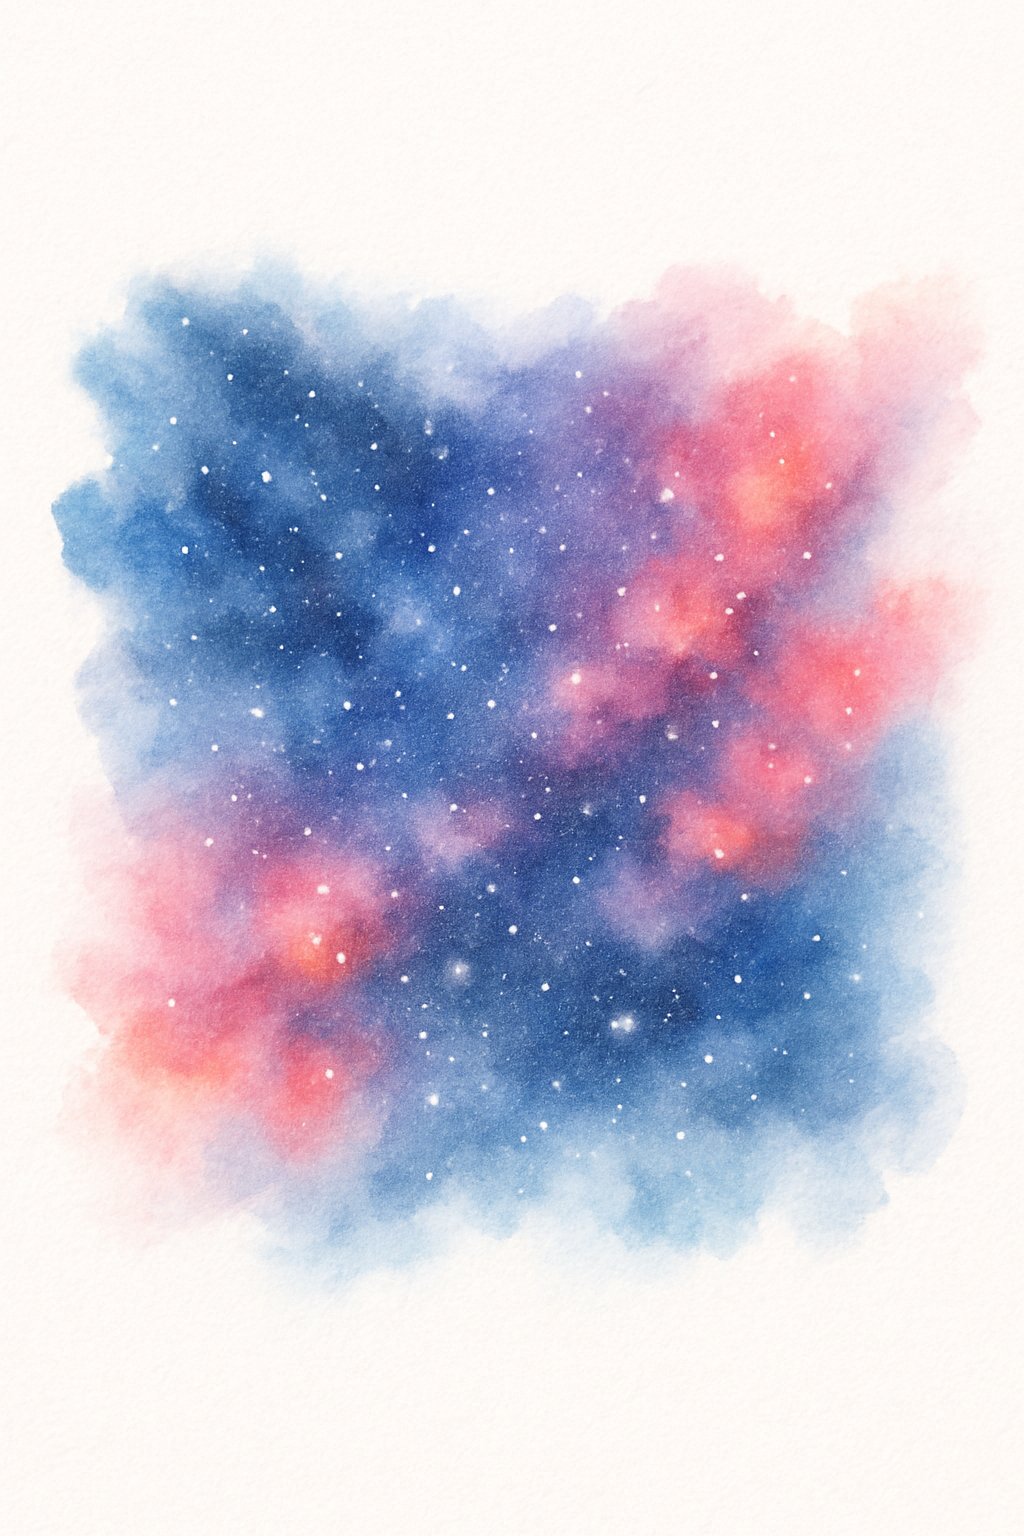
Painting a galaxy night sky with watercolor is simple and relaxing. It uses deep colors like blues, purples, and blacks blended softly. Adding white dots for stars completes the look with minimal effort. This style works well for beginners who want to create something striking without detailed skills.
7) Shooting star trail
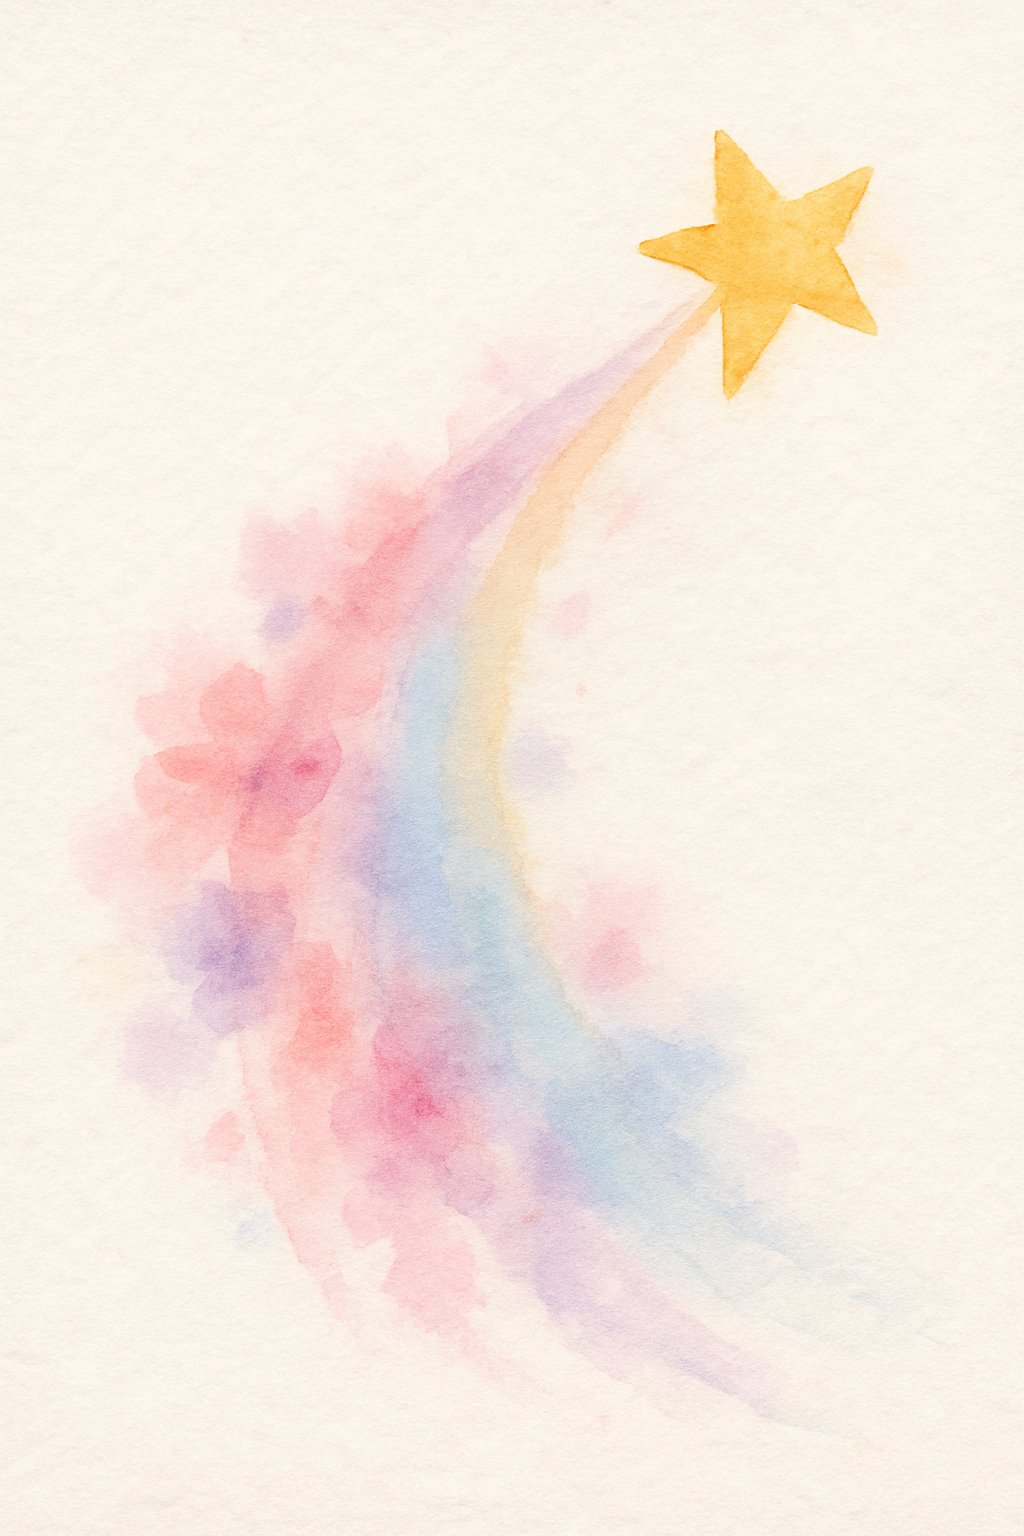
The shooting star trail is a simple and striking element in watercolor paintings. It usually starts with a small bright dot to represent the star.
Then, a soft, curved line follows to show the star’s movement. Light brushstrokes work best to keep the trail delicate and natural.
Essential Watercolor Techniques
Watercolor painting requires understanding how water and pigment interact on paper. Mastering these key methods helps control effects like blending, texture, and sharpness. Using layers correctly and handling brushes with care improves the final result.
Wet-on-Wet Versus Wet-on-Dry
Wet-on-wet technique means applying paint on damp paper or a wet area of paint. This creates soft edges and smooth color blends. It is good for backgrounds, skies, or soft shadows. The colors mix naturally and flow into each other.
Wet-on-dry is when paint is applied on dry paper. It results in sharper, more defined edges. This technique works well for details and shapes that need clear lines. Artists use it to control where the paint stays once it touches the surface.
Choosing between these two depends on the desired effect. Wet-on-wet is loose and fluid; wet-on-dry gives precision and contrast.
Layering and Blending Colors
Layering involves applying several thin washes of paint, letting each dry first. This builds color depth and richness without losing transparency. Each layer adds new tones, making the painting more complex.
Blending happens when colors are joined while wet, or by softening edges between layers once dry. For smooth graduations, artists often use a damp brush to merge two colors carefully.
A simple order for layering is to start with light colors and add darker shades last. Avoid mixing too many colors in one layer to keep colors clear and fresh.
Brush Control Basics
Brush control is key to creating clean lines, shapes, and textures. Holding the brush lightly and varying pressure changes the stroke width. A light touch makes thin lines, while more pressure produces thicker strokes.
Using the tip of the brush allows for fine detail work. The side or belly of the brush is good for broader washes and filling areas quickly.
Different brush sizes and shapes suit different tasks: round brushes for detail and small areas, flat brushes for straight edges and large washes. Practicing simple strokes helps develop steady control and consistency.
Choosing Materials for Simple Watercolor Paintings
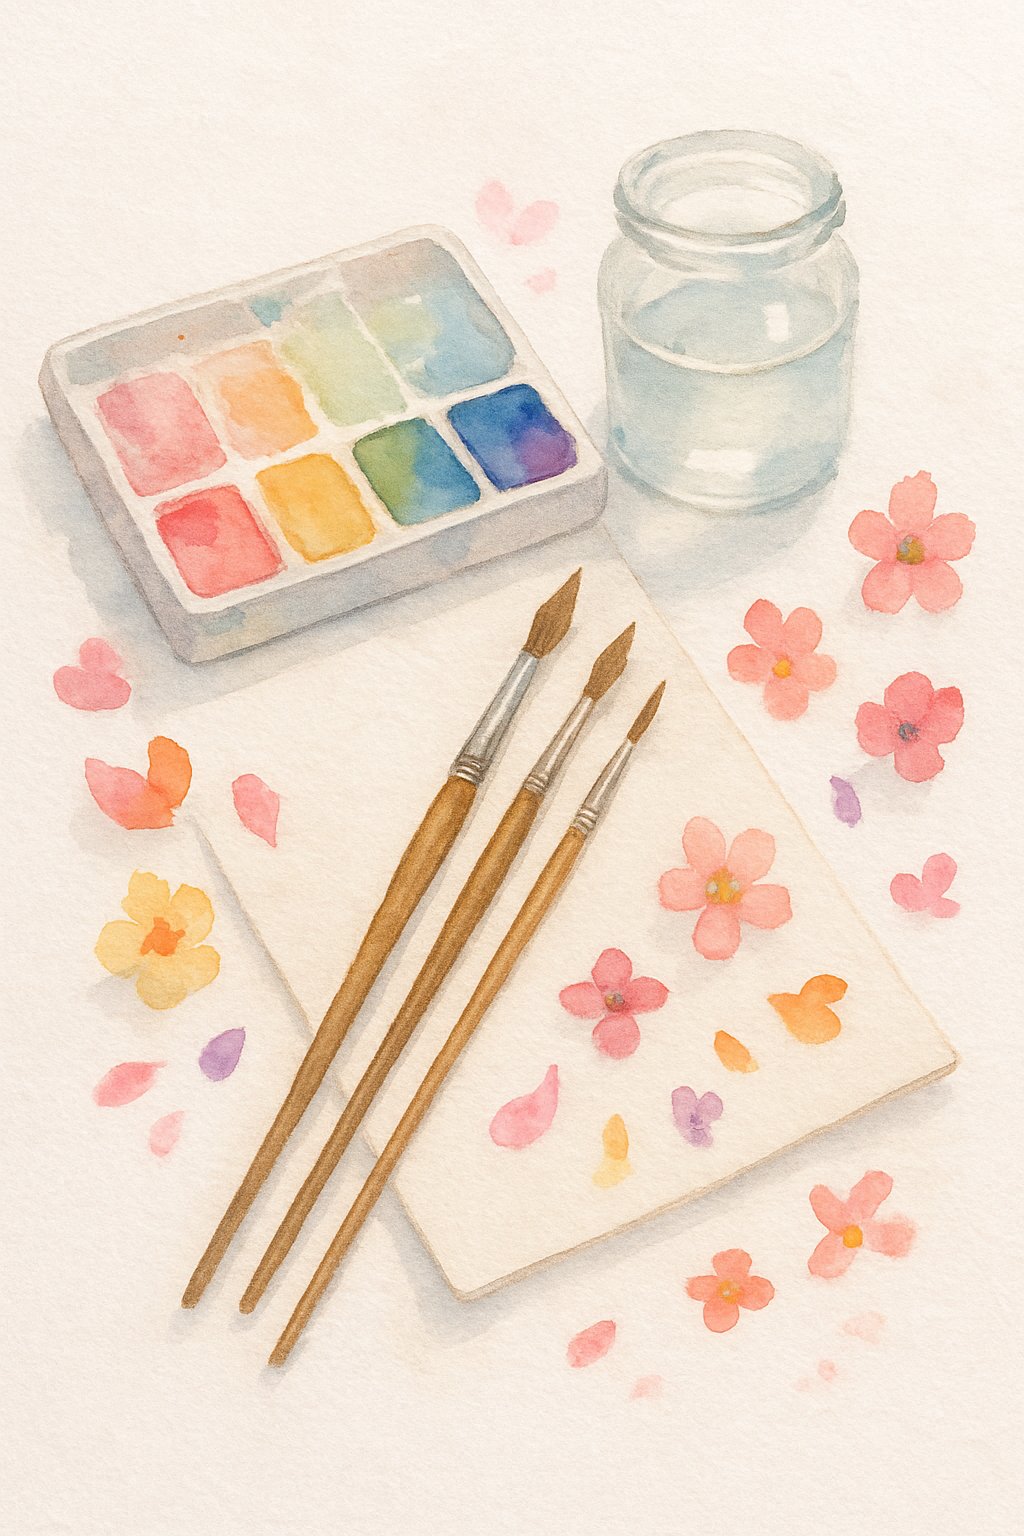
To create simple watercolor paintings, the right materials make a big difference. Paper quality affects how the paint spreads and dries. Paints and brushes determine the colors and details an artist can achieve.
Selecting Quality Paper
Watercolor paper needs to handle water without warping or tearing. Artists should choose paper made of 100% cotton or a good cotton blend. This paper absorbs water well and allows colors to blend smoothly.
The weight of the paper matters too. Heavier paper, usually 140 lb (300 gsm) or more, is best. It prevents buckling as the paint dries. Thinner paper can wrinkle and cause uneven washes.
Paper texture varies, mainly between hot-pressed (smooth), cold-pressed (slightly rough), and rough. Cold-pressed paper is the most versatile and common choice for beginners. It offers enough texture for detail but still lets the paint flow easily.
Types of Paints and Brushes
Watercolor paints come in tubes or pans. Tubes have moist paint and offer strong, vibrant colors. Pans are dried and convenient for travel. Beginners often start with a small set of basic colors to mix many shades.
Brushes are made from synthetic or natural hair. Synthetic brushes hold water well and are usually less expensive. Natural hair brushes, like sable or squirrel, provide softer strokes but cost more.
For simple paintings, a few brushes in round shapes sized 6 to 10 are helpful. A larger brush covers broad areas, while smaller ones help add details. Flat brushes can make sharp edges and washes.
Both paint and brush quality impact how easy it is to control water and color on the paper. Choosing tools that suit the artist’s style and budget is essential.
Frequently Asked Questions
Watercolor painting involves mastering techniques like washes and layering. Choosing the right paper and supplies helps beginners achieve better results. Simple subjects and clear steps make starting easier, and controlling moisture prevents warping.
What are some beginner-friendly watercolor techniques?
Wet-on-wet is a good starting technique. It involves applying wet paint to wet paper for smooth color blending.
Another approach is wet-on-dry, painting wet color onto dry paper for sharper edges.
Basic layering lets artists add depth by letting paint dry before adding more layers.
How do I choose the right paper for simple watercolor paintings?
Look for watercolor paper that is at least 140 lb (300 gsm). It holds water well without buckling.
Cold-pressed paper is a popular choice because it offers some texture and absorbs water evenly.
Avoid regular drawing paper as it may not handle water well.
What basic watercolor supplies do I need to get started?
Start with a set of watercolor paints, a few round brushes (sizes 6 and 10 are good), and a mixing palette.
Use a container for clean water and paper towels to blot brush tips.
Begin with a pad of watercolor paper suitable for practice.
What are some easy subjects to paint with watercolors for beginners?
Simple motifs like a sunset gradient wash let beginners practice color blending.
A bright flower bouquet or minimalist city skyline offer clear shapes.
Nature scenes such as a chick in the grass or a balloon floating in the sky are good for practicing layering colors.
Can you provide step-by-step instructions for a simple watercolor painting?
For a sunset gradient wash:
- Wet the area of the paper with clean water.
- Start applying yellow paint at the bottom.
- Gradually add orange and then red toward the top while the paper is still wet.
- Let the paper dry before adding details or darker shades.
How do I prevent my watercolor paintings from warping?
Use heavier paper (140 lb or more) to resist bending.
Stretch the paper by wetting it and taping it down to a board before painting.
Dry the painting flat under light weight or press it gently once dry.