Watermelon watercolor painting in a realistic style is a popular choice for both beginners and experienced artists. It allows you to practice key watercolor techniques like layering, shading, and blending while creating a vibrant and fresh-looking subject. Using a limited palette and simple steps makes it easy to capture the juicy texture and bright colors of watermelon slices.
The process focuses on building color gradually to show the fruit’s natural gradients, from the deep red flesh to the green rind. Artists can use these techniques to improve detail and control within their watercolor work. This tutorial also offers creative ideas to paint watermelons alone or as part of summer-themed compositions.
By following clear step-by-step instructions, anyone can create a realistic watermelon painting with confidence. This approach helps break down the process into manageable parts, making watercolor painting less intimidating and more enjoyable.
Watermelon watercolor painting tutorial (realistic style). Watercolor painting ideas.

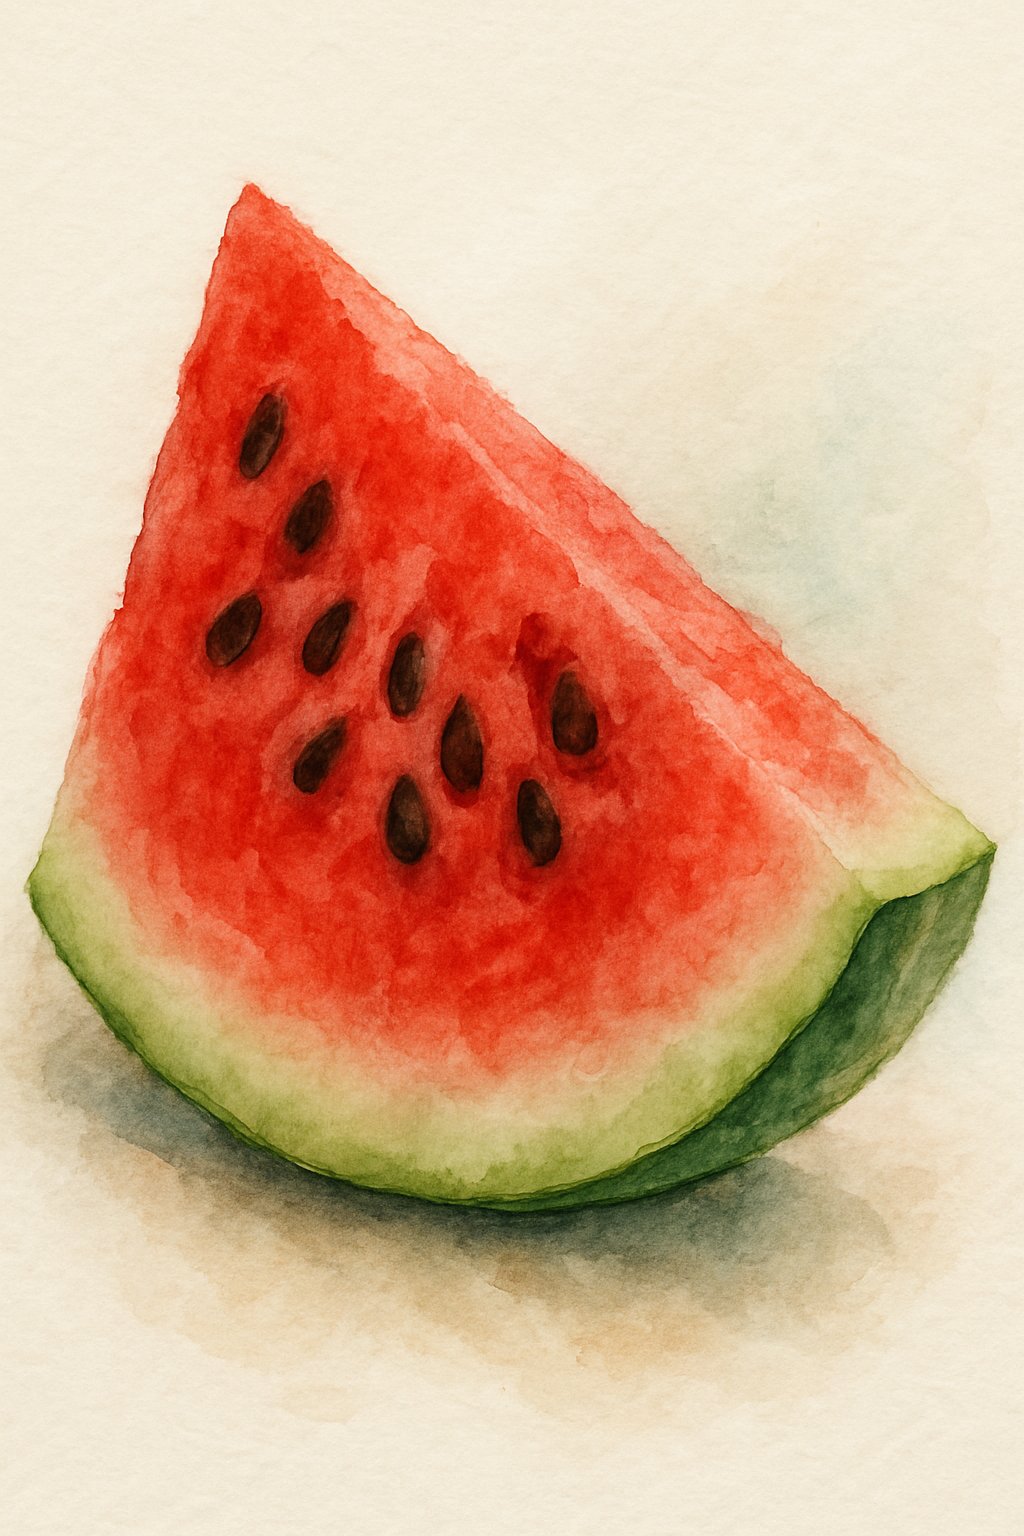
To paint a realistic watermelon in watercolor, start with a light pencil sketch of the fruit’s shape. Focus on the rounded form and the characteristic stripes on the rind.
Next, use a wet-on-wet technique to apply the base colors. For the rind, blend two hues of green softly to show roundness. For the red flesh, use different shades of red to create depth and texture.
Add details such as the seeds by using a small brush and dark brown or black paint. Seeds should be varied in size and shape to look natural.
To make the watermelon look shiny and fresh, leave some areas blank or use white paint for highlights. This adds a sense of moisture and light reflection.
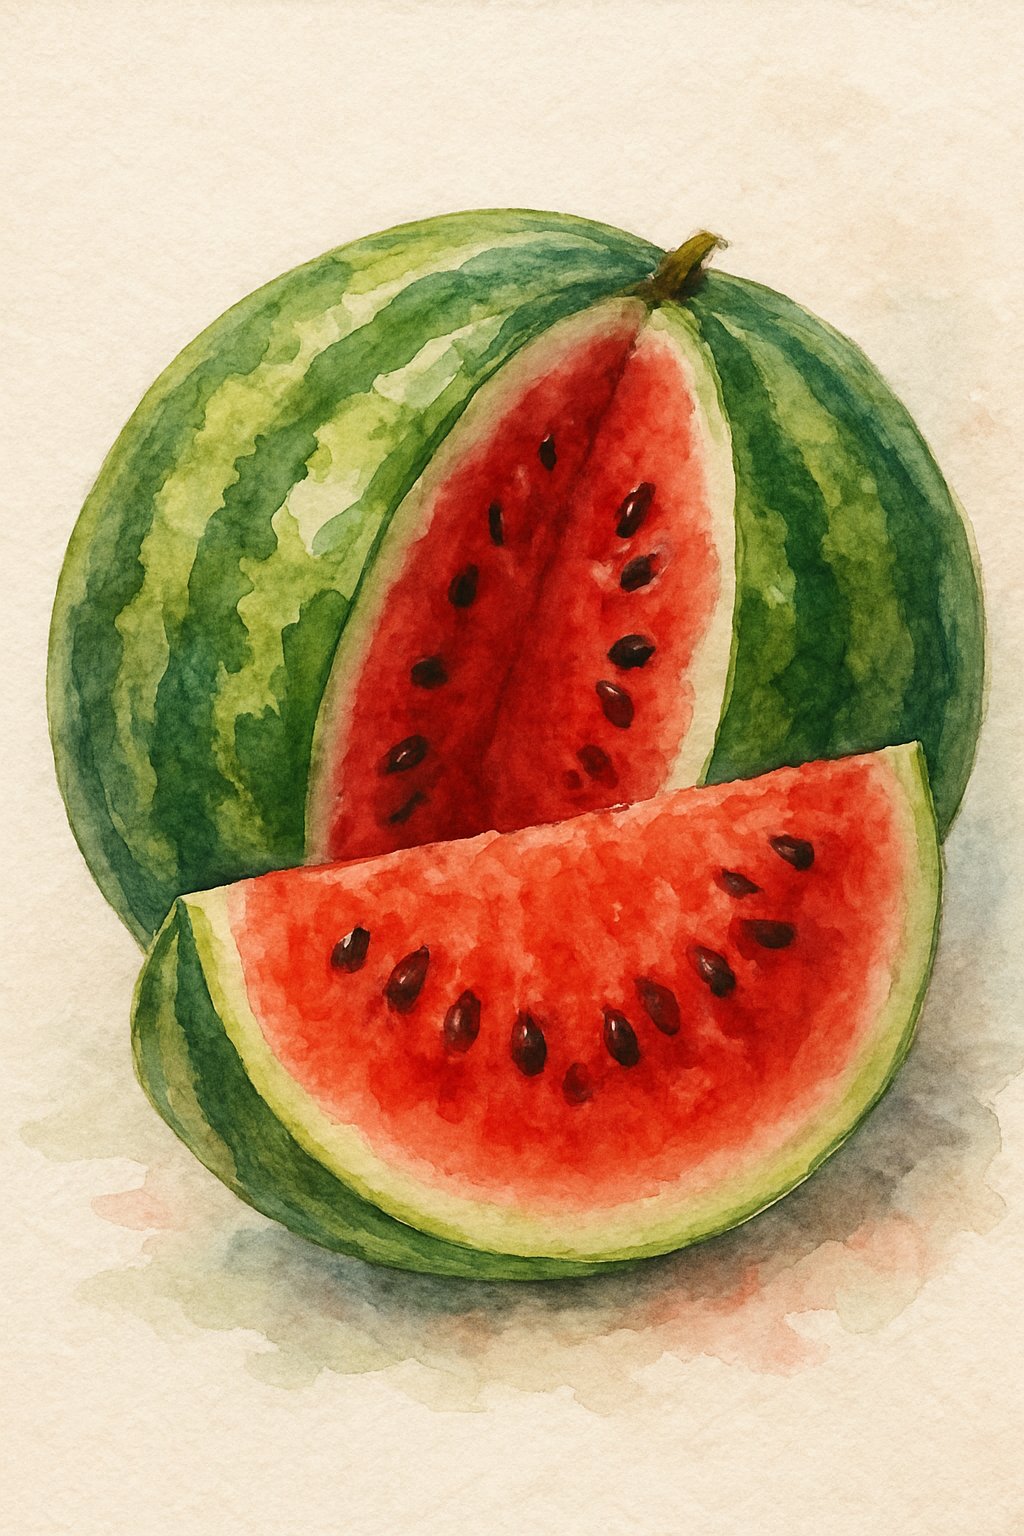
Some watercolor painting ideas include painting a slice, a whole watermelon, or a few pieces arranged on a plate. Using a light background can help the colors of the watermelon pop.
A simple supply list for this project includes:
| Supplies | Notes |
|---|---|
| Watercolor paints | Reds, greens, brown, and black shades |
| Brushes | Round small and medium sizes |
| Watercolor paper | Medium weight (140 lb) recommended |
| Pencil and eraser | For initial sketch |
Practicing basic watercolor techniques such as wet-on-wet and wet-on-dry will help achieve a realistic look. Step-by-step painting with patience produces the best results.
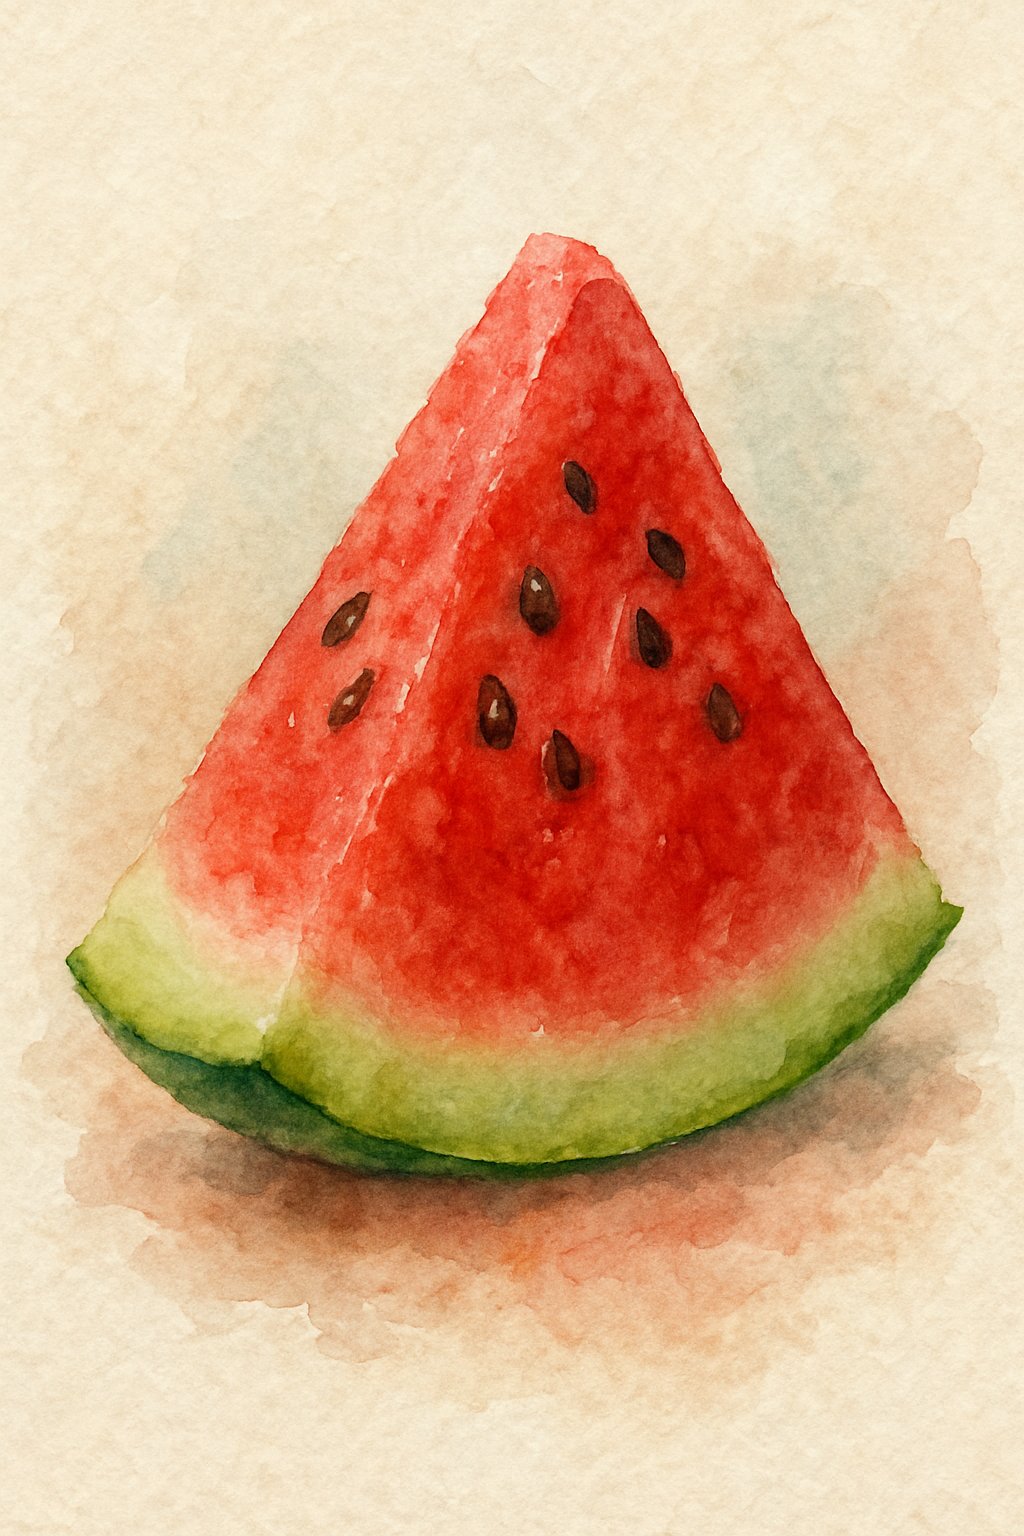
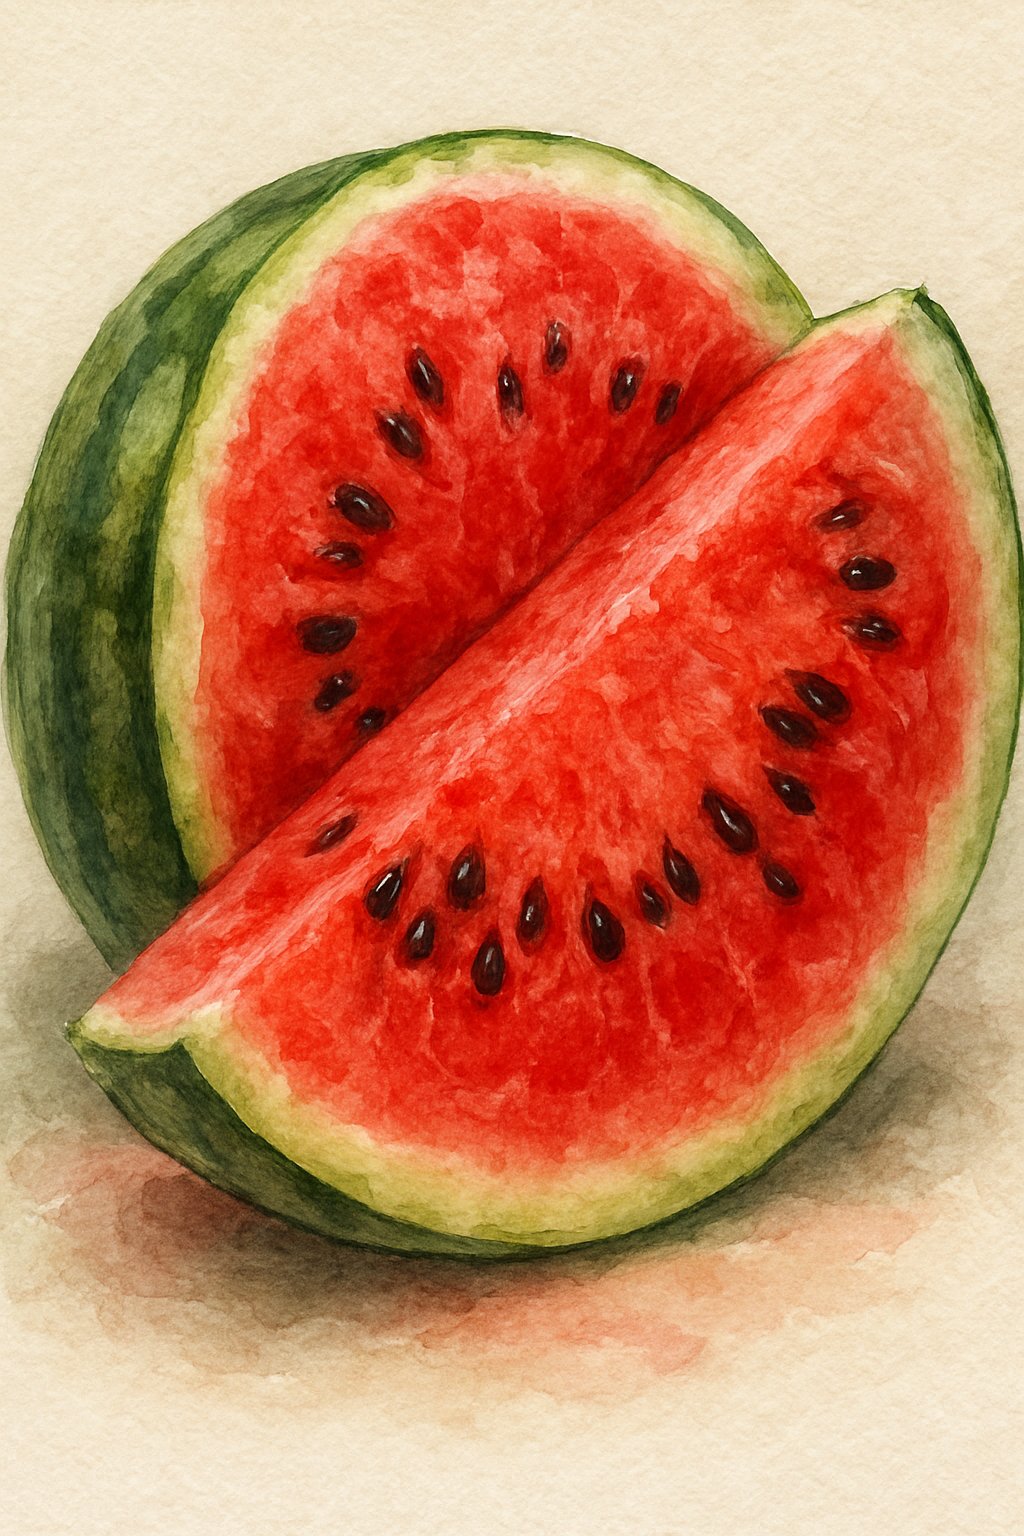
Realistic Watermelon Painting
Creating a realistic watermelon in watercolor requires focusing on color, texture, and light. The artist uses a limited palette, often just a few shades of green and red, to capture the juicy look of the fruit. This approach keeps the painting simple but effective.
A key technique is layering. The painter starts with light washes to build the basic shape and color of the watermelon. After drying, they add darker tones and details like seeds, rind texture, and highlights.
Wet-on-wet and wet-on-dry techniques are both useful. Wet-on-wet helps blend colors smoothly for a soft look, especially in the red flesh. Wet-on-dry is used to create sharp details, such as the rind lines or the black seeds.
Artists often use two greens for the rind: one light and one dark, to show depth and roundness. The inside is painted with different reds and pinks, sometimes with a hint of white for the juicy shine.
Using a smaller brush for details and a larger brush for washes helps control the final image. It’s important to leave some white space or light spots to show natural light reflecting on the watermelon.
The process focuses on patience and layering rather than speed. Beginners are encouraged to practice basic techniques before adding complex details.
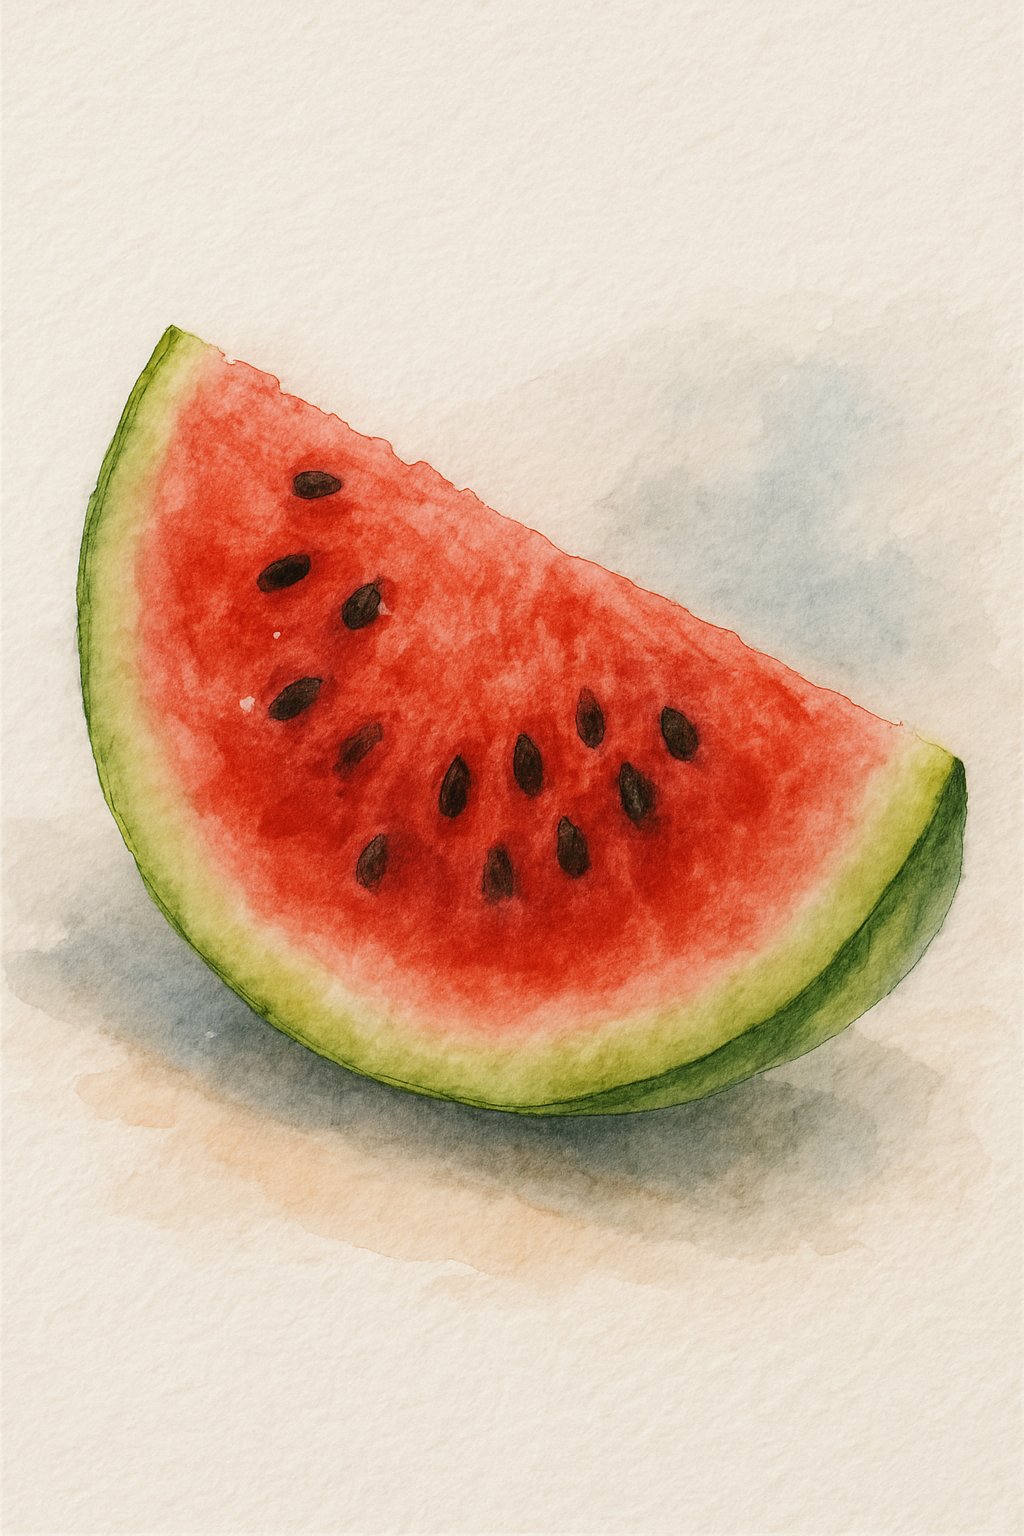
Super Easy Watercolour Watermelon Pattern
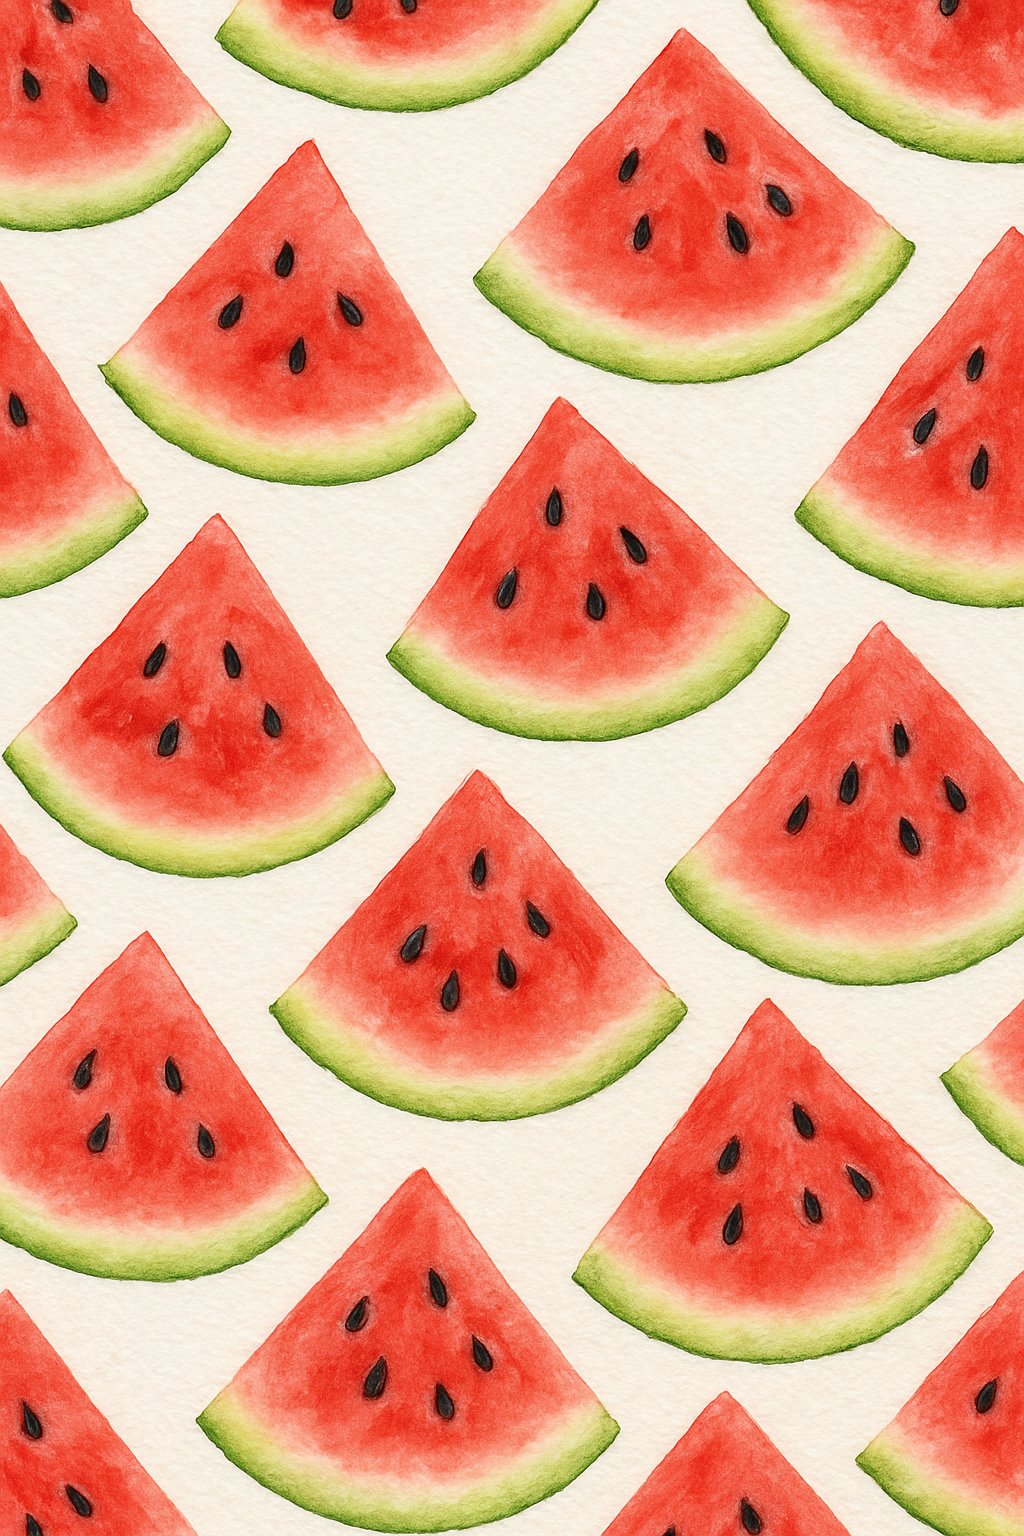
This watermelon pattern is simple and perfect for beginners. It uses only a few colors and basic watercolor techniques. The focus is on creating bright, fresh slices that look natural.
The key colors needed are:
| Color | Purpose |
|---|---|
| Light red/pink | Watermelon flesh |
| Dark red/pink | Shadows and depth |
| Green | Rind |
| White space | Highlights and seeds |
Start by sketching a few watermelon slices on your paper. Keep the shapes simple, using triangles with curved edges. Use wet-on-wet technique to blend light and dark reds softly in the flesh. This creates a juicy look.
Add thin green lines for the rind. Let the paint dry before adding seeds with a darker pigment or pen. This pattern can be repeated in different directions for a playful design.
The pattern works well on many paper types, including student-quality and cotton paper. It does not require advanced tools. Just a few brushes and basic paints will do.
This approach helps painters build confidence. It also teaches control of water and color blending. It is a good step before moving on to more detailed, realistic watermelon paintings.
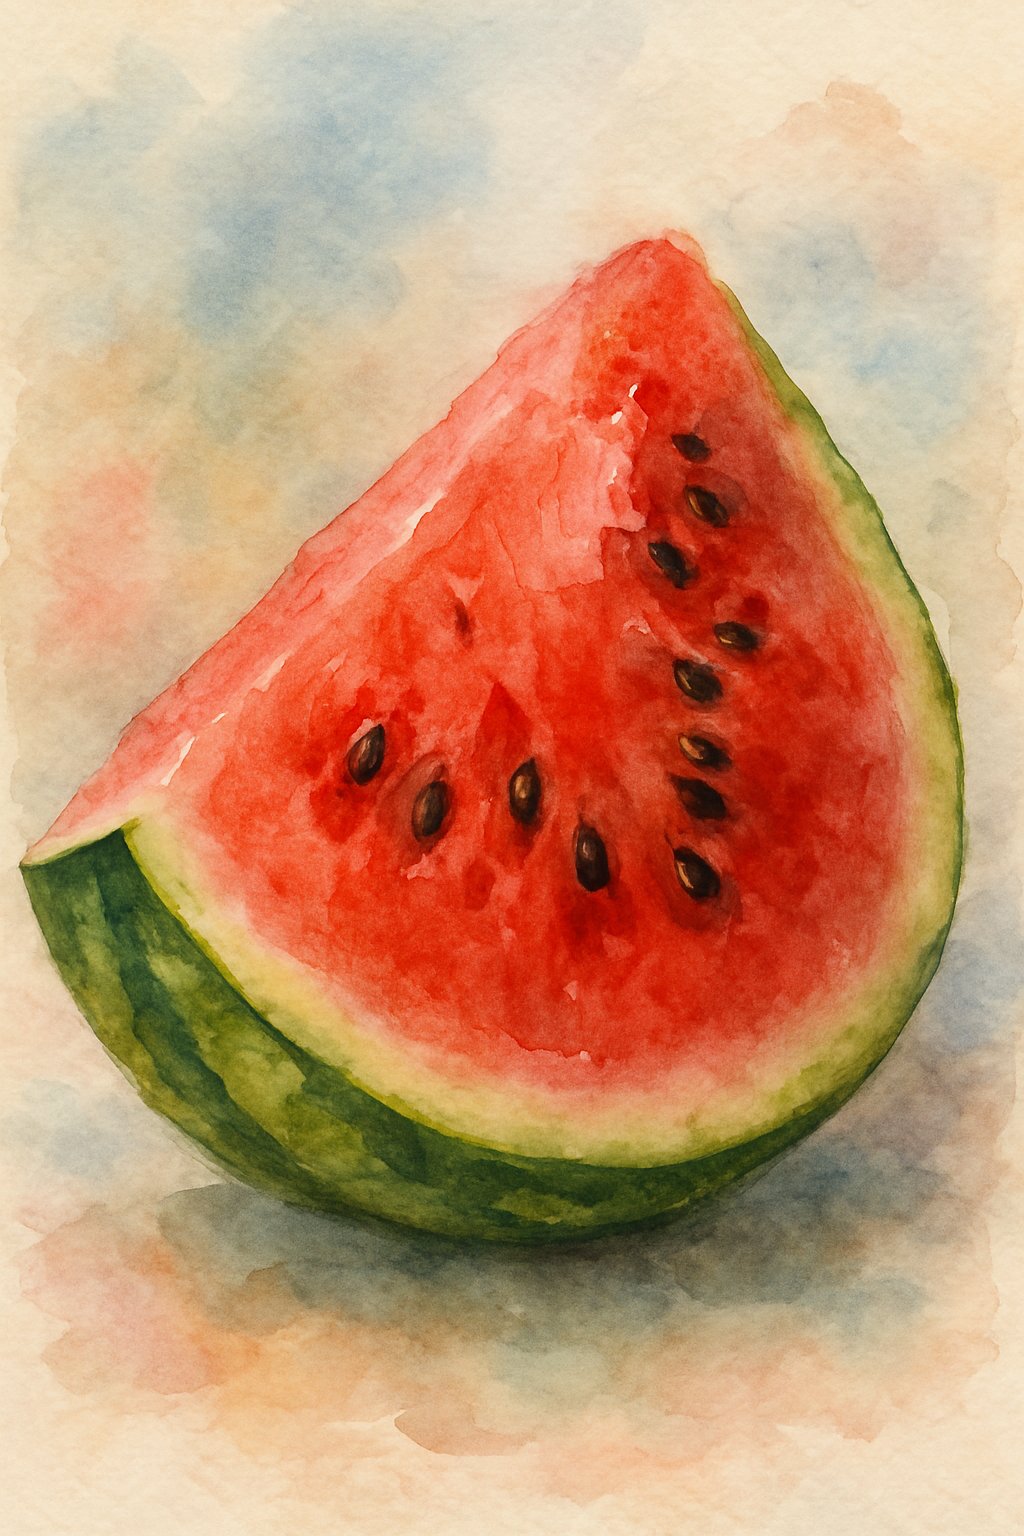
Realistic Watermelon Painting
Creating a realistic watermelon painting starts with observing the fruit’s colors and textures carefully. The deep green rind, the light green stripes, and the bright red flesh all have different tones that give the watermelon its lifelike appearance.
Artists often use a limited palette to capture these colors. For example, a mix of greens for the rind, reds and pinks for the flesh, and small touches of black or brown for the seeds work well. Using transparent layers of watercolor helps build depth step by step.
Painting the watermelon flesh involves soft, smooth washes of red and pink to show juiciness. Small dots or short strokes in darker shades create the effect of seeds and tiny flesh details. The rind needs short, irregular stripes with varied green tones to look natural.
Light and shadow are important in realistic painting. Artists carefully place highlights where the light hits the fruit and paint shadows along the edges to give a three-dimensional look.
Tips for success:
- Use wet-on-wet technique for soft color blends inside the flesh.
- Apply wet-on-dry layers for sharper details like seeds and rind stripes.
- Let layers dry between steps to avoid muddy colors.
These simple steps help create a watermelon that looks fresh and lifelike on paper.
Essential Materials for Realistic Watermelon Watercolor

To create a realistic watermelon painting, it is important to use the right materials. These include quality watercolor paints, suitable paper, brushes for detail, and the right palette setup to control colors and water flow. Each item plays a key role in achieving bright colors and fine textures.
Choosing Watercolor Paint and Paper
Using high-quality watercolor paint is crucial. Artists often prefer paint with good pigmentation and transparency to capture the bright reds and greens of watermelon. A limited palette with primary colors plus green and pink can mix the needed shades well.
For paper, choose 100% cotton watercolor paper with medium or cold press texture. This type of paper absorbs water evenly and shows colors softly, essential for blending the watermelon’s juicy flesh and rind smoothly. Paper weight of 140 lbs or higher helps keep the surface flat when wet.
Student-grade paper can work for practice but may warp or dull colors. Proper paper allows layers to build up without damaging the surface, which is key to painting vibrant watermelons.
Brushes and Tools for Fine Detail
Fine detail brushes are necessary for the watermelon’s seeds, rind lines, and texture. Look for small round brushes (sizes 0 to 4) with a good point to control thin lines and small shapes.
A flat brush can help lay down washes of color for the background or broad areas like the watermelon flesh. Some artists use a water brush pen for added control of water flow, making it easier to blend colors smoothly.
Having a soft, high-quality brush avoids damaging the paper and helps achieve both sharp details and soft gradients in the watermelon painting.
Mixing Palettes and Water Control
Water control is key to realistic watercolor. A mixing palette with several wells allows the artist to create varying mixes of red, green, and white tones for the watermelon’s flesh and rind.
Proper dilution of paint with water helps create transparent layers. Thin washes build color depth gradually without heavy, uneven spots. Keeping clean water nearby for rinsing brushes is important to avoid muddy colors.
Using damp brushes and paper at different stages controls how the paint spreads. This technique is vital for capturing the juicy, fresh look of watermelon in watercolor painting.
Preparing Your Watermelon Composition

Choosing how to arrange the watermelon in the painting affects its realism and appeal. Decisions about perspective, slice shapes, and visual references help create a clear plan before painting begins.
Planning Slices and Perspective
Deciding which watermelon parts to paint is key. Full slices, wedges, or whole fruit each show different shapes and textures. For a realistic look, slices should have natural curves and varied thickness.
Perspective changes how the viewer sees the watermelon. For example, a top-down view focuses on the red flesh and black seeds, while a side view highlights the rind’s green stripes. Choosing one consistent angle keeps the image believable.
It’s best to limit the number of slices. Too many can clutter the painting. Instead, focus on 2-3 slices with overlapping edges to add depth and realism.
Sketching the Watermelon Outline
Creating a light sketch is the next step. It acts as a guide for where to place colors and details. Use a soft pencil to sketch the watermelon’s shape gently on watercolor paper.
Start with basic geometric shapes like ovals or circles for the whole fruit and triangles for slices. Then refine edges to show the rind, flesh, and seed areas clearly.
Keep the sketch minimal. Avoid heavy lines because they may show under the paint. Marks should support the painting, not dominate it.
Creating Effective Reference Photos
Good reference photos provide important color, light, and texture details. Use natural daylight to capture true watermelon colors—rich reds, translucent pinks, and bright greens.
Take pictures from different angles and distances. Close-up shots show seed placement and texture, while wider views help with overall shape and shadow.
If fresh watermelon isn’t available, use clear printed photos or online images. The key is to study them carefully during painting to capture realistic detail and shading.
Layering and Painting Techniques for Realism
Creating a realistic watercolor watermelon depends on careful control of paint layers and techniques. Proper use of blending methods, color choices, and brush control makes the fruit look juicy and vibrant. Attention to detail is key for both the flesh and rind of the watermelon.
Wet-on-Wet Versus Wet-on-Dry Applications
Wet-on-wet technique involves applying wet paint onto a damp paper surface. This creates soft edges and natural color blending, ideal for the initial background wash of the watermelon flesh. It helps to establish light and shadow areas smoothly without harsh lines.
Wet-on-dry means painting wet color onto dry paper. This method allows for sharper edges and more control. Artists use it to add details like the rind’s stripes or seed shadows. Layering multiple wet-on-dry washes builds depth and texture in the painting.
Knowing when to switch between these two techniques helps achieve both smooth transitions and crisp edges necessary for realism.
Achieving Juicy Red and Pink Flesh
To paint the watermelon flesh, the artist starts with light pink and red washes. Using a limited palette of reds mixed with a little water creates transparency and glow. Gradual layering adds richness without making the color too heavy or muddy.
Highlight areas can be left unpainted or lightly lifted with a damp brush to show the watermelon’s natural shine. Varying pigment concentration mimics the flesh’s juicy texture.
Avoid hard brush strokes. Soft, blended layers combined with subtle color shifts give the flesh a realistic, moist look.
Painting the Rind and White Edge
The white edge between the flesh and rind needs a clean separation. This is done by leaving a narrow unpainted strip or lightly washing it with pale green or gray to suggest the thin inner rind layer.
The outer rind uses deeper greens with vertical variations. Layering different green shades with wet-on-dry strokes creates the rind’s characteristic dark stripes and lighter areas. A dry brush technique helps add rough texture.
Maintaining contrast between the rind, white edge, and flesh is critical for realism in a watercolor watermelon.
Adding Realistic Watermelon Seeds
Watermelon seeds are painted last as small dark ovals. They often show a bit of light reflection, so leaving tiny white highlights inside the seed shapes improves realism.
Seeds vary slightly in size and placement; scattered unevenly they look natural. Using a fine brush and dark brown or black pigment keeps the seeds sharp against the juicy red background.
Adding subtle shadows beneath or beside seeds with a diluted dark wash enhances the three-dimensional effect.
Finishing Touches and Detailing Methods
The final steps in a realistic watermelon watercolor painting focus on adding depth, correcting small errors, and protecting the artwork. These details enhance the natural look of the fruit and ensure the painting lasts over time.
Depth Through Layering and Highlights
Adding depth starts by applying multiple thin watercolor layers. Each layer should dry fully before adding the next. This builds color intensity and creates variation in the watermelon’s flesh and rind.
Highlights are crucial for realism. Artists use a small brush or a clean damp brush to lift paint gently from areas meant to look shiny or wet. White gouache or a fine white gel pen may also add bright highlights, especially on the seeds or the glossy rind surface.
The seeds need careful attention. Painting them darker first and then adding tiny white highlights helps create a three-dimensional effect. Layering around the seeds with different shades of red and pink enhances the juicy look.
Fixing Mistakes and Softening Edges
Watercolor has unique flexibility for corrections. If a color is too dark, lifting it with a damp brush or a paper towel while the paint is still wet can lighten the area.
Softening hard edges is important to blend the watermelon’s shapes naturally. A wet brush can gently blur edges where the rind meets the flesh or where shadows fall. This prevents harsh lines and mimics the smooth transitions found in real watermelon.
Mistakes like unwanted spots or uneven color can be concealed by layering additional paint once the first layer dries. Small details might also be adjusted with a fine brush or white paint to fix highlights.
Final Review and Artwork Preservation
Before finishing, the artist should review the painting in natural light. This helps spot uneven color, dried paint spots, or areas lacking detail.
To protect the finished watercolor watermelon, it should be kept flat and dry. Using a fixative spray designed for watercolors can prevent color fading but should be tested on a small area first.
Framing behind glass with acid-free matting helps preserve the painting by blocking dust and sunlight. It is best to store or display watercolor art away from direct sunlight to avoid damage.
Creative Watercolor Painting Ideas with Watermelon
Watermelon offers many ways to explore different watercolor techniques. It works well for creating lively patterns, summer-themed art, and mixed fruit compositions. These ideas help artists develop their skill while keeping paintings fresh and fun.
Pattern Repeats and Card Designs
Artists can use watermelon slices in repeating patterns to create playful designs. These work great for greeting cards, wrapping paper, or fabric prints. Simple shapes like wedges or seeds can be repeated in rows or scattered randomly.
To get clean patterns, use a limited color palette with shades of red, green, and black for seeds. Maintain consistent spacing between elements. Transparent watercolor layers help keep the pattern light and fresh.
Small details like subtle shadows or seed shapes add realism without clutter. These patterns suit handmade cards or lightweight art projects that focus on bright, fresh colors.
Watermelon in Summer Compositions
Watermelon naturally fits into summer scenes. Artists combine it with elements like sunglasses, ice cream, or sun hats to evoke warmth and fun. Using loose watercolor washes for backgrounds helps keep the focus on the bright fruit.
To build a summer composition, place the watermelon center stage with surrounding objects softly blurred. Mixing wet-on-wet techniques with sharper dry brush details creates depth.
Varying the size of watermelon slices—whole fruit, wedges, or half slices—adds visual interest. Warm tones in the surrounding elements balance the cooler green rind and red flesh.
Combining Watermelon with Other Fruits
Watercolor watermelon pairs well with other fruits to create colorful still lifes or botanical studies. Common companions include lemons, cherries, and blueberries. These fruits provide contrast in shape, color, and texture.
Artists should choose fruits with distinct colors to make each element stand out. Use a medium wetness level to keep colors vibrant but controlled. Layering transparent washes builds juicy textures on all fruits.
Focusing on lighting helps unify the group. Gentle highlights on watermelon flesh and berry skins create a fresh, realistic look. The combination adds variety and invites viewers to explore details across the painting.